


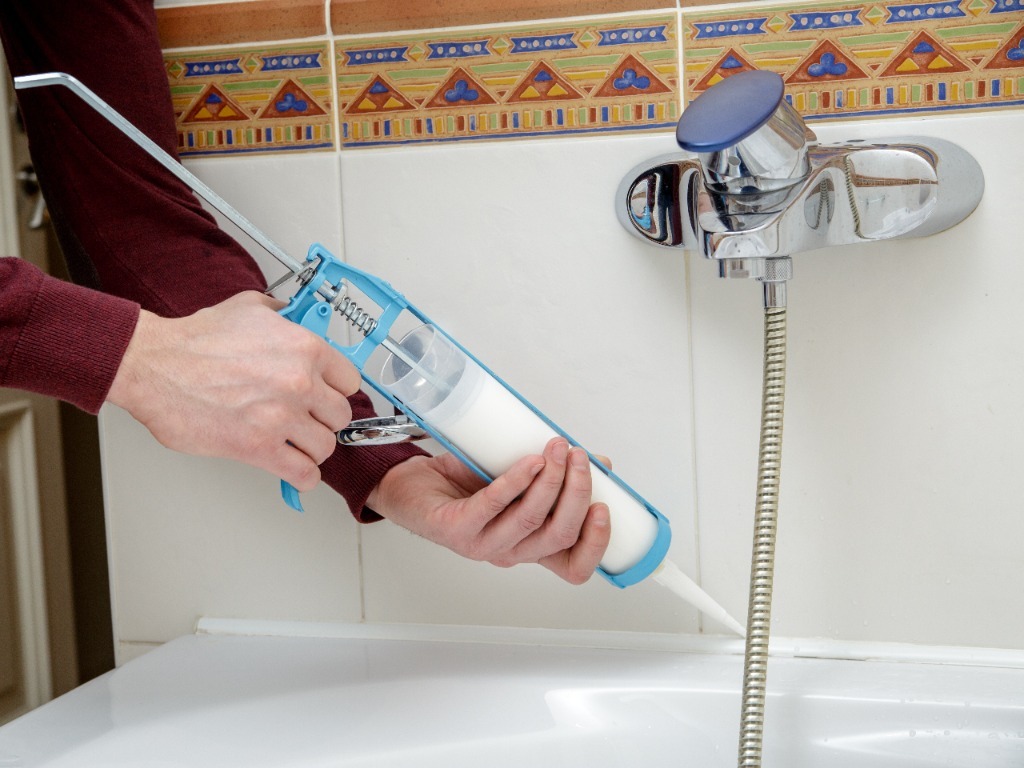
Getting your bathroom silicone timing wrong can turn a simple sealing job into a messy disaster. Whether you’re wondering how long does bathroom silicone take to dry before you can use your shower again, or you’re planning a bathroom renovation timeline, understanding silicone curing times is crucial for any DIY project. We’ll break down everything you need to know about silicone drying times, factors that affect curing, and professional tips to ensure your bathroom sealing job is watertight and long-lasting.
Why Does Bathroom Silicone Drying Time Matter for Your Project?
Source : Fair Moore UK
When you’re applying bathroom silicone, timing isn’t just about convenience – it directly affects the quality and longevity of your seal. A properly cured silicone seal prevents water damage, mould growth, and costly repairs down the line. If you rush the process and expose your fresh silicone to water too early, you risk compromising the entire seal. This means starting over with removal, cleaning, and reapplication – a frustrating setback that could have been avoided. Professional tilers across the UK consistently emphasise that patience during the curing process is what separates amateur jobs from professional-quality results. The difference between a seal that lasts 10-15 years and one that fails within months often comes down to respecting the proper drying times.
How Long Does Standard Bathroom Silicone Take to Dry Initially?
Source : Contemporary Structures
Understanding the difference between surface drying and complete curing is vital for anyone working with bathroom silicone. The initial drying phase gives you a false sense of security, whilst the actual curing process continues beneath the surface.
Touch Dry vs Fully Cured: What’s the Difference?
Touch dry simply means the surface of your silicone feels dry to the touch and won’t transfer onto your finger. This happens relatively quickly but doesn’t indicate the silicone is ready for use. Full curing means the silicone has reached its maximum strength and flexibility throughout its entire thickness. During this time, chemical reactions continue inside the bead, creating the waterproof barrier you need.
Expect 30 Minutes to 1 Hour for Surface Drying
- Standard conditions: 30-60 minutes for touch dry surface
- Warm environments: Can be touch dry in as little as 20 minutes
- Cool conditions: May take up to 90 minutes for surface drying
- High humidity: Actually speeds up initial surface drying
When Can You Use Your Bathroom After Applying Silicone?
Source : Gould Silicone Sealants
The golden rule for bathroom silicone is simple: wait longer than you think you need to. Most homeowners underestimate how long bathroom silicone takes to dry properly, leading to compromised seals and premature failure.
Wait 24-48 Hours for Complete Curing
For standard 4mm silicone beads under normal UK conditions, 24-48 hours is the minimum waiting period before exposing the seal to water. Thicker beads can take up to a week to cure completely. Temperature plays a significant role – in cooler British weather, particularly during winter months, you should lean towards the longer end of this timeframe. Professional tilers often recommend waiting the full 48 hours regardless of conditions to ensure optimal performance.
Why Premature Water Exposure Compromises Your Seal
- Water penetration prevents proper chemical bonding
- Creates weak spots that allow future water ingress
- Can cause the silicone to shrink or pull away from surfaces
- Leads to mould growth behind the seal
- Reduces the overall lifespan of your silicone application
What Factors Affect How Long Bathroom Silicone Takes to Dry?

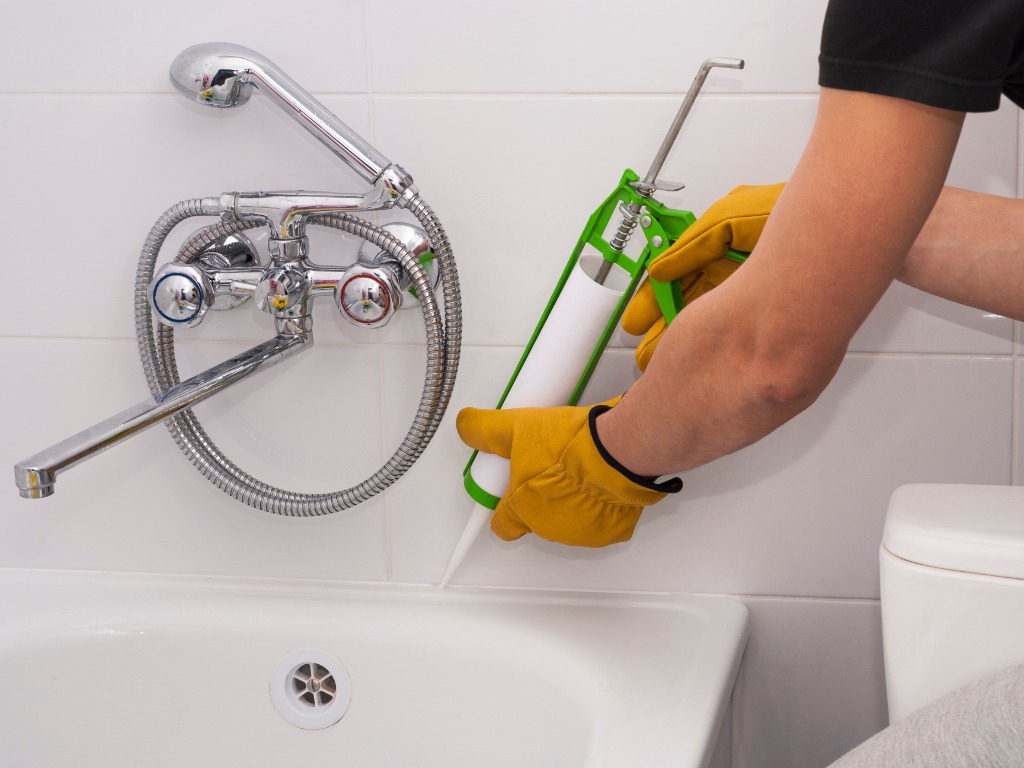
Source : Contemporary Structures
Several environmental and application factors significantly influence how long your bathroom silicone takes to dry. Understanding these variables helps you plan your project timeline more accurately.
Temperature Impact on Silicone Curing Speed
Temperature has the most dramatic effect on curing times. Ideal temperatures range between 18-24°C for optimal curing. In colder conditions typical of British homes during winter, curing can slow by 50% or more. Conversely, warmer conditions speed up the process, but extremely high temperatures can cause surface skinning that actually slows overall curing.
Humidity Levels Speed Up or Slow Down Drying
Contrary to what many expect, moderate humidity actually helps silicone cure faster. Most bathroom silicones are moisture-cured, meaning they need atmospheric moisture to trigger the chemical reactions. However, excessive humidity can slow the process, whilst very dry conditions significantly extend curing times.
Bead Thickness Changes Drying Time Dramatically
- Thin beads (2-3mm): 24 hours for complete cure
- Standard beads (4-5mm): 24-48 hours typical
- Thick beads (6mm+): Up to one week for complete cure
- Deep gaps: May require multiple applications for proper curing
Does Different Silicone Type Change Drying Time?
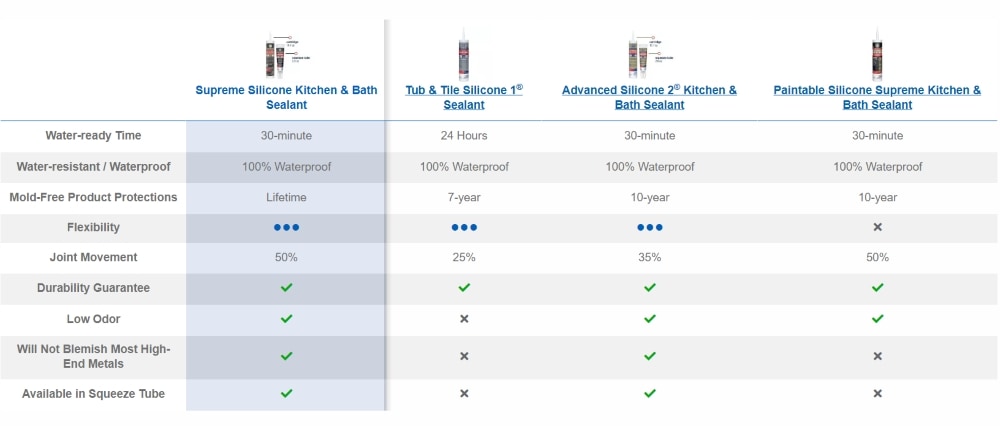
Source : GE Sealants
Not all silicones are created equal, and the type you choose significantly affects both drying time and application suitability for bathroom environments.
Fast-Curing Silicones vs Standard Formulas
Fast-curing bathroom silicones can reduce waiting times to as little as 12 hours before water exposure. However, these products often cost more and may not offer the same long-term flexibility as standard formulas. They’re excellent for urgent repairs but standard silicones remain the preferred choice for major renovations where quality trumps speed.
Acetic vs Neutral Cure Silicones for Bathrooms
- Acetic cure: Faster curing (12-24 hours), vinegar smell during cure
- Neutral cure: Longer curing (24-48 hours), no strong odour
- Bathroom-specific formulas: Often include anti-fungal additives
- Clear vs coloured: Minimal difference in curing times
How Can You Speed Up Bathroom Silicone Drying Time?
Source : YouTube
While you shouldn’t rush the curing process, there are legitimate ways to optimise conditions for faster, more reliable curing without compromising quality.
Improve Ventilation for Faster Curing
Good air circulation helps moisture reach the silicone surface whilst removing any byproducts of the curing process. Open windows, use extractor fans, or position a small fan to create gentle air movement. Avoid direct drafts on the fresh silicone, which can cause surface skinning.
Optimize Temperature and Humidity Conditions
- Maintain room temperature between 18-24°C
- Use a dehumidifier if humidity exceeds 70%
- Consider gentle heating in cold weather
- Avoid dramatic temperature fluctuations during curing
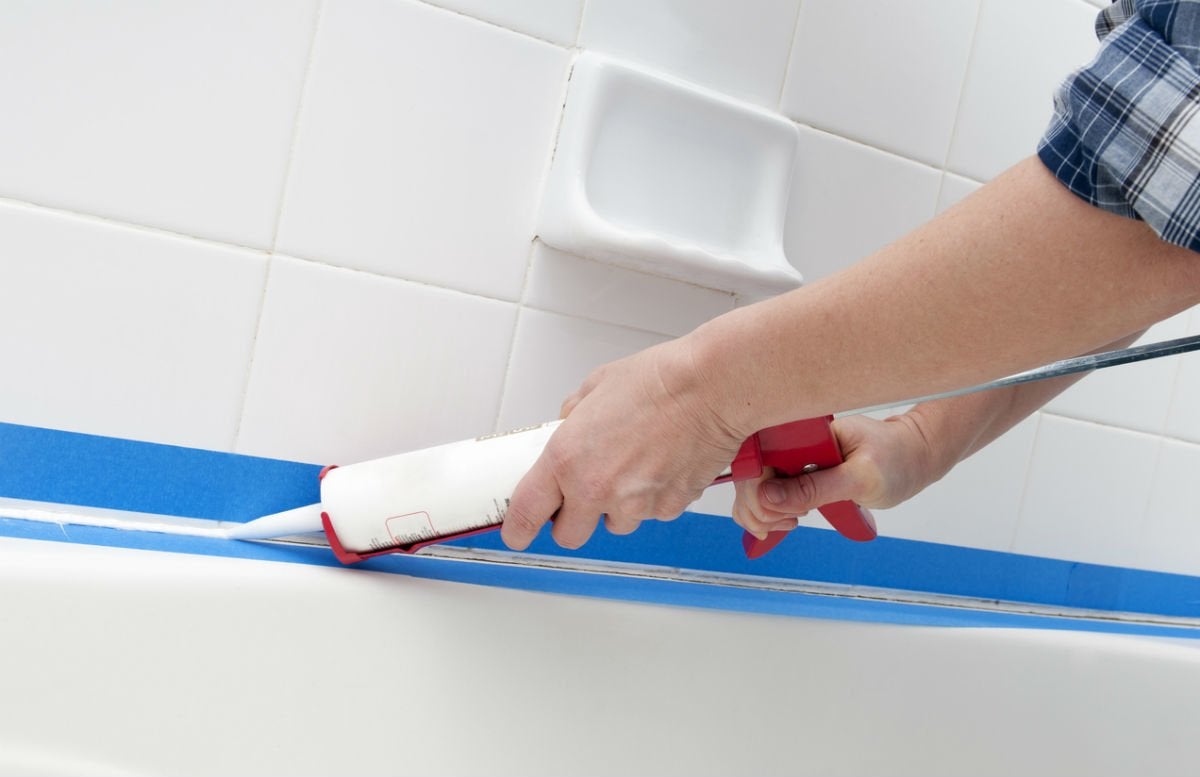
Apply Thinner Beads for Quicker Results
Applying silicone in thinner, more precise beads not only looks more professional but cures significantly faster. Use masking tape to achieve clean lines and consistent thickness. Remove the tape whilst the silicone is still wet to avoid tearing the surface once it’s started to cure.
What Happens If You Rush Bathroom Silicone Drying?

Source : Reddit
The temptation to use your bathroom before the silicone has properly cured is understandable, but the consequences can be costly and frustrating.
Common Problems from Premature Use
- Partial seal failure allowing water penetration
- Discolouration and staining of the silicone
- Reduced adhesion leading to gaps opening up
- Mould growth behind compromised seals
- Need for complete removal and reapplication
Signs Your Silicone Hasn’t Cured Properly
If you notice the silicone feels soft or sticky after the expected curing time, it hasn’t cured properly. Other warning signs include a strong chemical smell persisting beyond 48 hours, visible shrinkage, or the silicone pulling away from surfaces. These issues often result from poor ventilation, extreme temperatures, or contamination during application.
How Long Should You Wait Before Using Your Bathroom After Silicone Application?
Source : Gould Silicone Sealants
Professional recommendations provide the safest timeline for returning your bathroom to normal use, but real-world factors often influence these decisions.
Professional Recommendations for Safe Usage
Minimum 24 hours before any water contact is the universal professional recommendation. For shower areas subject to direct water spray, many professionals suggest 48 hours. If you’ve applied thick beads or are working in cooler conditions, extend this to 72 hours for complete peace of mind.
Manufacturer Guidelines vs Real-World Practice
Manufacturer guidelines typically provide minimum times under ideal conditions. In the real world of British homes, with variable temperatures and humidity, adding 24 hours to manufacturer recommendations provides a safety margin. Professional tilers consistently report better long-term results when clients follow extended curing times rather than minimum guidelines. Remember, a few extra hours of patience now can save you weeks of remedial work later. Your bathroom silicone investment deserves the time needed to cure properly, ensuring years of reliable, watertight service.
FAQ
Why is silicone caulk still tacky after 24 hours?
Inadequate Air Circulation One of the most common culprits for tacky silicone is poor air circulation. Since silicone caulk cures by reacting with moisture in the air, inadequate airflow can prevent it from curing fully.
How to tell if silicone is cured?
Firmness Test. Gently press on the silicone with your fingertip. Cured silicone should be firm and not give way easily.
Can I shower 12 hours after caulking?
Ensure Caulk is Cured and Dry Silicone sealant dries in 30-60 minutes, reducing the risk of smudging or damage to the caulk’s surface. However, that is just dry to the touch. You should always wait at least 24 hours before attempting to shower after a caulk installation.
Is silicone waterproof immediately?
However, silicone sealant is waterproof only after it cures completely, which takes significantly longer. Curing involves a series of chemical changes that take place once the silicone is exposed to oxygen. Silicone sealants can take anywhere from a few hours to 21 days to cure, depending on how much sealant you use.
Sources
[1] https://homeycons.com/how-long-should-silicone-caulk-dry-before-using-a-shower/ [2] https://adfastcorp.com/en/news/how-long-does-silicone-take-to-dry/ [3] https://www.gluegun.com/blogs/adhesive-reviews/the-dos-and-donts-of-working-with-silicone-adhesives-and-sealants