


Master the art of cutting porcelain tiles perfectly every time with these expert techniques that prevent costly mistakes and ensure professional results.
Understanding Porcelain Tile Properties
Porcelain tiles are renowned for their exceptional durability and density, making them significantly different from standard ceramic tiles. Manufactured at higher temperatures (approximately 1,200-1,400°C) and composed of finer, more compact clay materials, porcelain tiles are up to 30% harder than ceramic alternatives. This increased density results in superior water resistance and durability, but also makes them more challenging to cut. The material’s hardness, typically rating 7-9 on the Mohs scale, requires specific cutting techniques and tools to achieve clean, professional results.
Essential Tools for Cutting Porcelain Tiles
- Wet Saw with Diamond Blade: The most reliable tool for precise cuts, featuring continuous water cooling to prevent overheating and chipping
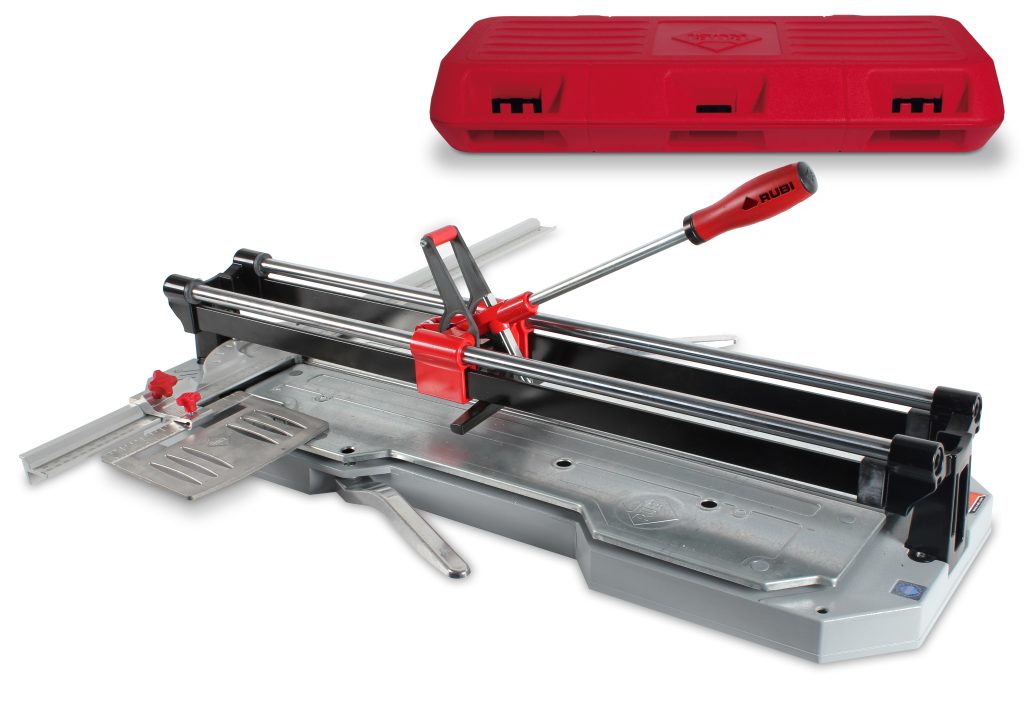
- Manual Tile Cutter: Suitable for straight cuts on tiles up to 12mm thick
- Angle Grinder: Essential for L-cuts, curves, and notches, fitted with a diamond blade
- Tile Nippers: Perfect for small, detailed cuts and curves
- Measuring and Marking Tools: Including a square, pencil, and marking gauge
- Diamond Hand Pad: For smoothing rough edges after cutting
Safety First: Proper Protection and Workspace Setup
Safety is paramount when cutting porcelain tiles. Begin by setting up your workspace in a well-ventilated area, preferably outdoors or in a garage. Essential safety equipment includes impact-resistant goggles, ear protection (noise levels can exceed 90 decibels), and cut-resistant gloves. Create a stable work surface at waist height and ensure adequate lighting. For wet cutting, prepare proper water drainage and non-slip flooring. Keep a dust mask handy for dry cutting methods, as porcelain dust can be harmful when inhaled.
Measuring and Marking Techniques
- Use a square tool to mark perfect 90-degree angles
- Apply masking tape along cutting lines to prevent marking tools from slipping
- Mark both sides of the tile for complex cuts
- Allow for grout lines in measurements (typically 2-3mm)
- Double-check all measurements before cutting
- Use a white pencil or marker for dark tiles
Step-by-Step Cutting Methods
For straight cuts using a wet saw: Position the tile face-up on the sliding table, align your marked line with the blade, and push the tile through slowly and steadily at approximately 2.5 cm per second. For manual cutting: Score the tile firmly along your marked line, applying consistent pressure. Position the tile with the score line over the breaking bar and apply even pressure to snap. For L-cuts: Make your straight cuts first with a wet saw, then use an angle grinder for the intersecting cut. For curves: Create a series of relief cuts with your wet saw, then clean up with tile nippers.
Advanced Tips to Prevent Chipping
To achieve chip-free cuts, start by applying masking tape along the cutting line on both sides of the tile. When using a wet saw, ensure the blade spins at full speed (approximately 3,400 RPM) before making contact. Make an initial shallow scoring cut at about 3mm depth before completing the full cut. For manual scoring, use multiple light passes rather than one heavy score. Always cut from the glazed side of the tile to minimise chipping on the visible surface.
Troubleshooting Common Issues
- Chipping: Reduce cutting speed and ensure blade is sharp
- Uneven Cuts: Check blade alignment and stability of cutting surface
- Blade Wandering: Replace worn blade and maintain steady pressure
- Rough Edges: Use finer grit diamond pads for finishing
- Cracking: Ensure proper support and slower cutting speed
Finishing Touches and Edge Treatment
After cutting, inspect edges for any roughness or chips. Use progressive grits of diamond hand pads (starting at 50 grit and working up to 200 grit) to smooth edges. For exposed edges, consider using a 45-degree angle bevel cut for a more finished look. Clean cut edges thoroughly with a damp cloth to remove any debris or dust before installation.
Maintenance of Cutting Tools
Proper tool maintenance ensures consistent cutting quality. Clean wet saw water trays daily and replace water when it becomes too murky. Check diamond blade wear regularly – a blade should be replaced when cutting speed noticeably decreases or chipping becomes frequent. For manual cutters, keep the scoring wheel well-oiled and replace when dulled. Store tools in a dry environment to prevent rust and deterioration.
Professional Insights and Best Practices
- Always purchase extra tiles (approximately 10% more) for practice cuts and potential mistakes
- Make all cuts in good lighting conditions
- Work at a comfortable pace – rushing leads to errors
- Keep blades and cutting wheels clean and sharp
- Consider temperature and humidity when cutting – extreme conditions can affect tile stability
- Document successful cutting techniques for future reference
FAQ
How do you cut porcelain tiles without chipping them?
Run the blade along the line that you’ve marked and check that it never deviates or leaves the line to ensure a straight line. To avoid chipping, in the tile, pull the blade through the tile slowly, using only one finger to make sure you aren’t forcing the blade through.
Why do porcelain tiles crack when cutting?
These cracks usually form when the tiles are weakened due to the cut – either partial or multiple – and especially where they are cut to form the corners or edges. Technically – anything which interrupts the continuity of the material can make these places more fragile and very delicate points of the tile.
What saw is used to cut porcelain tile?
Consequently, the best way to cut a porcelain tile yourself is to use a wet tile saw or tile cutter with large-diameter diamond tile blades. These blades feature industrial-grade diamond filaments embedded into the side of each blade. They can cut through rock, stone, bricks, and ceramic materials like porcelain.
Is it better to cut porcelain tiles wet or dry?
Wet tile cutting is usually recommended for porcelain tiles, as it helps to reduce breakage, but it can be trickier to make the cut as the tile is less brittle than when it’s dry. This method creates less mess, and is generally much quicker than dry cutting, and creates cleaner cuts.
Do you need a special blade to cut porcelain tile?
If you’re planning on using any kind of electric cutter, whether wet or dry, for your porcelain, you’ll need a diamond blade. Part of what makes porcelain so durable is that it’s a very hard material, so you’ll need something even harder to cut through it.
Sources
[1] https://www.lxhausys.com/us/blog/how-to-cut-porcelain-tile-without-chipping/
[2] https://www.sothatshowyoudothat.com/how-to-cut-porcelain-tile/
[3] https://www.rubi.com/us/blog/how-to-cut-porcelain-tile/