


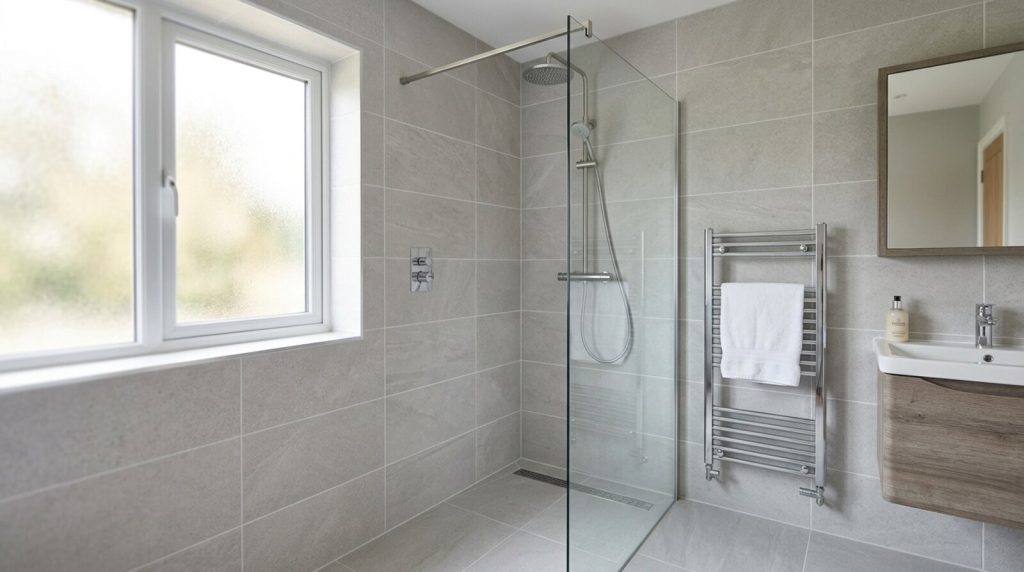
A bathroom is the hardest room in the house to tile well. Water gets everywhere, surfaces flex, and any shortcut in the preparation tends to show up months later as cracked grout, lifting tiles or damp behind the wall. This guide walks through the work in the order a professional would tackle it, so you can either do parts of the job yourself with confidence or know exactly what to ask of a fitter.
The advice here follows the British Standard for wall and floor tiling, BS 5385. Part 1 covers internal ceramic wall tiling, Part 3 covers ceramic floor tiling, and Part 4 sets out the extra requirements for wet areas such as showers and wet rooms. Sticking to these reduces the chance of a failure that means stripping everything back and starting again.
Planning the job before you buy anything
Measure each wall and the floor separately, then work out the area in square metres. Add roughly ten per cent for cuts and breakages on a simple layout, and fifteen per cent if you are tiling a diagonal pattern or a room with lots of pipework and recesses. Buying everything in one batch matters more than people expect, because ceramic and porcelain tiles are produced in shaded batches and two boxes from different runs can sit on the wall as a visibly different colour. Check the batch and shade codes printed on the box before you leave the shop.
Think about tile size against the size of the room. Large-format tiles cut down on grout lines and make a small bathroom feel calmer, but they need a very flat substrate and they create more waste when you cut around fittings. Smaller tiles and mosaics follow curves and falls more easily, which is why they suit shower trays and wet-room floors, at the cost of far more grouting.
Getting the surface right
This is the stage that decides whether the finished job lasts. Tiles are only as stable as what sits behind them, and a wall that moves or a substrate that swells when wet will pull a tiled surface apart.
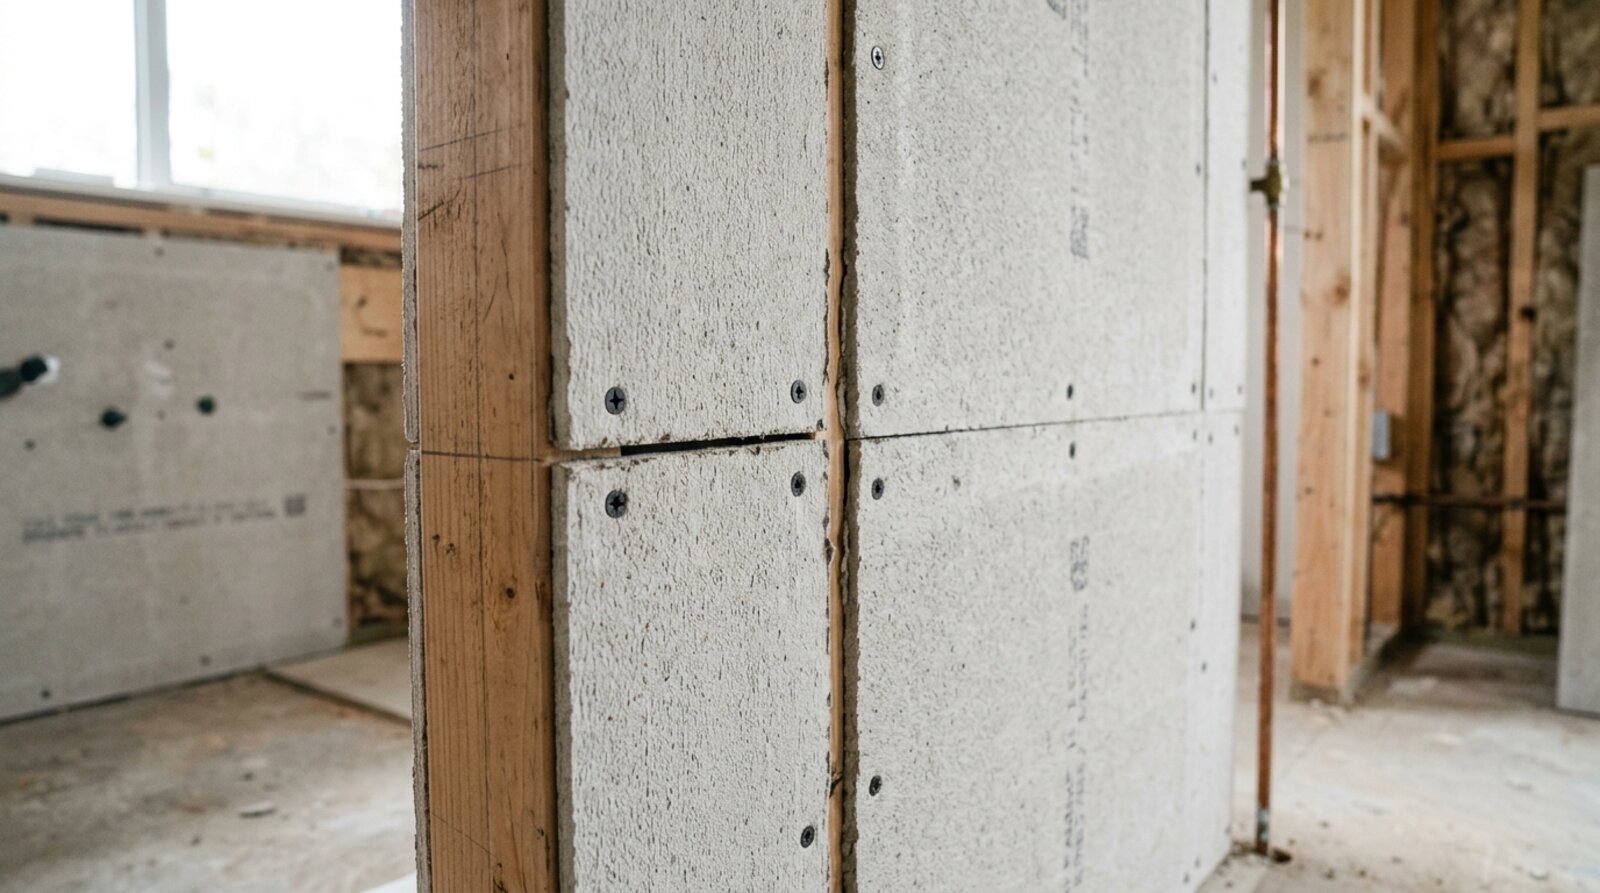
Plasterboard is fine for dry walls, but in a shower or anywhere that gets regular splashing it is not the right base on its own. Standard advice now points away from relying on plasterboard in wet zones, even the moisture-resistant kind, in favour of cement-based tile backer boards. These are lightweight boards with a stable core that does not soften when it meets water, and they can be used on both walls and floors. Foam-cored boards are also waterproof, but their joints still need sealing with the manufacturer’s tape and a suitable membrane.
Whatever the base, it has to be sound, dry, clean and flat. Brush off dust, fill any hollows, and check large areas with a long straightedge. Old gloss paint should be scored and primed, or removed, so the adhesive has something to grip. Bare plaster and porous backgrounds need a primer first, otherwise they suck moisture out of the adhesive too quickly and weaken the bond.
Waterproofing the wet areas
Grout is not waterproof, and water-resistant adhesive is not a substitute for proper waterproofing. BS 5385 Part 4 treats tanking as the controlling step for wet areas, which means the substrate itself is made waterproof before a single tile goes up. A tanking system is usually a liquid membrane painted on in two coats, with reinforcing tape pressed into the wet membrane at internal corners, joints and around pipe penetrations.
In a shower, take the tanking up the walls higher than the shower head and out beyond the area that gets wet in use, then carry it across the floor and into the tray or gully detail. Pay particular attention to the floor-to-wall junction, because that corner moves slightly with the building and is where most leaks start. Let each coat cure for the time the manufacturer states before the next, and before tiling. Rushing this stage is the single most common reason a bathroom leaks into the room or the ceiling below.
Choosing adhesive and grout
For bathrooms, use a cement-based, water-resistant adhesive rather than a ready-mixed tub paste. Tub adhesives are convenient on dry walls but they cure by losing water to the air, so they are unsuitable behind showers and under floors where that cannot happen reliably. Porcelain and large-format tiles need a flexible, often rapid-set, adhesive, and they should be fixed using the solid-bed method, where adhesive covers the full back of the tile with no voids. Voids trap water and create weak points that crack under load.
Match the notched trowel to the tile. A larger tile needs a deeper notch to give enough adhesive once the tile is pressed and bedded in. Comb the adhesive in one direction and press each tile with a slight twisting motion to collapse the ridges, then lift one tile occasionally early on to confirm you are getting full coverage on the back.
For grout, a flexible cement grout suits most domestic bathrooms. In a shower or wet room subject to constant water, an epoxy grout resists staining and water far better, though it is harder to apply and less forgiving of mistakes. Leave a real grout joint rather than butting tiles tight together, because that joint absorbs the small movements every building makes.
Setting out and tiling the walls
Never start tiling from the floor or a corner and hope it works out. Find the centre of the main wall, then set out from there so the cut tiles fall evenly at both ends and you avoid a thin sliver against an edge. Use a level to mark a true horizontal line, and fix a straight timber batten to the wall to support the first full row. Floors and ceilings are rarely level, and the batten stops the whole wall from drifting out of true as you build it up.
Work upward in rows, using tile spacers for consistent joints and checking the face is flat as you go. Plan your cuts so awkward ones land in less visible spots, such as behind the toilet or low in a corner. Cut porcelain with a wet saw or a quality manual cutter fitted with a sharp wheel, and finish exposed edges with trim or a polished edge rather than leaving a raw cut on show. Take the battens off only once the adhesive has set, then fill in the bottom row and any cuts.
Grouting and finishing cleanly
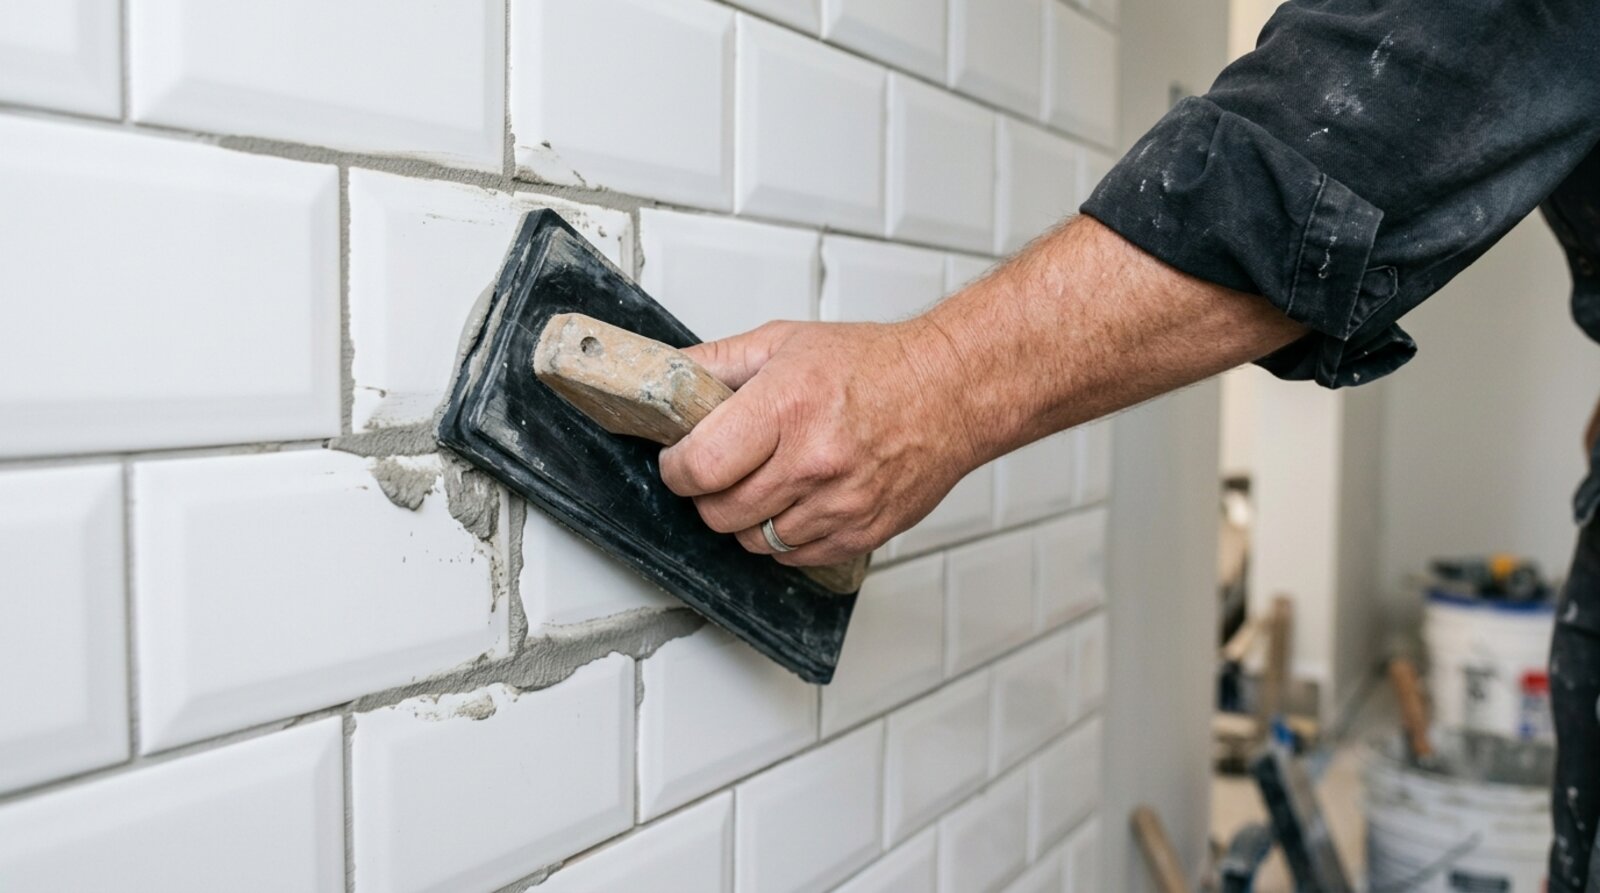
Wait until the adhesive has fully set before grouting, usually at least twenty-four hours, longer for floors and large tiles. Press grout firmly into the joints with a rubber float held at an angle, working diagonally across the tiles so you do not drag grout back out of the lines. Wipe the surface with a damp, well-wrung sponge before it hardens, rinsing often, then polish off the haze with a dry cloth once the surface dries.
Keep grout out of any joint that needs to flex. Internal corners, the line where tiles meet the bath or shower tray, and changes of plane should be filled with a flexible silicone sealant, not grout, because rigid grout in those spots cracks as the building moves. Use a mould-resistant sanitary silicone, tool the bead smooth, and let everything cure before the room is used.
Frequently asked questions
Can I tile over existing bathroom tiles?
Sometimes, but only if the existing tiles are firmly stuck, sound and flat, and the wall can carry the extra weight. Tap across them and listen for any hollow areas that signal lifting. Clean and key the old glazed surface and use a primer made for tiling onto tiles. If many are loose or the surface is uneven, it is better to strip back to a sound substrate.
Do I really need to tank a shower if the boards are waterproof?
The boards may be waterproof, but the joints, fixings and corners between them are the weak points. BS 5385 Part 4 treats the wet area as needing a continuous waterproof layer, so you still seal joints and corners with the correct tape and membrane. Tanking the whole zone is cheap insurance against a leak that could cost far more to put right.
How long should I leave tiles before grouting?
Follow the adhesive manufacturer’s stated setting time, which is commonly around twenty-four hours for standard adhesive and can be shorter for rapid-set products. Floors, large-format tiles and cold rooms all slow the cure, so give them longer. Grouting too soon can disturb tiles that have not bonded properly.
Why does my bathroom grout keep cracking?
Cracking grout almost always points to movement or a flexing substrate, not a bad batch of grout. It often appears where rigid grout has been used in corners or along the bath line that should have been sealed with flexible silicone, or where the wall behind moves because it was not stiff enough. Fixing the cause matters more than simply regrouting.
What size tile works best in a small bathroom?
There is no single answer, but larger tiles with fewer grout lines tend to make a small room feel more open and are easier to keep clean. The trade-off is that big tiles demand a very flat wall and floor. Mosaics and smaller tiles suit shower floors and curved details where larger tiles cannot follow the falls.
Should I hire a professional or do it myself?
Straight wall tiling on a sound surface is within reach of a careful DIYer. The waterproofing, floor falls and shower detailing are where most home jobs go wrong, and those are the parts that cause expensive damage when they fail. If your bathroom includes a wet room or a level-access shower, getting a professional to handle the tanking and falls is usually money well spent.
Where to go from here
Good bathroom tiling is mostly preparation: a stable, dry, waterproof base set out with care. Get that right and the tiling itself is the satisfying part. If you would rather have the whole job done to standard, you can see the full range of services and ask for a quote at Bromley Tilers. For the underlying standards, the British Standard series sits behind a paywall at the BSI BS 5385 landing page, and free consumer-facing guidance is available from The Tile Association.
Related guides
- How to Tile a Bathroom Wall: A UK Step-by-Step Guide
- How Much Does Tiling Cost in the UK? A Realistic Price Guide
- How to Remove Old Wall Tiles Without Damaging the Wall
- Porcelain vs Ceramic Tiles: Which Is Right for Your Bathroom or Kitchen?
- How to Tank and Waterproof a Wet Room Before Tiling: A Bromley Homeowner’s Guide
- Do You Need to Seal Natural Stone Tiles Before Grouting? A Tiler Explains
- How to Tile a Bathroom Floor (Including Around the Toilet)
- How to Tile a Shower: Walls, Niche and Waterproofing
- Construction Trade News: June 2026
- Tile Backer Board vs Plasterboard for Bathrooms
- Best Tiles for Small Bathrooms (and How to Make a Space Look Bigger)
- Wall and Floor Tiles for a Wet Room: What Actually Works
- Tiling vs Wall Panels for a Bathroom: Which Is Better?
- Do You Tile the Floor or Walls First in a Bathroom?
- Tiling and Bathroom Trade News: Mid-June 2026
- Kitchen Tiling: Splashbacks, Walls and Floors Explained