


The honest answer first: you can remove old wall tiles cleanly, but “without damaging the wall” usually means “with the least damage possible.” On plasterboard especially, the grout and adhesive tend to grip the paper face, so most jobs need a skim coat afterwards and some need a section of board replaced. That is normal, not a sign you did it wrong. On a solid brick or rendered wall you have far more room to be firm.
This guide covers the tools and safety, where to start, the technique that limits damage, how to deal with the old adhesive, how to assess the wall once the tiles are off, and when it pays to get the wall re-prepped before you re-tile.
First, work out what is behind the tiles
The whole method changes depending on the substrate, so check this before you swing a hammer.
- Tap test. Knock across the tiled area with your knuckle or a tool handle. A hollow, drum-like sound usually means plasterboard with a void behind it. A dull, solid thud usually means brick, block or sand and cement render.
- Why it matters. Plasterboard is soft and the paper face tears easily, so you stick to low-impact hand tools. Masonry is tough, so you can use an SDS drill and remove tiles much faster.
If you are not sure, treat it as plasterboard until proven otherwise. It is the cautious option.
Tools and safety
Tools that actually help
- Grout removal: a grout rake or grout saw, or an oscillating multi-tool with a grout or segment blade. Scoring out the grout isolates each tile so it lifts on its own instead of dragging its neighbours.
- Hand tools: a bolster chisel and a club (lump) hammer, plus a thin, wide stripping or filling knife. A rigid 75mm to 150mm flat blade slides behind a tile better than a fat bolster and digs into the wall less, so it lifts more tile per go.
- Power option (masonry only, really): an SDS drill set to hammer or chisel mode with a tile-removal chisel bit. Cranked SDS-plus tile chisels (Armeg make a well-known one) cost roughly £8 to £20 at Screwfix, B&Q or online, give or take. The angled head drives the impact under the tile rather than into the wall. It is fast but aggressive, so it is a great friend on brick and a real risk on plasterboard.
- Adhesive cleanup: a wide two-handed scraper (a stripping knife with a 125mm to 150mm blade), warm water and a sponge, and optionally a wallpaper steamer.
Be realistic about the multi-tool. It is excellent for grout and small patches, but it is slow over a whole wall and it eats blades.
Safety, in plain terms
- Eyes and lungs first. Tile shards are razor-sharp and ping off at speed. Wear impact goggles and a proper dust mask or respirator. Old adhesive and grout dust can contain silica.
- Hands and ears. Gloves throughout; ear defenders if you are using an SDS.
- Contain the mess. Dust sheets down, the room sealed off where you can, and ventilation open.
- Older homes, asbestos caution. If your home pre-dates 2000, be aware that some old black bitumen-type tile adhesives, and certain old wall tiles or textured coatings, can contain asbestos. This is worth keeping in mind across Bromley’s older housing stock. If you are unsure, do not power-tool it dry; get the material checked first.
How to start: the first tile and the grout lines
Most damage happens at the start, when people try to smash straight into a flat run of tiles. Give yourself an edge to work from instead.
- Rake out the grout around the few tiles you will start on. This breaks the bond between tiles so each one comes off on its own.
- Find a loose tile. Tap across the wall with a handle. A hollow or dull rattle means a tile that has already let go. That is your easiest starting point.
- If nothing is loose, sacrifice one. Break a single tile in the centre with the bolster and hammer to create an edge, then work outward from the hole.
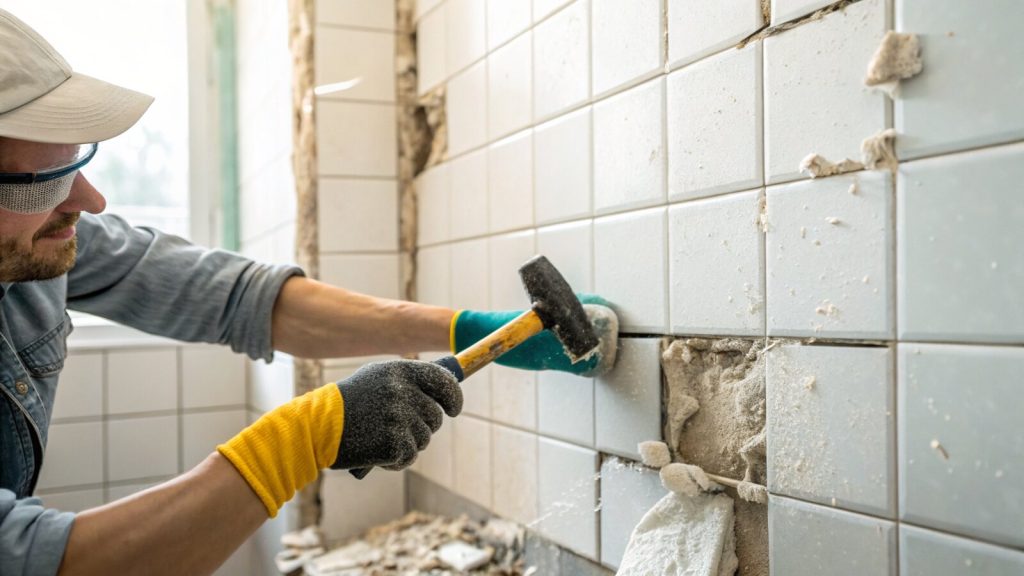
Technique that limits damage
The goal is to get the blade behind the tile and lift, not to chisel through the wall.
- Shallow angle. Slide the chisel or stripping knife into the gap behind a tile at about 30 to 45 degrees. Keep the blade as parallel to the wall as you can. The flatter the blade, the less it gouges.
- Lever, do not hack. Gentle, steady pressure pops tiles off far more cleanly than heavy blows.
- Work in rows. Move tile by tile along a row, ideally top down, so each tile gives you an edge for the next.
- Plasterboard rule. Hand tools only, and accept that you will take some surface off. Budget for a skim coat from the start.
- Masonry rule. Once you have confirmed brick or render, the SDS chisel makes short work of it and the wall can take it.
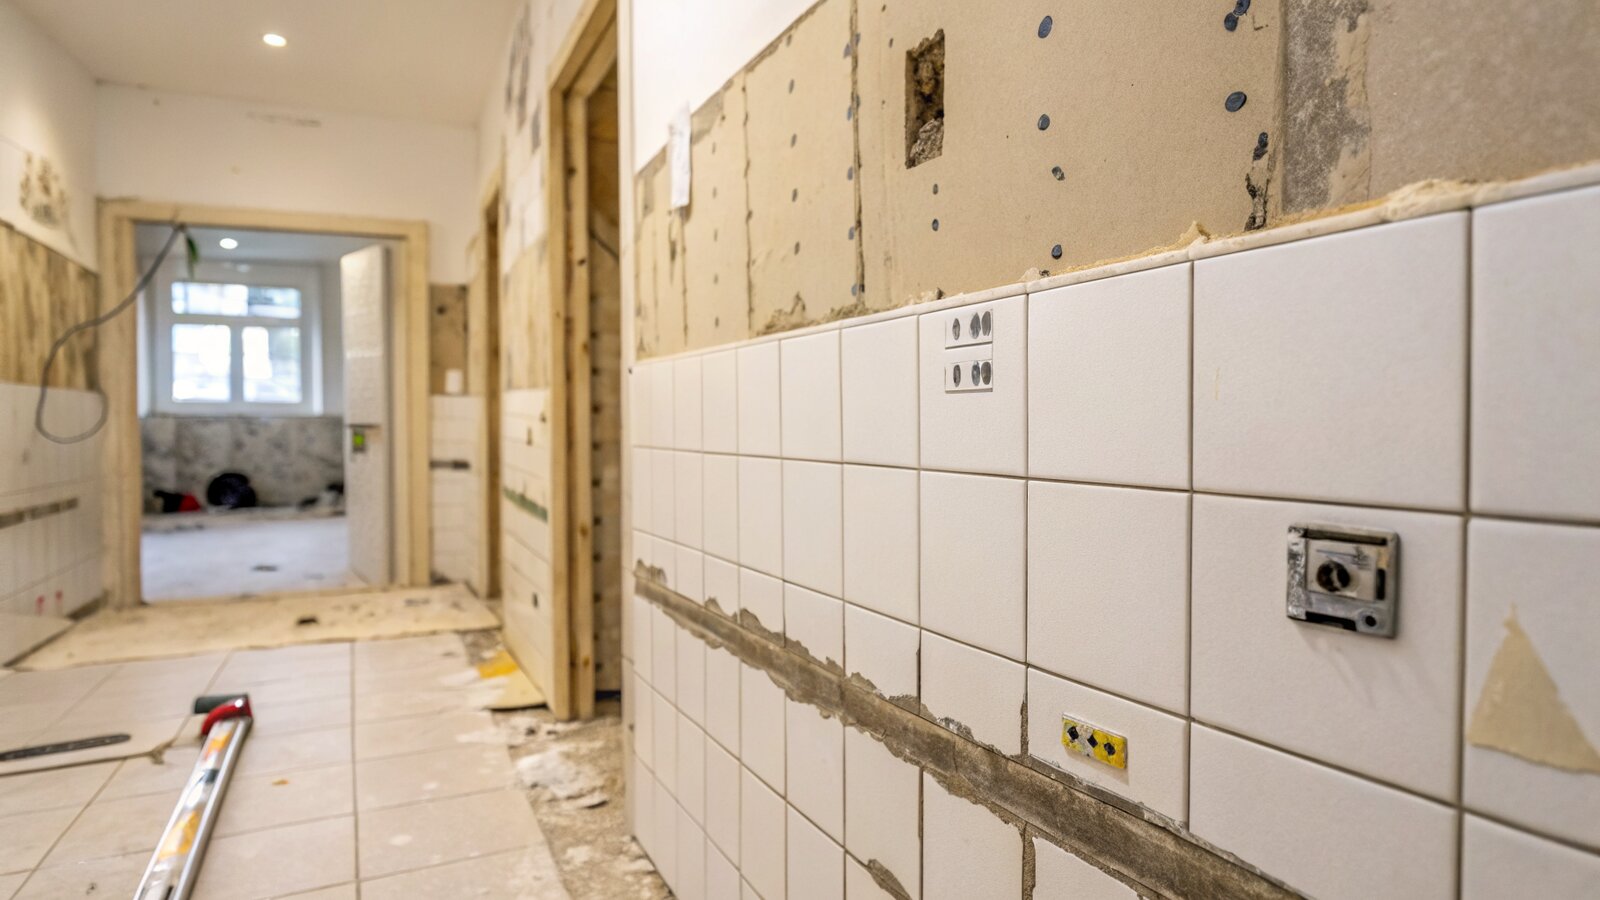
Removing the old adhesive
With the tiles down you will be left with ridges of old adhesive. How far you go depends on whether you are re-tiling or finishing the wall flat for paint.
- Soften it. Dampen the adhesive with warm water and leave it 15 to 20 minutes, then scrape with the blade held parallel to the wall.
- Steam carefully. A wallpaper steamer speeds things up, but on plasterboard do not hold it on one spot for more than around 20 seconds or you can blow the plaster.
- Be honest about cement adhesive on plasterboard. Getting every trace off without surface damage is close to impossible. The usual, sensible outcome is to scrape it flat and then re-skim.
- If you are re-tiling, you do not need a perfectly bare wall. Remaining adhesive must be firmly bonded and flat, with any loose or proud bits knocked off. Then prime with a proper tiling primer such as BAL or Mapei before re-tiling. Do not use PVA under tiles.
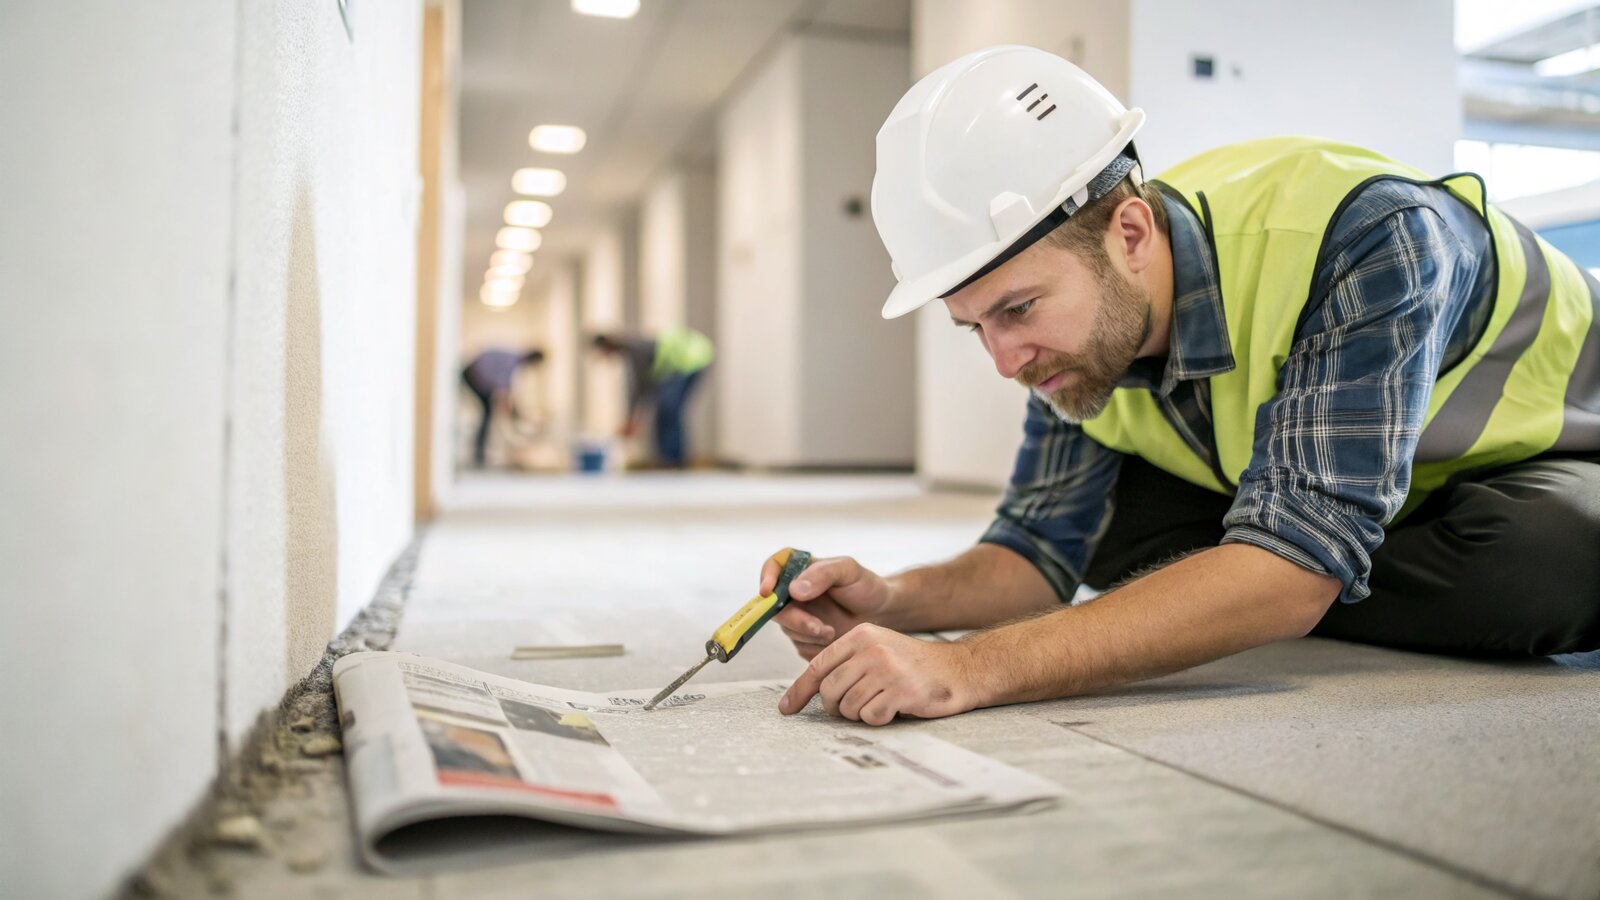
Assessing the wall afterwards: skim or replace the board?
Once the wall is bare, take a proper look before you decide your next move.
| What you see | What to do |
|---|---|
| Surface scuffed, paper face mostly intact, board solid | Re-skim. A plaster skim gives you a flat, sound surface for paint or new tiles. |
| Paper face shredded over large areas, or gypsum gouged through | Replace that section of board, then skim. |
| Board feels soft, spongy or “blown” | Replace it. Soft board will not hold new tiles. |
| Wet area: shower, bath surround, sink splashback | Strip the old board and fit a tile backer or moisture-resistant board, then re-tile. |
For wet zones, best practice is to fit a cement-based tile backer board (Hardiebacker-type) or a moisture-resistant board and seal the joints before tiling. Standard 12.5mm plasterboard runs around £12 to £15 a sheet (1200 x 2400mm); moisture-resistant and fire-rated boards cost notably more.
When to get a professional to re-prep before re-tiling
Plenty of people remove the tiles themselves and then bring in a pro for the part that decides how the new tiles look: a flat, sound, square wall. New tiles only ever look as good as the surface under them, and a bowed or patchy wall shows up in every grout line.
It is worth getting help when:
- large areas of board need replacing, or the wall is out of true;
- it is a wet area and you want the backer board and waterproofing done properly;
- you would rather not gamble the plasterboard on a power tool.
If you would rather not risk the plasterboard, a professional tiler can strip, make good and prep the wall so it is ready for new tiles. For garden walls, render or brickwork you can read more on external tiling in Bromley.
Rough costs to budget for
Treat these as approximate UK ranges for 2025 to 2026, weighted to London and the South East.
- DIY tools: bolster chisel a few pounds; SDS tile chisel bit around £8 to £20; grout rake or multi-tool blades a few pounds; wide scraper around £10 to £20.
- Plasterboard: 12.5mm sheet around £12 to £15; moisture-resistant board more.
- Re-skimming a wall: roughly £15 to £40 per square metre for a straightforward skim, rising to about £40 to £60 per square metre where heavy prep, like removing old adhesive, is needed.
- Plasterer day rate: roughly £180 to £300 a day in London and the South East.
- Professional tile removal: broadly £20 to £60 per square metre, plus disposal.
Frequently asked questions
Will I have to re-skim the wall after removing the tiles?
On plasterboard, almost always yes if you want a paint finish. The adhesive lifts the paper face in patches, so a skim coat is the normal way to get a flat, sound surface again. On solid masonry you can sometimes patch and fill instead.
Can I remove tiles from plasterboard without replacing the board?
Often yes, if you score the grout, use hand tools and work at a shallow angle. Expect to take some surface off and to re-skim. You only need to replace the board if it is gouged through, soft or blown, or in a wet area.
What is the easiest tool to get tiles off a wall?
For plasterboard, a grout saw to score the lines plus a bolster or a wide stripping knife by hand. For brick or render, an SDS drill with a tile-removal chisel bit is far quicker.
How do I remove the tile adhesive left behind?
Dampen it with warm water, leave it 15 to 20 minutes, then scrape with the blade parallel to the wall. A steamer helps, but keep it moving on plasterboard so you do not blow the plaster.
Do I need to remove all the old adhesive before re-tiling, or can I tile over it?
You can tile over residue that is firmly bonded and flat once you have knocked off any loose or proud bits and primed with a tiling primer such as BAL or Mapei. Do not tile over loose, crumbling or uneven adhesive, and do not use PVA.
How do I tell if my wall is plasterboard or brick behind the tiles?
Knock across the wall. A hollow, drum-like sound usually means plasterboard; a dull, solid thud usually means brick, block or render. This decides whether you can use power tools.
When does the plasterboard need replacing instead of repairing?
Replace it if the gypsum core is gouged through, the paper face is shredded over large areas, the board is soft or blown, or it is a wet area. In wet zones, fit a tile backer or moisture-resistant board before re-tiling.
How much does it cost to have tiles removed or the wall re-plastered?
As a rough guide, professional tile removal is around £20 to £60 per square metre plus disposal, and re-skimming is roughly £15 to £40 per square metre, more where heavy prep is needed. South East plasterer day rates sit around £180 to £300.
How long does it take to remove a wall of tiles?
By hand on plasterboard, budget on the order of 10 to 15 square metres in a day, depending on how stubborn the adhesive is. With an SDS chisel on masonry it goes considerably faster.
How do I stop the tiles cracking and flying everywhere?
Wear goggles and a dust mask, rake out the grout first so tiles release individually, and work the blade at a shallow angle so tiles lever off rather than shatter. Keep the room sheeted and ventilated.
Related guides
- How to Tile a Bathroom Wall: A UK Step-by-Step Guide
- How Much Does Tiling Cost in the UK? A Realistic Price Guide
- Porcelain vs Ceramic Tiles: Which Is Right for Your Bathroom or Kitchen?
- How to Tank and Waterproof a Wet Room Before Tiling: A Bromley Homeowner’s Guide
- Do You Need to Seal Natural Stone Tiles Before Grouting? A Tiler Explains
- How to Tile a Bathroom Floor (Including Around the Toilet)
- How to Tile a Shower: Walls, Niche and Waterproofing
- Construction Trade News: June 2026
- Bathroom Tiling Guide: How to Plan, Prep and Finish a Lasting Job
- Tile Backer Board vs Plasterboard for Bathrooms
- Best Tiles for Small Bathrooms (and How to Make a Space Look Bigger)
- Wall and Floor Tiles for a Wet Room: What Actually Works
- Tiling vs Wall Panels for a Bathroom: Which Is Better?
- Do You Tile the Floor or Walls First in a Bathroom?
- Tiling and Bathroom Trade News: Mid-June 2026
- Kitchen Tiling: Splashbacks, Walls and Floors Explained
- How to Tile a Kitchen Splashback: Step-by-Step Bromley Guide
- How to Tile Around Kitchen Sockets, Switches and Worktops
- Kitchen Splashback Tile Ideas: 12 Looks That Work
- Tiling and Bathroom Trade News: Late June 2026
- How to Lay Metro Tiles in a Herringbone Pattern
- Tiled vs Glass Splashback (and Acrylic): Which Is Best?
- How High Should a Kitchen Splashback Be Tiled? UK Heights Guide
- Tiling and Bathroom Trade News: Early July 2026
- Types of Tiles: The Complete UK Buyer’s Guide
- Porcelain vs Natural Stone Tiles: Which Should You Choose?
- Natural Stone Tiles Explained: Marble, Travertine, Slate and Limestone
- Tiling and Bathroom Trade News: Mid-July 2026
- Mosaic Tiles: Where to Use Them and How They’re Fixed
- Tile Slip Ratings Explained: R Ratings and PTV for UK Floors