


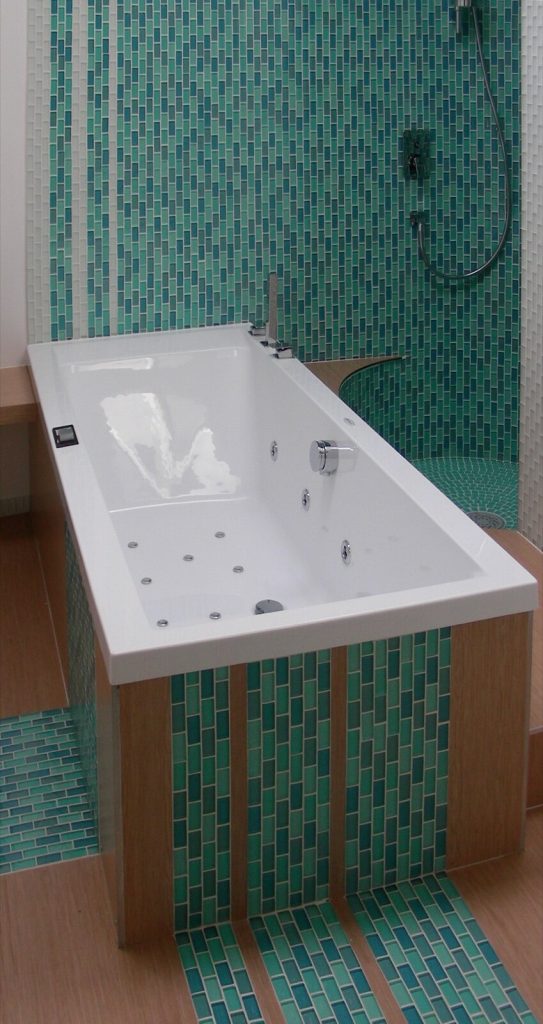
Learning how to tile is one of the most satisfying jobs a confident DIYer can take on, and it is well within reach if you slow down at the planning stage. Most first-timers rush straight to spreading adhesive, then wonder why the joints wander and the corners end up with thin, ugly slivers. This beginner’s guide walks through the whole process in the order a professional works: gathering the right kit, preparing the surface, setting out, fixing, cutting, and finally grouting. It applies to ceramic and porcelain wall and floor tiles in a normal UK home, and it flags the points where calling a tiler is the smarter move.
The tools and materials you need
Good results start with the right kit, and none of it is exotic. For a straightforward wall or floor you want:
- A notched trowel in the correct size for your tiles (more on notch size below).
- Tile spacers, or a tile levelling system for larger formats.
- A manual tile cutter for straight cuts, plus tile nippers and a diamond hole saw for pipes and sockets.
- A rubber grout float, grout sponge, bucket and a mixing paddle on a drill.
- A spirit level, tape measure, chalk line and a pencil.
- Tile adhesive and grout suited to the job, and silicone for internal corners and where tiles meet baths or worktops.
Buy roughly ten per cent more tiles than the area needs to cover cuts, breakages and future repairs, and keep a few spares once the job is done.
Preparing the surface
Tiles are only as sound as what sits behind them. The background must be flat, dry, clean and firm. Fresh plaster needs to dry fully and be sealed with a coat of diluted primer before tiling. In showers and wet rooms, plasterboard should be replaced with a tile backer board and the area tanked with a waterproofing kit before a single tile goes up. Floors need to be solid and free of movement: chipboard and floorboards usually want overboarding or a decoupling mat so the tiles do not crack as the sub-floor flexes. Skipping preparation is the single most common reason tiling fails, so it is worth the extra day.
Setting out: the step beginners skip
Setting out means planning where every tile lands before you fix anything. Find the centre of the wall or floor, then dry-lay a row of tiles with spacers to see where the cuts fall. Adjust your starting line so you avoid thin slivers at the edges and keep full tiles in the most visible spots. On a wall, fix a level timber batten to support the first full row and work up from it, tiling the cut bottom row last. On a floor, work from the centre outwards towards the door so you are never standing on fresh adhesive. Ten minutes with a pencil here saves hours of regret later.
How to apply tile adhesive
Mix cement-based adhesive to a firm, smooth paste and only spread as much as you can tile before it skins over, usually about one square metre at a time. Hold the notched trowel at around 45 degrees and comb the adhesive into even ridges. Notch size matters: small wall tiles suit a 6mm to 8mm notch, standard floor tiles a 10mm to 12mm notch, and large format tiles a bigger notch still. British Standard BS 5385, the code of practice for wall and floor tiling, calls for solid bedding on larger tiles, and a good check is to lift a tile after fixing and look for at least 80 per cent adhesive contact on the back. If the coverage is patchy, back-butter each tile as well, which is essential on floors and in wet areas. Press each tile home with a slight twist and use spacers to keep the joints even.
Cutting tiles
Straight cuts are easiest on a manual score-and-snap cutter: mark the line, score once in a single firm pass, then snap. For L-shaped cuts around a window reveal, score the face and nibble the waste away with tile nippers. Holes for pipes and taps are drilled with a diamond hole saw run slowly with water to keep the bit cool. Porcelain is harder and more brittle than ceramic, so it benefits from an electric wet saw for clean, chip-free edges. Always wear eye protection and cut tiles face up on a manual cutter.
Grouting and finishing
Leave the adhesive to set, normally 24 hours, before you grout. Mix grout to a smooth, lump-free paste and work it firmly into the joints with a rubber float held diagonally across the tiles, filling every line. Wipe the excess off with a damp, well-wrung sponge, rinsing often, and stop before you drag grout back out of the joints. Once it hazes over, polish the tiles with a dry cloth. Leave grout out of internal corners and any junction with a bath, shower tray or worktop, and run a neat bead of silicone there instead, because a rigid grout line in those spots will crack as the building moves. Natural stone tiles should be sealed before and after grouting to stop them staining.
Wall tiles versus floor tiles: what changes
The principles are the same, but floors are less forgiving. They carry weight and take impact, so they need a flexible, often rapid-setting adhesive, solid bedding with no voids, and usually a levelling system to stop lippage between tiles. Wall tiling can use a ready-mixed adhesive for small ceramic tiles in dry rooms, but anything in a shower, on a floor, over underfloor heating or on a timber background needs a cement-based flexible adhesive. If your floor is uneven, out of level or laid over underfloor heating, that is a sensible point to bring in a professional rather than learn on the job.
Frequently asked questions
Is tiling hard for a complete beginner?
A small, flat wall such as a kitchen splashback is a realistic first project. Large floors, showers, wet rooms and anything needing waterproofing are much harder and are where most beginners come unstuck, so build up to them.
Do you tile the floor or the walls first?
In a bathroom most tilers tile the walls first, starting a row up from a supported batten, then tile the floor and finally the cut bottom row of wall tiles. This keeps the wall tiles off the wet floor screed and hides the floor edge.
How long should adhesive dry before grouting?
Standard cement-based adhesive needs about 24 hours before grouting, though rapid-set adhesives can be ready in a few hours. Always follow the bag, as drying times vary with temperature and how thick the bed is.
What size notched trowel should I use?
As a guide, use a 6mm to 8mm notch for small wall tiles, 10mm to 12mm for standard floor tiles and a larger notch for big-format tiles. The aim is full adhesive coverage on the back of the tile with no hollow spots.
Can I tile over existing tiles?
Sometimes, if the old tiles are firmly stuck, flat and cleaned back, and you use the right primer and a flexible adhesive. If any tiles are loose, drummy or damp behind, strip back to a sound background instead.
Tiling rewards patience and preparation far more than speed. Take your time setting out, get the background right and the rest follows. For jobs beyond a simple splashback, or if you would rather have it done properly first time, our team at Bromley Tilers covers wall and floor tiling across Bromley and South East London. You can read the recognised code of practice behind good tiling from The Tile Association and British Standard BS 5385.
Related guides
- How to Tile a Bathroom Wall: A UK Step-by-Step Guide
- How Much Does Tiling Cost in the UK? A Realistic Price Guide
- How to Remove Old Wall Tiles Without Damaging the Wall
- Porcelain vs Ceramic Tiles: Which Is Right for Your Bathroom or Kitchen?
- How to Tank and Waterproof a Wet Room Before Tiling: A Bromley Homeowner’s Guide
- Do You Need to Seal Natural Stone Tiles Before Grouting? A Tiler Explains
- How to Tile a Bathroom Floor (Including Around the Toilet)
- How to Tile a Shower: Walls, Niche and Waterproofing
- Bathroom Tiling Guide: How to Plan, Prep and Finish a Lasting Job
- Tile Backer Board vs Plasterboard for Bathrooms
- Best Tiles for Small Bathrooms (and How to Make a Space Look Bigger)
- Wall and Floor Tiles for a Wet Room: What Actually Works
- Tiling vs Wall Panels for a Bathroom: Which Is Better?
- Do You Tile the Floor or Walls First in a Bathroom?
- Kitchen Tiling: Splashbacks, Walls and Floors Explained
- How to Tile a Kitchen Splashback: Step-by-Step Bromley Guide
- How to Tile Around Kitchen Sockets, Switches and Worktops
- Kitchen Splashback Tile Ideas: 12 Looks That Work
- How to Lay Metro Tiles in a Herringbone Pattern
- Tiled vs Glass Splashback (and Acrylic): Which Is Best?
- How High Should a Kitchen Splashback Be Tiled? UK Heights Guide
- Types of Tiles: The Complete UK Buyer’s Guide
- Porcelain vs Natural Stone Tiles: Which Should You Choose?
- Natural Stone Tiles Explained: Marble, Travertine, Slate and Limestone
- Mosaic Tiles: Where to Use Them and How They’re Fixed
- Tile Slip Ratings Explained: R Ratings and PTV for UK Floors
- Matt vs Gloss Tiles: Which Finish Is Right for Your Room?
- Cost to Tile a Bathroom in the UK: 2026 Price Breakdown
- Polystyrene Ceiling Tiles: Are They Any Good?
- Cost to Tile a Kitchen in 2026: Floor and Splashback Prices
- Tiling Cost Per Square Metre 2026: Labour and All-In Prices
- Tiler Day Rate UK: What Tilers Charge Per Day in 2026
- Cost to Regrout a Bathroom in 2026: UK Prices Explained
- Floor Tile Prices UK 2026: What You Will Pay Per Square Metre
- Is It Cheaper to Tile or Use Wall Panels? A UK Cost Comparison
- How to Cut Tiles: Manual Cutter, Wet Saw and Nippers
- How to Cut Holes in Tiles for Pipes and Taps
- How to Grout Tiles (and Get Clean, Even Lines)
- Cork Flooring: Pros, Cons and Where It Works in UK Homes
- How to Mix and Apply Tile Adhesive Correctly
- How to Set Out Tiles for a Perfect Layout
- How to Seal Grout and Tiles in a Bathroom (UK Guide)
- Can You Tile Over Tiles? When It Works and When It Doesn’t
- Tiling Tools List: What You Need for a Professional Finish
- How Much Tile Adhesive Do I Need? Coverage Per Square Metre
- Tile Problems: 9 Common Faults and How to Fix Each
- How to Fix Loose Tiles Without Removing Them
- Cracked Grout Repair: Why It Happens and How to Fix It
- How to Replace a Broken Tile Without Redoing the Wall
- Water Leaking Through Shower Tiles: 6 Causes and Fixes
- Remove Mouldy Silicone Sealant: A 24-Hour Reseal Job
- How to Clean Grout: What Works, and What Etches Stone
- Why Are My Floor Tiles Lifting? The 40m² Bay Rule
- How to Lay Porcelain Paving: 1:80 Fall, 150mm Below DPC
- Tile Patterns: Why Big Tiles Need a One-Third Offset
- Grout Colour Ideas: How to Get the Shade You Chose
- Can You Paint Tiles? Yes on Walls, No in the Shower
- Decoupling Membrane for Tiles: When You Actually Need One
- Can You Tile Over a Wooden Floor? What Changed in 2024
- Tiling Cost 2026: £25 to £95 per m² Labour, UK Rates
- Tile Ideas: 7 Looks and the One Rule Each Needs
- Metro Tiles: Sizes, Bevels and the 1/3 Offset Rule
- Tile Feature Wall: The Weight Limit That Decides Yours
- Tiling Over Underfloor Heating: 14 Days Before Heat On
- How to Tile a Hallway Floor: Set Out From the Door
- Wood Effect Tiles and Marble Effect: 5 Specs to Check
- Tile Levelling Systems: The 3mm Rule That Decides It
- Floor Levelling Compound: How Deep and How Long to Dry
- How to Find a Good Tiler: 9 Checks Before You Book
- Tiling Quote: The 10 Lines a Proper One Must Show
- Tile Trim: Sizes, Profiles and the One-Size-Up Rule
- Tile Spacers: 2mm or 3mm, and When to Pull Them Out
- Tiling the Fireplace: 125mm Hearths, Adhesive and Tiles
- Porcelain vs Stone Paving: Grip, Sealing and Upkeep
- Tiling a Large Floor: Movement Joints Every 10 Metres
- DIY Tiling vs Professional: 6 Jobs to Never Do Yourself
- Terracotta Tiles: Seal Before Grouting, Wait 7 Days
- Tile Drill Bits: Which Bit Won’t Crack Porcelain
- Tiling Corners With Trim: Which Profile, and When to Mitre
- Travertine Tiles: Filled or Unfilled, and How to Seal Them
- Slate Tiles: Calibrated or Riven, and How to Lay Them
- Zellige Tiles: Order 15% Extra and Fix Them Edge to Edge
- Terrazzo Tiles: Real 20mm vs Porcelain, Seal Before Grouting
- Split Face Tiles: Will Your Wall Take 27kg per m²?
- Tile Sealer: Which Tiles Need It and Which Type to Buy
- How to Remove Grout Haze: Which Cleaner for Which Grout
- Efflorescence on Tiles: Why It Comes Back and How to Stop It
- Tile Primer: Which Surfaces Need It and How Much to Dilute
- Epoxy Grout: Where It’s Worth It and How to Apply It
- How to Tile Stairs: Keep Every Riser the Same Height
- Shower Niche: Sizes, Height and Which Wall Can Take One
- How Many Tiles Do I Need? Add 10% to 20% by Layout
- How to Tile a Window Sill: Sill Last, Silicone at the Frame
- How to Tile Around a Toilet: Lift the Pan or Cut Round It