


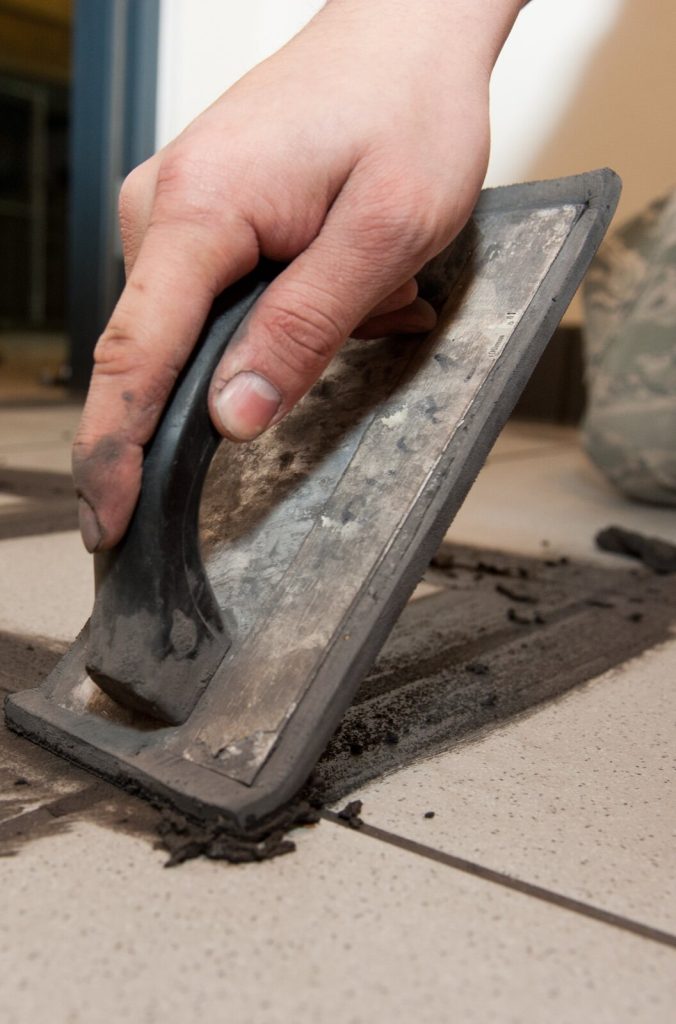
Epoxy grout is a two-part resin grout that sets by chemical reaction rather than by drying out, so it does not soak up water, does not stain the way cement grout does, and never needs sealing. It is also harder to apply, sets on a clock, and punishes mistakes. This page explains where epoxy grout earns its extra cost and effort, where ordinary cement grout is the better choice, and how to apply it without leaving a resin film on your tiles that will not come off.
The numbers below come from the published data for two epoxy grouts sold to UK tilers, Mapei Kerapoxy CQ and UltraTile ProGrout Epoxy. Other brands differ, so always read the data sheet for the one you buy.
What epoxy grout actually is
Tile grouts sold in the UK are classified under the European standard EN 13888. It splits them into two families:
- CG, cementitious grout. This is the powder you mix with water. CG1 is a normal grout and CG2 an improved one; extra letters add properties, so W means reduced water absorption and A means high abrasion resistance. A bag marked CG2WA is a good cement grout.
- RG, reaction resin grout. This is epoxy. It comes as a resin and a separate hardener, and once the two are mixed a chemical reaction starts that you cannot pause.
Because a cement grout is porous, it takes in water, soap, cooking oil and dirt, which is why white grout in a shower turns grey and why most cement grouts benefit from a sealer. Epoxy has no open pores to fill. Mapei describes Kerapoxy CQ as resistant to aggressive chemicals and mould, and UltraTile sells ProGrout Epoxy as waterproof and stain resistant.
Where epoxy grout is worth it
Epoxy costs considerably more than cement grout per kilo and takes longer to lay, so it pays back only where cement grout would fail or need constant upkeep. These are the jobs where we would use it:
Shower floors and wet rooms
A level-access shower floor sits in water every day. Cement grout in that spot is the first thing to discolour, and once it starts to crumble water gets behind the tiles. Epoxy does not absorb water, so the joints stay the colour you chose. It does not replace tanking: the waterproofing still has to go on the board or screed underneath before any tiles are fixed.
Kitchen splashbacks and floors
Behind a hob, grout soaks up fat spray and turns yellow. On a kitchen floor, dropped wine, tomato sauce and coffee mark cement grout for good. Both manufacturers name kitchens as a target use for exactly this reason.
Light grout on busy floors
If you want white or pale grey joints on a hallway or kitchen floor, epoxy is the way to keep them that colour. With cement grout, pale joints on a walked-on floor are a cleaning job for life.
Pools, hot tubs and commercial kitchens
These are the jobs epoxy was made for. Mapei says basins and swimming pools grouted with Kerapoxy CQ can be filled 10 days after grouting.
Where cement grout is the better choice
Epoxy is not an upgrade for every job, and there are places where we would actively steer away from it:
- Porous or textured tile faces. Unglazed natural stone, rough-finish porcelain and some handmade tiles can hold a thin film of resin in their surface. UltraTile’s own instructions say to check cleanability first, because porous or highly micro-porous surfaces may make cleaning difficult, and to test on a spare tile or a hidden area.
- Floors that are not fully dry. Epoxy and porcelain together form a surface that lets no moisture out. UltraTile warns that rising moisture can build vapour pressure and loosen tiles, and says to wait 7 to 14 days on mortar beds, depending on screed thickness and conditions. A new screed needs far longer than that before it is tiled at all.
- Walls in a bedroom, living room or dry hallway. Nothing there stains grout, so you pay for a benefit you will never see.
- Joints wider than the product allows. ProGrout Epoxy is for 2mm to 12mm joints; Kerapoxy CQ for joints of at least 1mm. Outside those limits, pick a grout made for the width.
Epoxy grout vs cement grout at a glance
- Working time: epoxy gives 30 to 40 minutes (ProGrout Epoxy) or about 45 minutes (Kerapoxy CQ) once mixed, and less on a warm day. With cement grout you can mix a small batch whenever you need it; with epoxy, a mixed kit has to be used before it sets.
- Light foot traffic: about 24 hours for both epoxies above. Fast-setting cement grouts can be walked on far sooner: Ardex FL quotes 90 minutes at 20°C.
- Full use: Kerapoxy CQ is ready for use after 4 days and can take chemical attack after 10. ProGrout Epoxy reaches hard set after 3 days.
- Sealing: cement grout usually benefits from it; epoxy does not need it.
- Repairs: cement grout can be raked out with a hand tool; set epoxy usually needs a powered tool and patience.
- Colour: both come in a good spread of colours. Kerapoxy CQ is sold in 17.
How to apply epoxy grout
The process looks like cement grouting, but the timing is everything. Read the data sheet for your product and follow its mixing ratio and temperatures; the steps below are the method that works for most of them.
1. Prepare the joints
Let the tile adhesive cure for the time its own data sheet gives. Rake out any adhesive in the joints, even if it has hardened, and vacuum the dust out. UltraTile asks for joints of even depth across the whole area, because thin spots are where chemical resistance fails. The tile surface must be dry and clean, and the room within the product’s temperature range: 5°C to 30°C for ProGrout Epoxy.
2. Mix the whole kit, or weigh it
The resin and hardener are packed in the right ratio. If you mix only part of a kit by eye, you risk grout that stays soft or turns brittle. Either mix a whole unit or split it accurately by weight on scales. Mix slowly with a paddle on a low-speed drill until the colour is even all the way through, scraping the sides of the tub.
3. Work in small areas
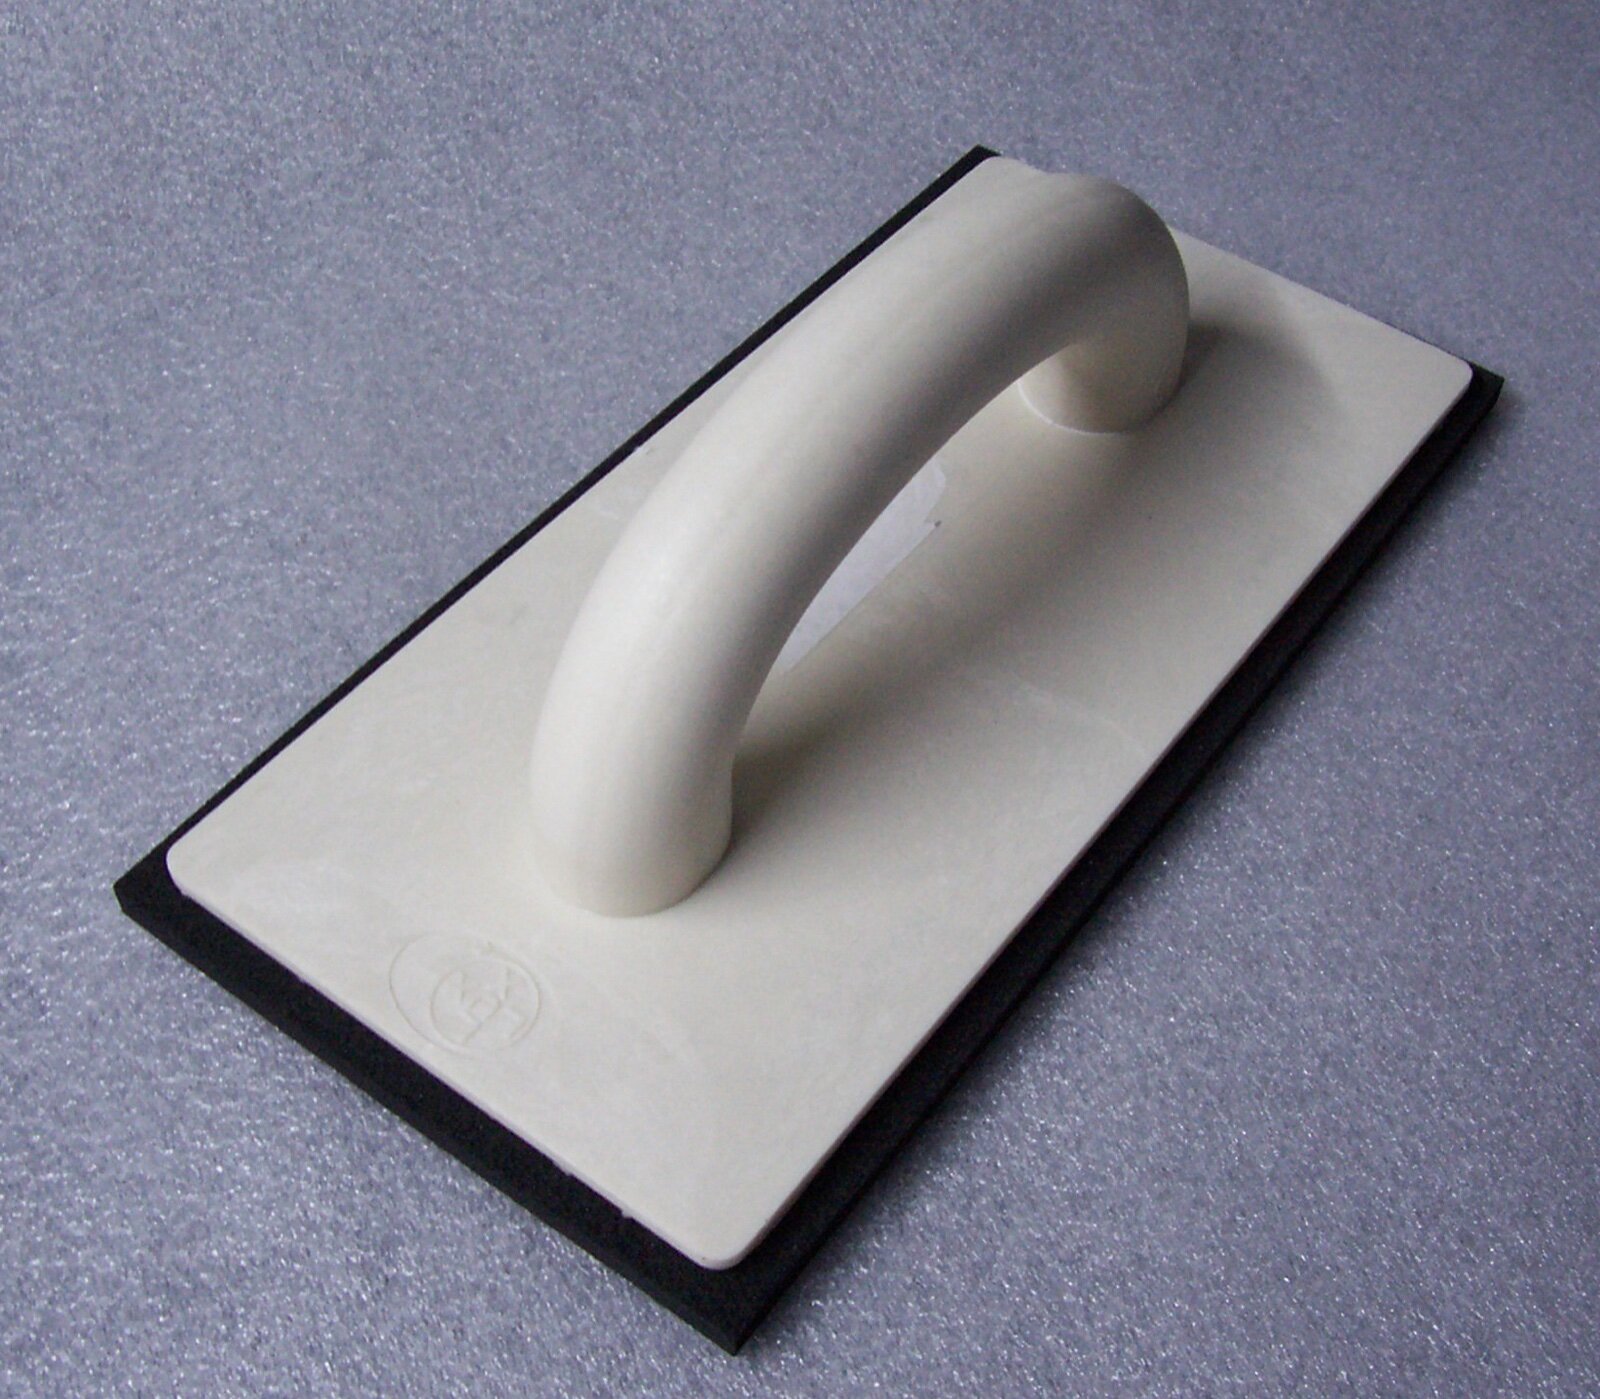
Spread the grout with a hard rubber epoxy float, pressing it diagonally across the joints so they fill fully. Mapei specifies a rubber trowel and a cellulose sponge for Kerapoxy CQ. Do about a square metre, then clean that square before moving on. Leaving a whole wall to clean at the end is how resin film gets left behind.
4. Clean off while the grout is still soft
Hold the float edge-on and scrape off as much excess as you can. Then go over the area with clean water and a scouring pad or sponge to loosen the residue, and wipe it away with a well-wrung sponge. Change the water often: dirty water simply spreads a thinner layer of resin across the tile. Finish with a final light wipe, working diagonally so you do not drag grout out of the joints.
5. Leave it alone
Keep people off the floor for the 24 hours both products quote for light foot traffic, and do not use the shower or fill a bath against fresh grout until the product says it is fully cured. Cold rooms slow the cure; in winter, give it longer.
Fixing epoxy residue and haze
If you see a sticky sheen or a dull film on the tiles the next day, cleaning was too slow or the water too dirty. Ordinary grout haze remover made for cement grout will not touch set epoxy. Use a remover made for resin, such as UltraTile ProClean Epoxy Resin-Off, and test it on a hidden tile first. For cement grout haze, our page on how to remove grout haze covers which cleaner suits which grout.
Prevention is far easier than removal. On a first epoxy job, grout a small, out-of-sight area first to learn how fast the product stiffens in your room.
Corners, edges and movement joints
Epoxy is hard and rigid. It still does not belong in internal corners, where a wall meets a floor, around a bath or shower tray, or in movement joints across large floors. Those joints move, and any rigid grout will crack there. Fill them with a flexible sanitary silicone instead, after the grout has cured.
Can you put epoxy grout over old grout?
Not as a thin skim. Epoxy needs depth and an even joint to bond and to resist water. To switch a tired shower from cement grout to epoxy, rake out the old grout to a consistent depth, vacuum the joints, let everything dry fully and then grout as above. If the old grout is only cracked in a few places, our guide to cracked grout repair may be the cheaper fix.
For the full cement grouting method, see how to grout tiles, and for help choosing a shade, choosing a grout colour. For full technical data, read the UltraTile ProGrout Epoxy product page. If you would rather a tiler handled an epoxy job in Bromley or south east London, Bromley Tilers can quote for it.
Frequently asked questions
Is epoxy grout worth it?
Yes in showers, wet rooms, kitchens, pale-grouted floors and pools, where cement grout stains or breaks down. In dry rooms there is little to gain, and cement grout is cheaper and much easier to lay.
Does epoxy grout need sealing?
No. It is non-porous once cured, so there is nothing for a sealer to fill. Cement grout is the type that usually benefits from a sealer.
How long does epoxy grout take to dry?
It cures rather than dries. Both Kerapoxy CQ and ProGrout Epoxy take light foot traffic after about 24 hours. ProGrout Epoxy reaches hard set in 3 days, and Kerapoxy CQ is ready for use after 4 days and resists chemicals after 10. Cold rooms take longer.
Can a beginner use epoxy grout?
Yes, on a small area, if you mix the full kit, work a square metre at a time and clean as you go. The usual beginner mistake is grouting a whole wall before cleaning, which leaves a resin film that is very hard to remove.
Can you use epoxy grout on natural stone?
Sometimes. Polished, dense stone can take it, but porous or textured stone can trap resin in the surface. Test the grout and your cleaning method on a spare tile before you start.
What is the difference between CG2 and RG grout?
Both are EN 13888 classes. CG2 is an improved cementitious grout mixed with water. RG is a reaction resin grout, which in practice means epoxy.
Related guides
- How to Tile a Bathroom Wall: A UK Step-by-Step Guide
- How Much Does Tiling Cost in the UK? A Realistic Price Guide
- How to Remove Old Wall Tiles Without Damaging the Wall
- Porcelain vs Ceramic Tiles: Which Is Right for Your Bathroom or Kitchen?
- How to Tank and Waterproof a Wet Room Before Tiling: A Bromley Homeowner’s Guide
- Do You Need to Seal Natural Stone Tiles Before Grouting? A Tiler Explains
- How to Tile a Bathroom Floor (Including Around the Toilet)
- How to Tile a Shower: Walls, Niche and Waterproofing
- Bathroom Tiling Guide: How to Plan, Prep and Finish a Lasting Job
- Tile Backer Board vs Plasterboard for Bathrooms
- Best Tiles for Small Bathrooms (and How to Make a Space Look Bigger)
- Wall and Floor Tiles for a Wet Room: What Actually Works
- Tiling vs Wall Panels for a Bathroom: Which Is Better?
- Do You Tile the Floor or Walls First in a Bathroom?
- Kitchen Tiling: Splashbacks, Walls and Floors Explained
- How to Tile a Kitchen Splashback: Step-by-Step Bromley Guide
- How to Tile Around Kitchen Sockets, Switches and Worktops
- Kitchen Splashback Tile Ideas: 12 Looks That Work
- How to Lay Metro Tiles in a Herringbone Pattern
- Tiled vs Glass Splashback (and Acrylic): Which Is Best?
- How High Should a Kitchen Splashback Be Tiled? UK Heights Guide
- Types of Tiles: The Complete UK Buyer’s Guide
- Porcelain vs Natural Stone Tiles: Which Should You Choose?
- Natural Stone Tiles Explained: Marble, Travertine, Slate and Limestone
- Mosaic Tiles: Where to Use Them and How They’re Fixed
- Tile Slip Ratings Explained: R Ratings and PTV for UK Floors
- Matt vs Gloss Tiles: Which Finish Is Right for Your Room?
- Cost to Tile a Bathroom in the UK: 2026 Price Breakdown
- Polystyrene Ceiling Tiles: Are They Any Good?
- Cost to Tile a Kitchen in 2026: Floor and Splashback Prices
- Tiling Cost Per Square Metre 2026: Labour and All-In Prices
- Tiler Day Rate UK: What Tilers Charge Per Day in 2026
- Cost to Regrout a Bathroom in 2026: UK Prices Explained
- Floor Tile Prices UK 2026: What You Will Pay Per Square Metre
- Is It Cheaper to Tile or Use Wall Panels? A UK Cost Comparison
- How to Tile: A Complete Beginner’s Guide (UK)
- How to Cut Tiles: Manual Cutter, Wet Saw and Nippers
- How to Cut Holes in Tiles for Pipes and Taps
- How to Grout Tiles (and Get Clean, Even Lines)
- Cork Flooring: Pros, Cons and Where It Works in UK Homes
- How to Mix and Apply Tile Adhesive Correctly
- How to Set Out Tiles for a Perfect Layout
- How to Seal Grout and Tiles in a Bathroom (UK Guide)
- Can You Tile Over Tiles? When It Works and When It Doesn’t
- Tiling Tools List: What You Need for a Professional Finish
- How Much Tile Adhesive Do I Need? Coverage Per Square Metre
- Tile Problems: 9 Common Faults and How to Fix Each
- How to Fix Loose Tiles Without Removing Them
- Cracked Grout Repair: Why It Happens and How to Fix It
- How to Replace a Broken Tile Without Redoing the Wall
- Water Leaking Through Shower Tiles: 6 Causes and Fixes
- Remove Mouldy Silicone Sealant: A 24-Hour Reseal Job
- How to Clean Grout: What Works, and What Etches Stone
- Why Are My Floor Tiles Lifting? The 40m² Bay Rule
- How to Lay Porcelain Paving: 1:80 Fall, 150mm Below DPC
- Tile Patterns: Why Big Tiles Need a One-Third Offset
- Grout Colour Ideas: How to Get the Shade You Chose
- Can You Paint Tiles? Yes on Walls, No in the Shower
- Decoupling Membrane for Tiles: When You Actually Need One
- Can You Tile Over a Wooden Floor? What Changed in 2024
- Tiling Cost 2026: £25 to £95 per m² Labour, UK Rates
- Tile Ideas: 7 Looks and the One Rule Each Needs
- Metro Tiles: Sizes, Bevels and the 1/3 Offset Rule
- Tile Feature Wall: The Weight Limit That Decides Yours
- Tiling Over Underfloor Heating: 14 Days Before Heat On
- How to Tile a Hallway Floor: Set Out From the Door
- Wood Effect Tiles and Marble Effect: 5 Specs to Check
- Tile Levelling Systems: The 3mm Rule That Decides It
- Floor Levelling Compound: How Deep and How Long to Dry
- How to Find a Good Tiler: 9 Checks Before You Book
- Tiling Quote: The 10 Lines a Proper One Must Show
- Tile Trim: Sizes, Profiles and the One-Size-Up Rule
- Tile Spacers: 2mm or 3mm, and When to Pull Them Out
- Tiling the Fireplace: 125mm Hearths, Adhesive and Tiles
- Porcelain vs Stone Paving: Grip, Sealing and Upkeep
- Tiling a Large Floor: Movement Joints Every 10 Metres
- DIY Tiling vs Professional: 6 Jobs to Never Do Yourself
- Terracotta Tiles: Seal Before Grouting, Wait 7 Days
- Tile Drill Bits: Which Bit Won’t Crack Porcelain
- Tiling Corners With Trim: Which Profile, and When to Mitre
- Travertine Tiles: Filled or Unfilled, and How to Seal Them
- Slate Tiles: Calibrated or Riven, and How to Lay Them
- Zellige Tiles: Order 15% Extra and Fix Them Edge to Edge
- Terrazzo Tiles: Real 20mm vs Porcelain, Seal Before Grouting
- Split Face Tiles: Will Your Wall Take 27kg per m²?
- Tile Sealer: Which Tiles Need It and Which Type to Buy
- How to Remove Grout Haze: Which Cleaner for Which Grout
- Efflorescence on Tiles: Why It Comes Back and How to Stop It
- Tile Primer: Which Surfaces Need It and How Much to Dilute
- How to Tile Stairs: Keep Every Riser the Same Height
- Shower Niche: Sizes, Height and Which Wall Can Take One
- How Many Tiles Do I Need? Add 10% to 20% by Layout
- How to Tile a Window Sill: Sill Last, Silicone at the Frame