


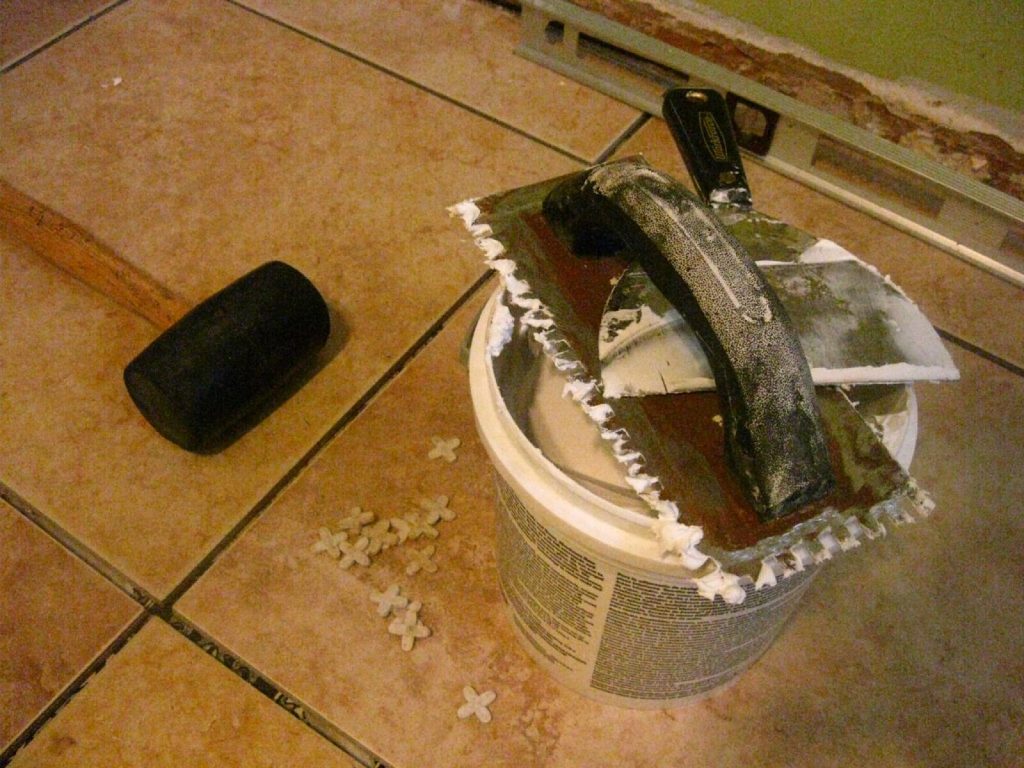
Knowing how to set out tiles before you spread a scrap of adhesive is the single biggest thing that separates a tidy, professional finish from a job that nags at you every time you walk into the room. Setting out simply means planning where each tile will sit, so that full tiles land where the eye falls, cuts are pushed to the least visible edges, and you never end up with a sliver of tile thinner than your finger against a doorway or a bath. This guide covers how to set out tiles on both floors and walls, the tools that make it quick, and the mistakes that catch most first-time tilers out.
Why setting out matters more than laying
Anyone can butter a tile and stick it on. The skill is in the planning. A room that has been set out well looks balanced: equal cuts on opposite walls, full tiles across the most important sightline, and grout joints that run dead straight. A room that has been rushed shows it instantly, usually as a thin tapering cut running down one side or a wonky joint that drifts as it crosses the floor. Once the adhesive has grabbed, there is no polite way to fix it, so the twenty minutes you spend setting out is the cheapest quality you will ever buy.
What you need before you start
- A tape measure and a pencil or chinagraph
- A long spirit level, ideally 1.2m or longer, and a smaller boat level
- A chalk line for floors
- A set square or a large builder’s square for checking right angles
- Tile spacers in the size you plan to grout at
- Enough loose tiles to dry-lay a full row in each direction
- A batten or straight length of timber for walls, plus a laser level if you have one
It also helps to look at the room honestly first. Older homes rarely have square corners or level floors, so treat your walls as a rough guide and trust your own set-out lines instead.
How to set out tiles on a floor
Floors are almost always set out from the centre of the room rather than a wall, because walls are seldom straight and a centred layout keeps the cuts balanced on both sides.
1. Find the centre of the room
Measure the midpoint of two opposite walls and snap a chalk line between them. Do the same for the other pair of walls. Where the two lines cross is your centre. Check the lines meet at a true right angle with a builder’s square, and adjust if the room has thrown them out.
2. Dry-lay a row in both directions
Lay loose tiles with spacers along both chalk lines, running out towards the walls. This shows you exactly what size the perimeter cuts will be before anything is fixed.
3. Shift the layout to kill thin cuts
If a dry run leaves a cut thinner than about half a tile against a wall, slide the whole grid by half a tile so the offcuts grow to a sensible size on both sides. The aim is no cut narrower than roughly a third of a tile, and cuts that match on facing walls.
4. Mark your working lines
Once you are happy, re-snap your final lines and start laying from the centre outward, working in quarters. Leaving the perimeter cuts until last means you can measure and cut each one to fit the wall as it actually is.
How to set out tiles on a wall
Walls are set out around a level horizontal line and a considered vertical, never off the floor or the ceiling, both of which will be out of true.
Set a level horizontal datum
Find the lowest point of the floor or the top of the bath, then measure up one full tile plus a joint and mark a dead-level line right around the room with a spirit level or laser. Fix a straight batten to the wall along this line to carry the first full row. Everything builds up from the batten, and the cut tiles at the very bottom go in last once the batten comes off.
Centre the verticals
Find the horizontal centre of the main wall and decide whether a tile joint or the middle of a tile should sit on it. Dry-lay or use a gauge rod to check the cuts at each end, then shift so they match. On a wall with a window or a feature, centre the tiling on that instead so it looks deliberate.
Use a gauge rod
A gauge rod is just a straight batten marked off in tile-plus-joint increments. Held against the wall it tells you instantly where every joint will fall and how big the end cuts will be, without laying a single tile. It is the fastest way to set out a wall and the trick most professionals rely on.
Setting out around baths, windows and hearths
Focal points win over maths. If the eye is drawn to a window, a shower niche or a fireplace, centre the layout on that feature even if it makes the cuts in a hidden corner slightly uneven. A bath should get a full tile at its visible top edge wherever possible, and window reveals look best with the cut hidden on the return rather than on the face.
Common setting out mistakes to avoid
- Starting from a wall or a corner and assuming it is straight
- Leaving a thin, tapering cut down the most visible edge
- Ignoring the floor level and building a wall of tiles that leans
- Forgetting to allow for the grout joint when spacing out
- Not dry-laying, then discovering the problem only once tiles are stuck
- Setting the first row off a bath or tray without checking it is level
When it is worth calling a professional tiler
Setting out a simple square room is well within reach for a careful DIYer. Large-format tiles, herringbone and other diagonal patterns, wet rooms with falls to a drain, and rooms full of awkward angles are where a professional earns their fee, because the setting out is unforgiving and mistakes are expensive. If you are in south east London and would rather the whole job was planned and laid properly first time, the team at Bromley Tilers handles wall and floor tiling across Bromley and the surrounding area. Good work is always set out to the recognised standards in BS 5385, the British Standard for wall and floor tiling, and you can find accredited fixers through The Tile Association.

Frequently asked questions
Do you start tiling from the middle or the edge?
Floors are set out and laid from the centre of the room so the cuts balance on opposite walls. Walls are built up from a level batten fixed one full tile above the lowest floor point, with the bottom cuts fitted last.
How do you set out tiles so the cuts are even?
Dry-lay a row of tiles with spacers in both directions from your centre line. If the end cut is very thin, move the whole layout by half a tile so the offcuts grow to a sensible, matching size at each side.
What is a gauge rod used for?
A gauge rod is a batten marked in tile-and-joint increments. Held against a wall it shows where every joint will land and how big the end cuts will be, letting you set out accurately without laying loose tiles.
Should I tile the wall or the floor first?
In most bathrooms the walls are tiled first, with a batten holding the bottom row clear of the floor, then the floor is tiled and the bottom wall cuts are fitted last so the joint between them is neat.
How thick should the grout joint be?
It depends on the tile, but 2 to 3mm suits most ceramic and porcelain wall and floor tiles. Rustic and handmade tiles often need a wider joint. Always allow for the joint when you set out, or the layout will creep.
Related guides
- How to Tile a Bathroom Wall: A UK Step-by-Step Guide
- How Much Does Tiling Cost in the UK? A Realistic Price Guide
- How to Remove Old Wall Tiles Without Damaging the Wall
- Porcelain vs Ceramic Tiles: Which Is Right for Your Bathroom or Kitchen?
- How to Tank and Waterproof a Wet Room Before Tiling: A Bromley Homeowner’s Guide
- Do You Need to Seal Natural Stone Tiles Before Grouting? A Tiler Explains
- How to Tile a Bathroom Floor (Including Around the Toilet)
- How to Tile a Shower: Walls, Niche and Waterproofing
- Construction Trade News: June 2026
- Bathroom Tiling Guide: How to Plan, Prep and Finish a Lasting Job
- Tile Backer Board vs Plasterboard for Bathrooms
- Best Tiles for Small Bathrooms (and How to Make a Space Look Bigger)
- Wall and Floor Tiles for a Wet Room: What Actually Works
- Tiling vs Wall Panels for a Bathroom: Which Is Better?
- Do You Tile the Floor or Walls First in a Bathroom?
- Tiling and Bathroom Trade News: Mid-June 2026
- Kitchen Tiling: Splashbacks, Walls and Floors Explained
- How to Tile a Kitchen Splashback: Step-by-Step Bromley Guide
- How to Tile Around Kitchen Sockets, Switches and Worktops
- Kitchen Splashback Tile Ideas: 12 Looks That Work
- Tiling and Bathroom Trade News: Late June 2026
- How to Lay Metro Tiles in a Herringbone Pattern
- Tiled vs Glass Splashback (and Acrylic): Which Is Best?
- How High Should a Kitchen Splashback Be Tiled? UK Heights Guide
- Tiling and Bathroom Trade News: Early July 2026
- Types of Tiles: The Complete UK Buyer’s Guide
- Porcelain vs Natural Stone Tiles: Which Should You Choose?
- Natural Stone Tiles Explained: Marble, Travertine, Slate and Limestone
- Tiling and Bathroom Trade News: Mid-July 2026
- Mosaic Tiles: Where to Use Them and How They’re Fixed
- Tile Slip Ratings Explained: R Ratings and PTV for UK Floors
- Matt vs Gloss Tiles: Which Finish Is Right for Your Room?
- Cost to Tile a Bathroom in the UK: 2026 Price Breakdown
- Polystyrene Ceiling Tiles: Are They Any Good?
- Cost to Tile a Kitchen in 2026: Floor and Splashback Prices
- Tiling and Bathroom Trade News: Mid-July 2026
- Tiling Cost Per Square Metre 2026: Labour and All-In Prices
- Tiler Day Rate UK: What Tilers Charge Per Day in 2026
- Cost to Regrout a Bathroom in 2026: UK Prices Explained
- Floor Tile Prices UK 2026: What You Will Pay Per Square Metre
- Is It Cheaper to Tile or Use Wall Panels? A UK Cost Comparison
- How to Tile: A Complete Beginner’s Guide (UK)
- How to Cut Tiles: Manual Cutter, Wet Saw and Nippers
- How to Cut Holes in Tiles for Pipes and Taps
- How to Grout Tiles (and Get Clean, Even Lines)
- Cork Flooring: Pros, Cons and Where It Works in UK Homes
- Tiling and Bathroom Trade News: Late July 2026
- How to Mix and Apply Tile Adhesive Correctly
- How to Seal Grout and Tiles in a Bathroom (UK Guide)
- Can You Tile Over Tiles? When It Works and When It Doesn’t
- Tiling Tools List: What You Need for a Professional Finish
- How Much Tile Adhesive Do I Need? Coverage Per Square Metre
- Tiling Trade News: Topps App, Costs Up 6% (Aug 2026)
- Tile Problems: 9 Common Faults and How to Fix Each
- How to Fix Loose Tiles Without Removing Them
- Cracked Grout Repair: Why It Happens and How to Fix It
- Tiling Trade News: TTA Silica Warning, 2% Retentions
- How to Replace a Broken Tile Without Redoing the Wall
- Water Leaking Through Shower Tiles: 6 Causes and Fixes
- Remove Mouldy Silicone Sealant: A 24-Hour Reseal Job
- How to Clean Grout: What Works, and What Etches Stone
- Why Are My Floor Tiles Lifting? The 40m² Bay Rule
- Tiling Trade News: 3,841 Construction Firms Failed
- How to Lay Porcelain Paving: 1:80 Fall, 150mm Below DPC
- Tile Patterns: Why Big Tiles Need a One-Third Offset
- Grout Colour Ideas: How to Get the Shade You Chose
- Can You Paint Tiles? Yes on Walls, No in the Shower
- Decoupling Membrane for Tiles: When You Actually Need One
- Can You Tile Over a Wooden Floor? What Changed in 2024
- Tiling Cost 2026: £25 to £95 per m² Labour, UK Rates
- Tile Ideas: 7 Looks and the One Rule Each Needs
- Metro Tiles: Sizes, Bevels and the 1/3 Offset Rule
- Tile Feature Wall: The Weight Limit That Decides Yours
- Tiling Over Underfloor Heating: 14 Days Before Heat On
- How to Tile a Hallway Floor: Set Out From the Door
- Wood Effect Tiles and Marble Effect: 5 Specs to Check
- Tile Levelling Systems: The 3mm Rule That Decides It
- Tiling Trade News: Repair Work Up 1.7%, Headlam Fails
- Floor Levelling Compound: How Deep and How Long to Dry
- How to Find a Good Tiler: 9 Checks Before You Book
- Tiling Quote: The 10 Lines a Proper One Must Show
- Tile Trim: Sizes, Profiles and the One-Size-Up Rule
- Tile Spacers: 2mm or 3mm, and When to Pull Them Out
- Tiling the Fireplace: 125mm Hearths, Adhesive and Tiles
- Tiling Trade News: Shaws Sinks Reprice on 1 November
- Porcelain vs Stone Paving: Grip, Sealing and Upkeep
- Tiling a Large Floor: Movement Joints Every 10 Metres
- DIY Tiling vs Professional: 6 Jobs to Never Do Yourself
- Terracotta Tiles: Seal Before Grouting, Wait 7 Days
- Tile Drill Bits: Which Bit Won’t Crack Porcelain
- Tiling Corners With Trim: Which Profile, and When to Mitre
- Travertine Tiles: Filled or Unfilled, and How to Seal Them
- Slate Tiles: Calibrated or Riven, and How to Lay Them
- Zellige Tiles: Order 15% Extra and Fix Them Edge to Edge
- Terrazzo Tiles: Real 20mm vs Porcelain, Seal Before Grouting
- Tiling Trade News: 36% Now Add a Bathroom Accent Wall
- Split Face Tiles: Will Your Wall Take 27kg per m²?
- Tile Sealer: Which Tiles Need It and Which Type to Buy
- How to Remove Grout Haze: Which Cleaner for Which Grout
- Efflorescence on Tiles: Why It Comes Back and How to Stop It
- Tile Primer: Which Surfaces Need It and How Much to Dilute
- Epoxy Grout: Where It’s Worth It and How to Apply It
- How to Tile Stairs: Keep Every Riser the Same Height
- Shower Niche: Sizes, Height and Which Wall Can Take One
- How Many Tiles Do I Need? Add 10% to 20% by Layout
- How to Tile a Window Sill: Sill Last, Silicone at the Frame
- Tiling Trade News: Victorian Plumbing Tile Sales Up 76%
- How to Tile Around a Toilet: Lift the Pan or Cut Round It
- Tile to Carpet Transition: Pick the Strip by the Height Gap
- Tile Skirting: Leave a 6mm Gap and Seal, Never Grout
- Tile Backer Board: Cement or Foam, Which Thickness, Fixings
- Quarry Tiles: Seal Them or Not, and How to Clean Them
- Rapid Set Tile Adhesive vs Standard: 30 Mins or 24 Hours