


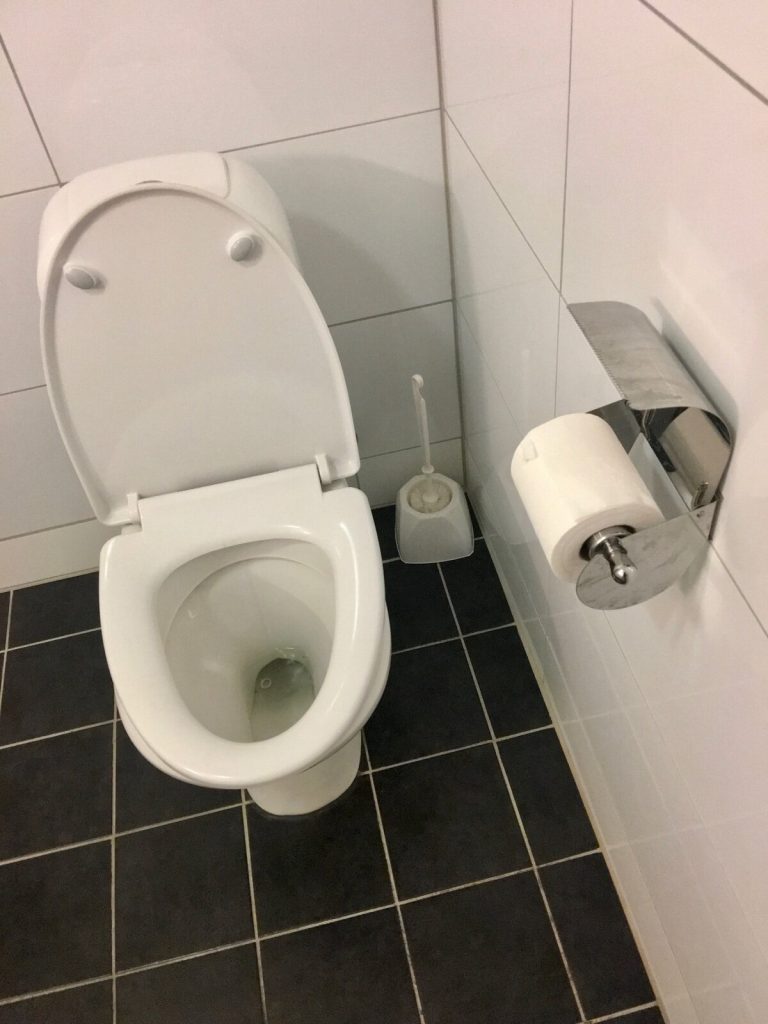
How to tile around a toilet comes down to one decision you make before any adhesive is mixed: lift the pan out and tile the whole floor, or leave it where it is and cut tiles round its base. Lifting it gives the better job almost every time, and it takes a competent DIYer under an hour with the water off. Cutting round it is the fallback when the pan is bedded down solid or you cannot get the waste to line up again. This page covers both, plus the part most guides skip: what the extra floor height does to the pan connector.
Lift the pan or tile round it?
We lift the pan on nearly every bathroom floor we tile in Bromley and south east London. There are three reasons.
- The finish. With the pan out, full tiles run straight under where the toilet sits and the only cuts are at the walls. Cut round a pan and you end up with four or more curved pieces meeting at the base, which is the part of the floor everyone looks at.
- Future replacement. If tiles are cut to the exact footprint of today’s pan and it cracks in five years, a new pan rarely has the same base shape. You are left with a bare ring of screed or a patch of odd tiles showing.
- Waterproofing. In a bathroom where the floor is tanked or overboarded, the board and membrane should be continuous. Stopping them at the pan leaves a weak line at the one spot that gets splashed most.
Leave the pan in place only when it is bedded on mortar and will not come up without breaking, or the soil pipe is cast in with no room for adjustment.
How the new floor height affects the toilet
This is where tiling round a toilet goes wrong. Tiles do not go down at zero thickness, and the pan has to sit on top of them. A typical build-up on a timber bathroom floor looks like this:
- 6mm cement or insulated tile backer board, screwed and bedded
- about 3mm to 5mm of flexible adhesive under the tile
- 8mm to 10mm of ceramic or porcelain floor tile
Add that up and the pan sits roughly 17mm to 21mm higher than it did on the bare floor. On a concrete floor with no board, it is still around 12mm to 15mm. The pan outlet rises with it, while the soil pipe in the wall or floor stays exactly where it was.
For a 110mm soil pipe connection, the usual fix is an offset pan connector, which shifts the line between the pan outlet and the soil pipe without stressing either. McAlpine, for example, lists a range of WC connectors that includes a 10mm offset extension piece, 20mm and 40mm offset rigid connectors, 14 degree angled connectors and flexible connectors. A flexible connector takes up small misalignments in any direction and is the simplest answer when the pan also moves forwards or sideways.
Measure before you tile. Put a scrap of board and a tile under the pan’s base, look at how the outlet now meets the soil pipe, and buy the right connector in advance. A pan pushed onto a connector at an angle is the classic cause of a slow leak that rots the floor under brand new tiles.
Check the water feed has slack too; a flexible connector in place of a rigid copper tail usually covers a 20mm rise.
How to remove the toilet before tiling
For a standard close coupled toilet (cistern sitting on the back of the pan):
- Turn off the isolation valve on the cistern feed. If there is no valve, turn off the stop tap and fit one while the toilet is out.
- Flush, then sponge or towel out the water left in the cistern and the pan trap. A wet vac makes this quick.
- Undo the flexible or copper feed at the valve.
- Remove the screws fixing the pan to the floor and any brackets holding the cistern to the wall.
- Lift the whole toilet back and pull the outlet out of the pan connector. Wiggle it free rather than levering it.
- Stuff a rag into the soil pipe opening straight away. It stops sewer gas coming into the room and keeps grout, spacers and screws out of the drain.
With the pan out, you can tile the floor as one continuous area. Our full method for setting out, board and adhesive is in how to tile a bathroom floor, and if the walls are being tiled too, read whether to tile the floor or walls first.
Setting out the floor around the toilet position
Even when the pan is out, plan your layout around where it goes back. The toilet is the focal point of a small cloakroom floor, so you want the pan to sit centrally on a tile or exactly over a grout line, never on a thin sliver.
- Mark the centre line of the pan on the floor, running out from the wall.
- Dry lay a row of tiles along that line and adjust until the cuts at both side walls are at least half a tile.
Our guide to setting out tiles covers how to balance cuts across a room.
Leave the soil pipe opening itself untiled, or cut the tile so it stops just short of the pipe. The pan’s outlet and connector need room, and you do not want tile edges pressing on the connector seal.
How to tile around a toilet that stays in place
If the pan cannot come out, the aim is cuts so close to the base that a thin bead of silicone hides the gap.
- Template first. Hold a sheet of card or paper against the pan foot, press it round the curve and trace the outline. Transfer that line to the tile, allowing about a 3mm gap all round for the silicone.
- Split the cut. Arrange the layout so a grout joint runs into the middle of the pan foot from the front. That way each tile only takes a gentle curve, not a deep U-shape, and it fits round the foot from either side.
- Cut the curve. On ceramic, score the line and nibble it out with tile nippers in small bites. On porcelain, use an angle grinder with a diamond blade to make relief cuts up to the line, snap them out and dress the edge with a rubbing stone. Our guide on cutting holes and notches in tiles has the details.
- Keep adhesive off the pan. Butter the back of cut pieces rather than combing adhesive up to the ceramic, then clean any smears off the pan before it sets.
Make sure the pan’s fixing screws stay reachable, or you will never get it out later.
Refitting the toilet on new tiles
Wait until the adhesive and grout have cured before standing a toilet on them. Most cementitious floor adhesives want 24 hours before foot traffic, and the grout under the pan foot needs the same.
- Fit the new pan connector to the soil pipe first, then offer the pan up and push it fully home.
- Mark the screw holes through the pan foot. Drill the tile with a diamond or tile bit at slow speed with no hammer action, then switch bits to go through the subfloor. Our guide on drilling into tiles covers stopping the bit wandering on a glazed surface.
- Use the fixings from the toilet’s kit with plastic or rubber washers under the screw heads. Overtighten and the pan foot cracks.
- Reconnect the water, turn it on slowly and check every joint while you flush a few times.
- Run a bead of sanitary silicone round the base where the pan meets the tiles.
Some plumbers leave a short gap in the silicone at the back of the pan. The idea is that if the connector ever leaks, water shows on the floor behind the toilet instead of soaking unseen into the board.
Never grout the joint between the pan and the tiles. Grout is rigid and the pan moves very slightly every time someone sits down, so it cracks within weeks. Silicone flexes with it, and a tired bead is a five minute job to cut out and replace.
Wall-hung toilets and concealed cisterns
Wall-hung and back to wall toilets change the job. The cistern sits inside a frame or a boxed-in section, and the tiler works on the boarding over it.
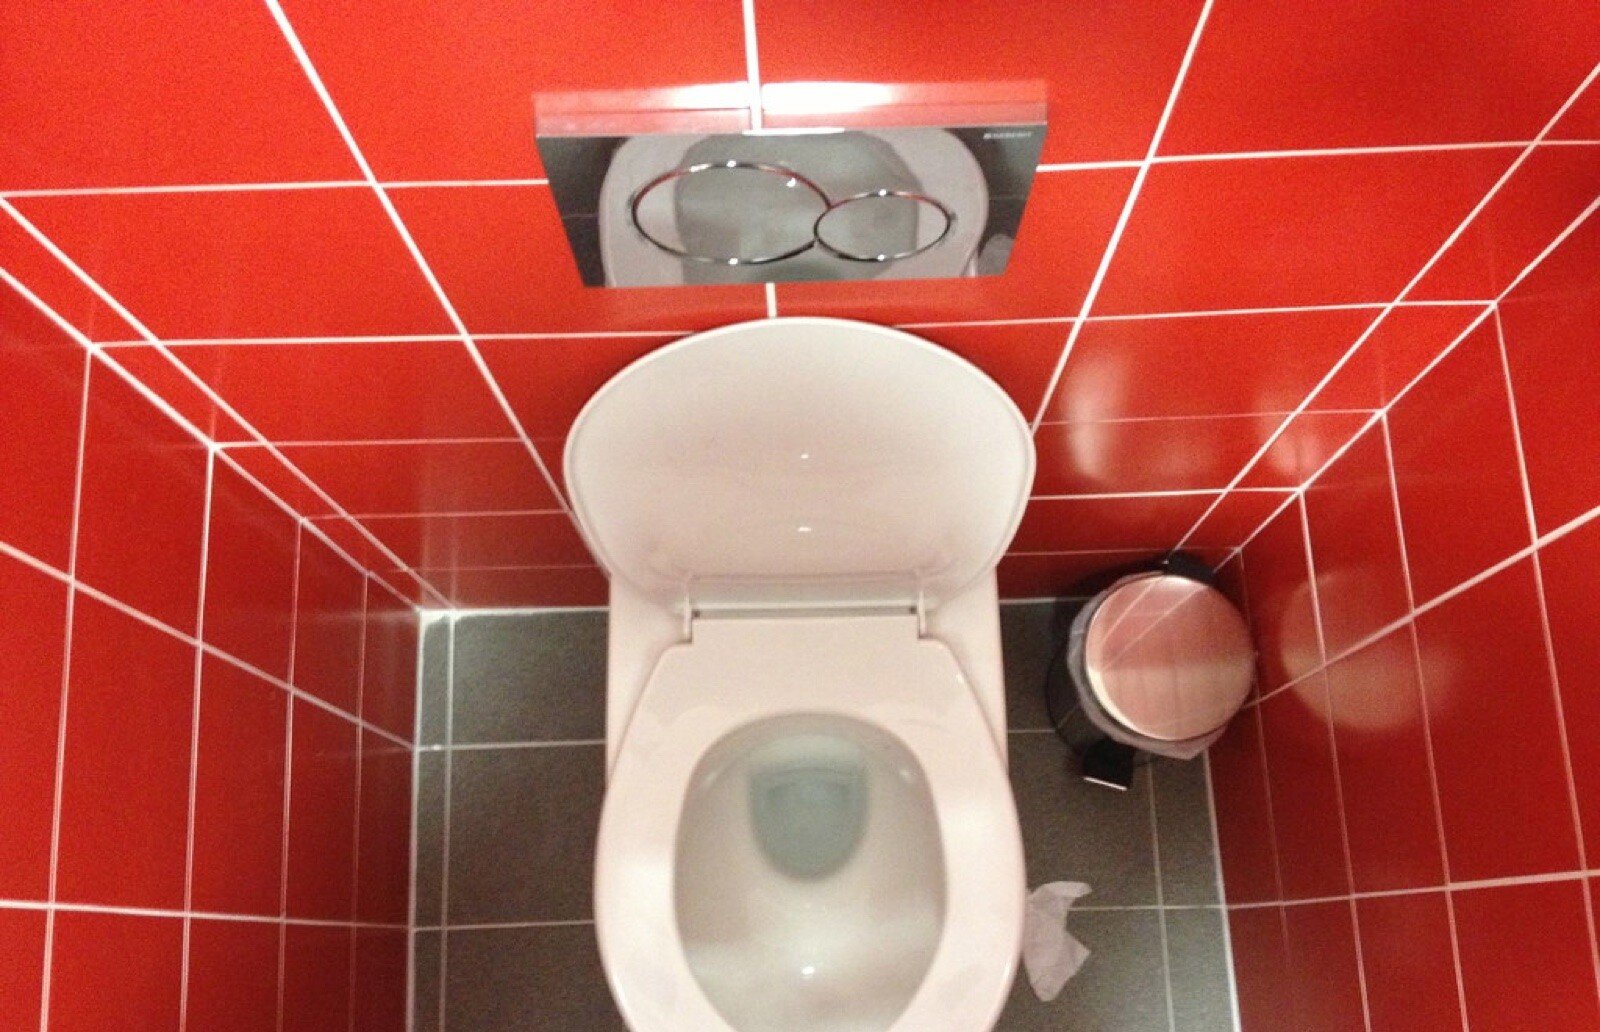
Tile the boxing in before the pan and flush plate go on. Most frames come with a cover over the flush plate opening; tile up to it, cut neatly round it and leave it clear. That opening is how the cistern valves are serviced later, so it must never be tiled over. Set your wall layout so the flush plate sits centred on a tile or on a grout line, the same way you would centre the pan on the floor.
The floor under a wall-hung pan is a clear run of tiles. Plan the fixing studs and waste spigot through the wall tiles as carefully as the flush plate.
Frequently asked questions
Do you tile under or around a toilet?
Under, wherever you can. Lift the pan, tile the whole floor, then refit the toilet on top. It looks better and makes a future pan swap easy.
How much does tiling raise the toilet?
With 6mm backer board, a 3mm to 5mm adhesive bed and an 8mm to 10mm tile, expect roughly 17mm to 21mm. Tiling straight onto a concrete floor adds around 12mm to 15mm. An offset or flexible pan connector usually takes up that difference on a 110mm soil pipe.
Can I tile around a toilet without removing it?
Yes. Make a card template of the pan foot, set out so a grout joint runs into the middle of the foot, and cut each tile with a gentle curve. Leave a 3mm gap and fill it with sanitary silicone, not grout.
Should I silicone or grout around the base of a toilet?
Silicone. Grout is rigid and cracks as the pan moves. Many plumbers leave a small gap in the silicone at the back so any leak from the connector shows on the floor.
How long after tiling can I put the toilet back?
Wait for the adhesive and grout to cure, which is usually 24 hours for standard cementitious products. Check the times on the bags you used, as rapid set adhesives can be ready in a few hours.
If you would rather hand the whole job over, including lifting and refitting the toilet, Bromley Tilers tiles bathrooms and cloakrooms across Bromley and south east London.
Related guides
- How to Tile a Bathroom Wall: A UK Step-by-Step Guide
- How Much Does Tiling Cost in the UK? A Realistic Price Guide
- How to Remove Old Wall Tiles Without Damaging the Wall
- Porcelain vs Ceramic Tiles: Which Is Right for Your Bathroom or Kitchen?
- How to Tank and Waterproof a Wet Room Before Tiling: A Bromley Homeowner’s Guide
- Do You Need to Seal Natural Stone Tiles Before Grouting? A Tiler Explains
- How to Tile a Bathroom Floor (Including Around the Toilet)
- How to Tile a Shower: Walls, Niche and Waterproofing
- Bathroom Tiling Guide: How to Plan, Prep and Finish a Lasting Job
- Tile Backer Board vs Plasterboard for Bathrooms
- Best Tiles for Small Bathrooms (and How to Make a Space Look Bigger)
- Wall and Floor Tiles for a Wet Room: What Actually Works
- Tiling vs Wall Panels for a Bathroom: Which Is Better?
- Do You Tile the Floor or Walls First in a Bathroom?
- Kitchen Tiling: Splashbacks, Walls and Floors Explained
- How to Tile a Kitchen Splashback: Step-by-Step Bromley Guide
- How to Tile Around Kitchen Sockets, Switches and Worktops
- Kitchen Splashback Tile Ideas: 12 Looks That Work
- How to Lay Metro Tiles in a Herringbone Pattern
- Tiled vs Glass Splashback (and Acrylic): Which Is Best?
- How High Should a Kitchen Splashback Be Tiled? UK Heights Guide
- Types of Tiles: The Complete UK Buyer’s Guide
- Porcelain vs Natural Stone Tiles: Which Should You Choose?
- Natural Stone Tiles Explained: Marble, Travertine, Slate and Limestone
- Mosaic Tiles: Where to Use Them and How They’re Fixed
- Tile Slip Ratings Explained: R Ratings and PTV for UK Floors
- Matt vs Gloss Tiles: Which Finish Is Right for Your Room?
- Cost to Tile a Bathroom in the UK: 2026 Price Breakdown
- Polystyrene Ceiling Tiles: Are They Any Good?
- Cost to Tile a Kitchen in 2026: Floor and Splashback Prices
- Tiling Cost Per Square Metre 2026: Labour and All-In Prices
- Tiler Day Rate UK: What Tilers Charge Per Day in 2026
- Cost to Regrout a Bathroom in 2026: UK Prices Explained
- Floor Tile Prices UK 2026: What You Will Pay Per Square Metre
- Is It Cheaper to Tile or Use Wall Panels? A UK Cost Comparison
- How to Tile: A Complete Beginner’s Guide (UK)
- How to Cut Tiles: Manual Cutter, Wet Saw and Nippers
- How to Cut Holes in Tiles for Pipes and Taps
- How to Grout Tiles (and Get Clean, Even Lines)
- Cork Flooring: Pros, Cons and Where It Works in UK Homes
- How to Mix and Apply Tile Adhesive Correctly
- How to Set Out Tiles for a Perfect Layout
- How to Seal Grout and Tiles in a Bathroom (UK Guide)
- Can You Tile Over Tiles? When It Works and When It Doesn’t
- Tiling Tools List: What You Need for a Professional Finish
- How Much Tile Adhesive Do I Need? Coverage Per Square Metre
- Tile Problems: 9 Common Faults and How to Fix Each
- How to Fix Loose Tiles Without Removing Them
- Cracked Grout Repair: Why It Happens and How to Fix It
- How to Replace a Broken Tile Without Redoing the Wall
- Water Leaking Through Shower Tiles: 6 Causes and Fixes
- Remove Mouldy Silicone Sealant: A 24-Hour Reseal Job
- How to Clean Grout: What Works, and What Etches Stone
- Why Are My Floor Tiles Lifting? The 40m² Bay Rule
- How to Lay Porcelain Paving: 1:80 Fall, 150mm Below DPC
- Tile Patterns: Why Big Tiles Need a One-Third Offset
- Grout Colour Ideas: How to Get the Shade You Chose
- Can You Paint Tiles? Yes on Walls, No in the Shower
- Decoupling Membrane for Tiles: When You Actually Need One
- Can You Tile Over a Wooden Floor? What Changed in 2024
- Tiling Cost 2026: £25 to £95 per m² Labour, UK Rates
- Tile Ideas: 7 Looks and the One Rule Each Needs
- Metro Tiles: Sizes, Bevels and the 1/3 Offset Rule
- Tile Feature Wall: The Weight Limit That Decides Yours
- Tiling Over Underfloor Heating: 14 Days Before Heat On
- How to Tile a Hallway Floor: Set Out From the Door
- Wood Effect Tiles and Marble Effect: 5 Specs to Check
- Tile Levelling Systems: The 3mm Rule That Decides It
- Floor Levelling Compound: How Deep and How Long to Dry
- How to Find a Good Tiler: 9 Checks Before You Book
- Tiling Quote: The 10 Lines a Proper One Must Show
- Tile Trim: Sizes, Profiles and the One-Size-Up Rule
- Tile Spacers: 2mm or 3mm, and When to Pull Them Out
- Tiling the Fireplace: 125mm Hearths, Adhesive and Tiles
- Porcelain vs Stone Paving: Grip, Sealing and Upkeep
- Tiling a Large Floor: Movement Joints Every 10 Metres
- DIY Tiling vs Professional: 6 Jobs to Never Do Yourself
- Terracotta Tiles: Seal Before Grouting, Wait 7 Days
- Tile Drill Bits: Which Bit Won’t Crack Porcelain
- Tiling Corners With Trim: Which Profile, and When to Mitre
- Travertine Tiles: Filled or Unfilled, and How to Seal Them
- Slate Tiles: Calibrated or Riven, and How to Lay Them
- Zellige Tiles: Order 15% Extra and Fix Them Edge to Edge
- Terrazzo Tiles: Real 20mm vs Porcelain, Seal Before Grouting
- Split Face Tiles: Will Your Wall Take 27kg per m²?
- Tile Sealer: Which Tiles Need It and Which Type to Buy
- How to Remove Grout Haze: Which Cleaner for Which Grout
- Efflorescence on Tiles: Why It Comes Back and How to Stop It
- Tile Primer: Which Surfaces Need It and How Much to Dilute
- Epoxy Grout: Where It’s Worth It and How to Apply It
- How to Tile Stairs: Keep Every Riser the Same Height
- Shower Niche: Sizes, Height and Which Wall Can Take One
- How Many Tiles Do I Need? Add 10% to 20% by Layout
- How to Tile a Window Sill: Sill Last, Silicone at the Frame