


To tile a bathroom wall: prepare and, for wet areas, tank the surface, set out from a level batten and a centre line, comb on the right adhesive with a notched trowel, bed each tile with full coverage, space them evenly, then grout with a waterproof grout and silicone the movement joints. The order matters, and so does the prep. Get those right and a confident DIYer can tile a splashback or a clean wall in a weekend.
This is a realistic job for someone handy who has done a bit of DIY, especially a simple area like a basin splashback or a feature wall with smaller ceramic tiles. The two parts that catch people out are waterproofing inside a shower and setting out so you do not end up with thin slivers in the corners. If your bathroom involves large-format porcelain, a full shower enclosure, or walls that are out of square, it is usually worth getting a professional tiler to price it.
Tools and materials you will need
Buy or hire everything before you start. Stopping halfway to fetch a tool is how adhesive skins over and tiles end up crooked.
- Notched trowel sized to your tiles (see the trowel guide below).
- Tile adhesive: ready-mixed for small ceramics on a dry wall, or a flexible powder adhesive for wet areas and larger tiles.
- Waterproof or water-resistant grout, and a grout float.
- Tanking kit if you are tiling inside a shower or around a bath shower.
- Tile spacers, usually 2mm or 3mm for bathroom walls.
- Tile cutter: a manual score-and-snap cutter for straight cuts in ceramic, plus tile nippers for small curves, and a wet saw for porcelain or L-shaped cuts.
- Spirit level, tape measure, pencil and timber battens for your gauge stick and starter batten.
- Bucket, mixing paddle (for powder), sponge, clean cloths and a primer suited to your surface.
What size notched trowel for my tiles?
The notch controls how much adhesive sits behind the tile. Too little and the tile does not bond; too much and it slumps and squeezes up through the joints. As a general guide for walls:
| Tile size | Typical trowel notch |
|---|---|
| Up to around 200 x 200mm | 6mm |
| Mid-size, up to around 300 x 300mm | 8mm |
| Large format, 300 x 600mm and similar | 10mm, or a 10mm by 20mm trowel |
Manufacturers vary, so always check coverage on the wall: comb out the adhesive, press a tile on, then lift it straight off. If the back is fully covered with no bare ridges, the notch is right. If you can see gaps, go up a notch size or back-butter the tile.
Preparing the wall
Preparation decides whether the tiles are still on the wall in ten years. Match the prep to the surface.
- Plasterboard: you can tile straight onto it if it is at least 12.5mm thick, dry, rigid and screwed off securely (fixings roughly every 200 to 300mm). Direct-to-plasterboard takes tiles up to around 32kg per square metre; if the board has been skimmed or plastered, that drops to about 20kg per square metre. Remember to allow a couple of kilos per square metre for the adhesive and grout on top of the tile weight.
- New plaster: let it dry fully before tiling. This often takes several weeks depending on thickness and how warm and ventilated the room is. Then prime it.
- Painted walls: strip emulsion back to a sound surface. Adhesive will not bond reliably over paint, so a painted wall left underneath is a common cause of tiles dropping off later.
One firm rule: do not use neat PVA as a primer under tiles. It re-softens when the wet adhesive touches it and the bond fails over time. Use a proprietary acrylic tile primer (ideally matched to your adhesive brand) or a diluted SBR instead.
Tanking: waterproofing a shower or bath wall
This is the step the cheap online guides skip, and it is the one that costs people the most. Tiles, adhesive and grout are water-resistant, not waterproof. Water passes through grout joints to the wall behind, and the British Standard for wall and floor tiling, BS 5385, recommends a waterproofing membrane before tiling in wet areas such as domestic showers, not just commercial wet rooms.
So anywhere with direct, frequent water, the inside of a shower enclosure or the wall around a bath shower, should be tanked. A basin splashback or a wall that only catches the odd splash does not usually need full tanking, though it does no harm.
The process with a UK tanking kit is straightforward:
- Prime the board so the membrane bonds.
- Apply waterproof tape into every internal corner, wall-to-floor junction and around pipe penetrations.
- Roll or brush the membrane over the whole wet area, usually two coats.
- Let it cure before tiling. Many products are tileable in roughly 90 minutes to a couple of hours; check the tin.
Real UK products include BAL Tank-it and Mapei Mapegum WPS, plus complete shower tanking kits sold for the job. If you are not confident waterproofing a shower correctly, this is the point to bring in a professional tiler, because a leak you cannot see is the most expensive mistake in the room.
Choosing your adhesive: ready-mixed or powder
This trips up a lot of beginners, so here is the simple rule:
- Small ceramic wall tiles, roughly 300 x 300mm or smaller, on a dry wall: ready-mixed tub adhesive is fine and easy. Products like BAL White Star need no mixing. The trade-off is that it cures by air-drying, so it is slow and not ideal in constantly wet zones where it can stay soft behind the tile. Allow up to 24 hours before grouting. A 10 litre tub is roughly 20 to 30 pounds as an approximate guide.
- Anything in a shower, any porcelain, or any large or heavy tile: use a flexible cement-based powder adhesive. Options such as BAL Rapid-Flex One or a Mapei rapid-set adhesive are stronger, set faster (often grout-ready in around 3 to 4 hours) and are the correct choice over a tanking membrane. A 20kg bag is roughly 20 to 25 pounds and covers around 5 square metres on a wall, give or take.
If in doubt, a flexible powder adhesive is rarely the wrong answer in a bathroom.
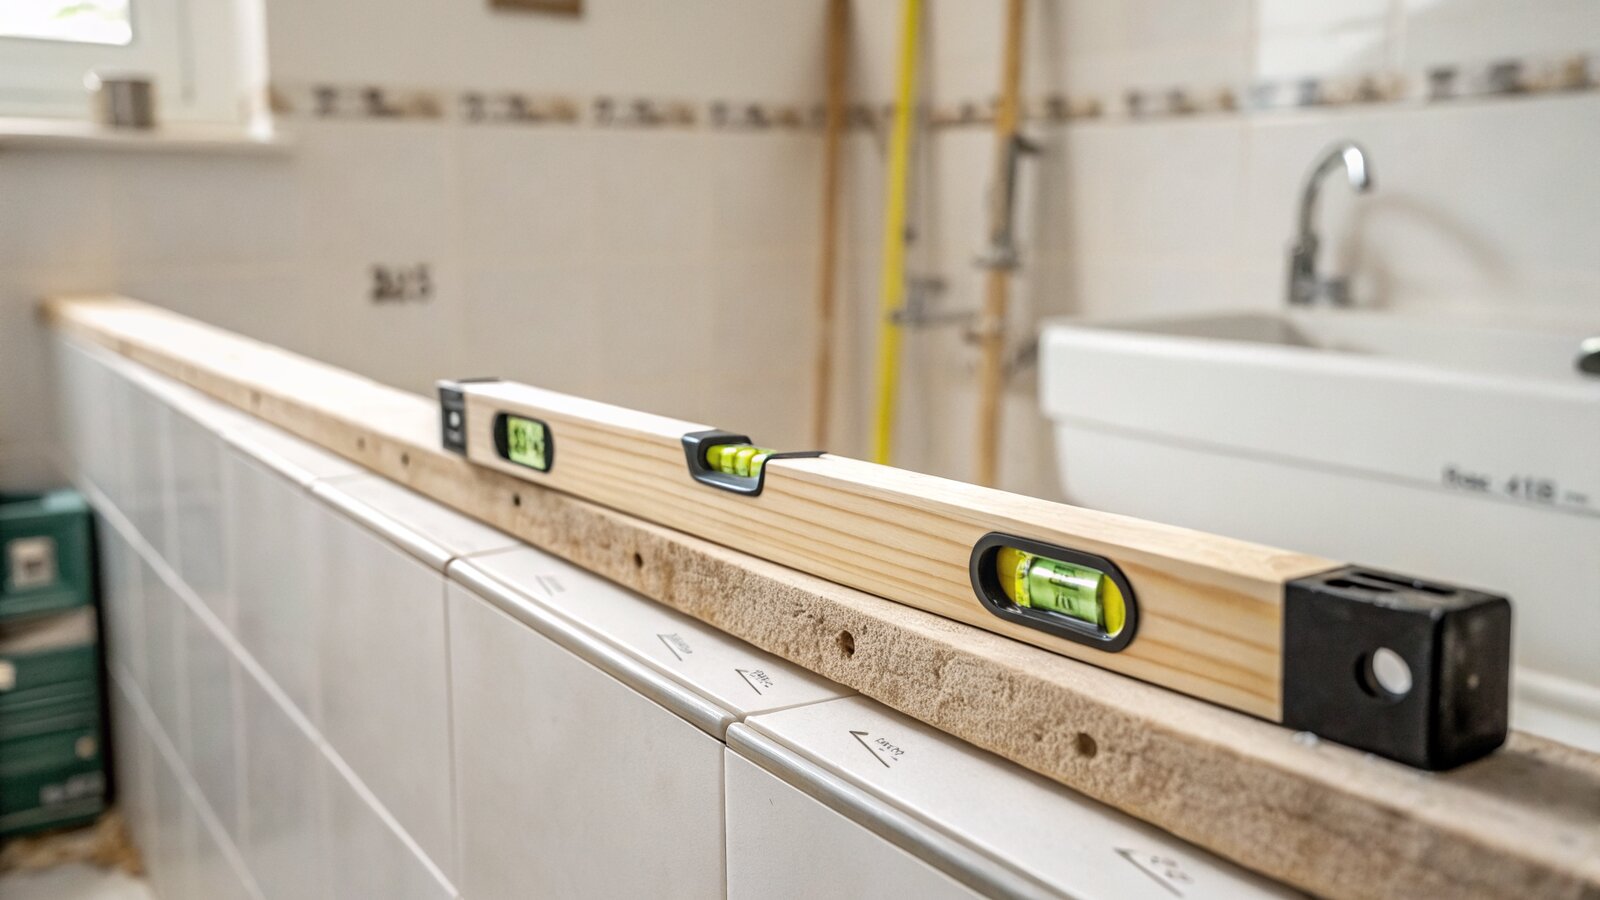
Setting out: batten and centre line
Never start tiling tight to a corner or straight off the floor or bath. Set out properly and the cuts look deliberate; skip it and you get an ugly thin sliver down one edge.
- Find the centre. Mark the horizontal centre line of the wall.
- Make a gauge stick. Mark a straight batten with tile widths plus spacer gaps. Hold it across the wall to dry-run the layout and shift your start point so the cut tiles at each end finish between roughly half a tile and a full tile. Do the same vertically and around any window.
- Fix a level starter batten. Screw a dead-level timber batten to the wall at the height of the first full row above the bath or floor. The bottom row is cut and fitted last. Tiles sit on this batten while the adhesive grabs, so even a small error here gets magnified up the whole wall. Use a spirit level, not the bath rim, which is rarely level.
Mixing and applying the adhesive
If you are using powder, mix it with clean water to a smooth, firm paste using a paddle, let it stand for a couple of minutes (slake), then give it a quick re-mix. Do not make it too wet.
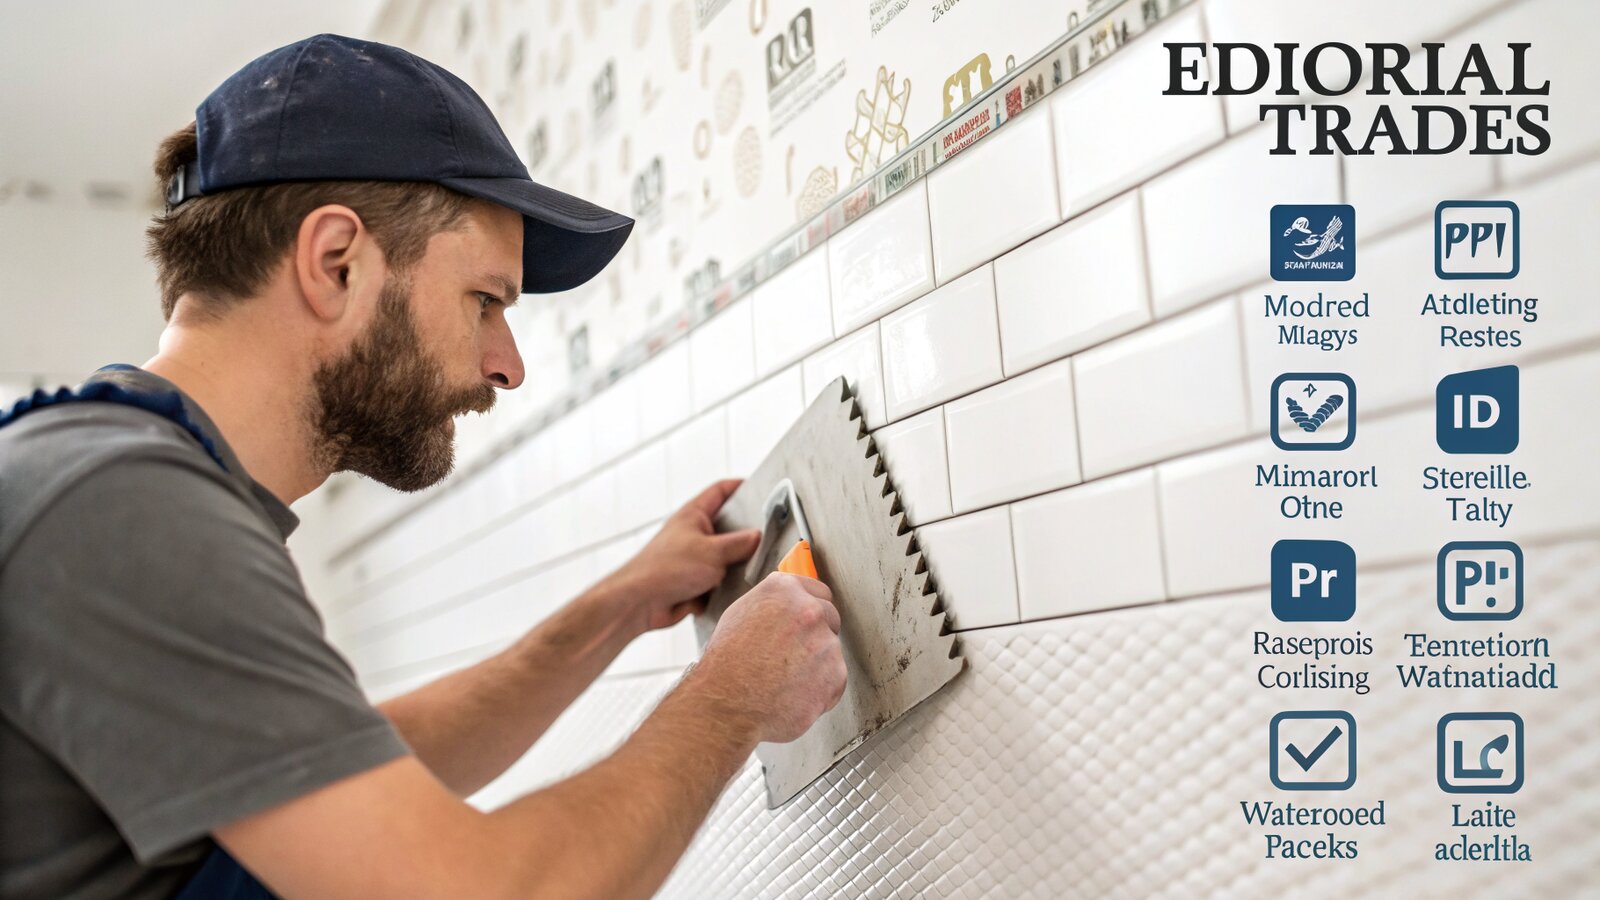
Work in sections of about one square metre at a time so the adhesive does not skin over before the tiles go on. Spread it with the flat edge, then comb it through with the notched edge held at a consistent angle to leave even ridges. Bed each tile with a slight twist or slide to collapse the ridges and squeeze out air. Push spacers in as you go and check the level often.
Always aim for full coverage behind each tile. Never dot and dab in a bathroom, because blobs of adhesive leave voids that trap water behind the tile.
Cutting tiles around obstacles
Measure each cut individually rather than assuming they are all the same; walls are rarely perfectly square.
- Straight cuts in ceramic: score once with a manual cutter and snap.
- Porcelain, glass or thick, hard tiles: use a wet saw. A manual cutter struggles with these.
- L-shapes around sockets, switches and boxing: a wet saw gives the cleanest result.
- Round cuts for pipes: drill with a tile bit, or nibble a curve with tile nippers, then ease the tile over the pipe. A small gap here is hidden later by an escutcheon or silicone.
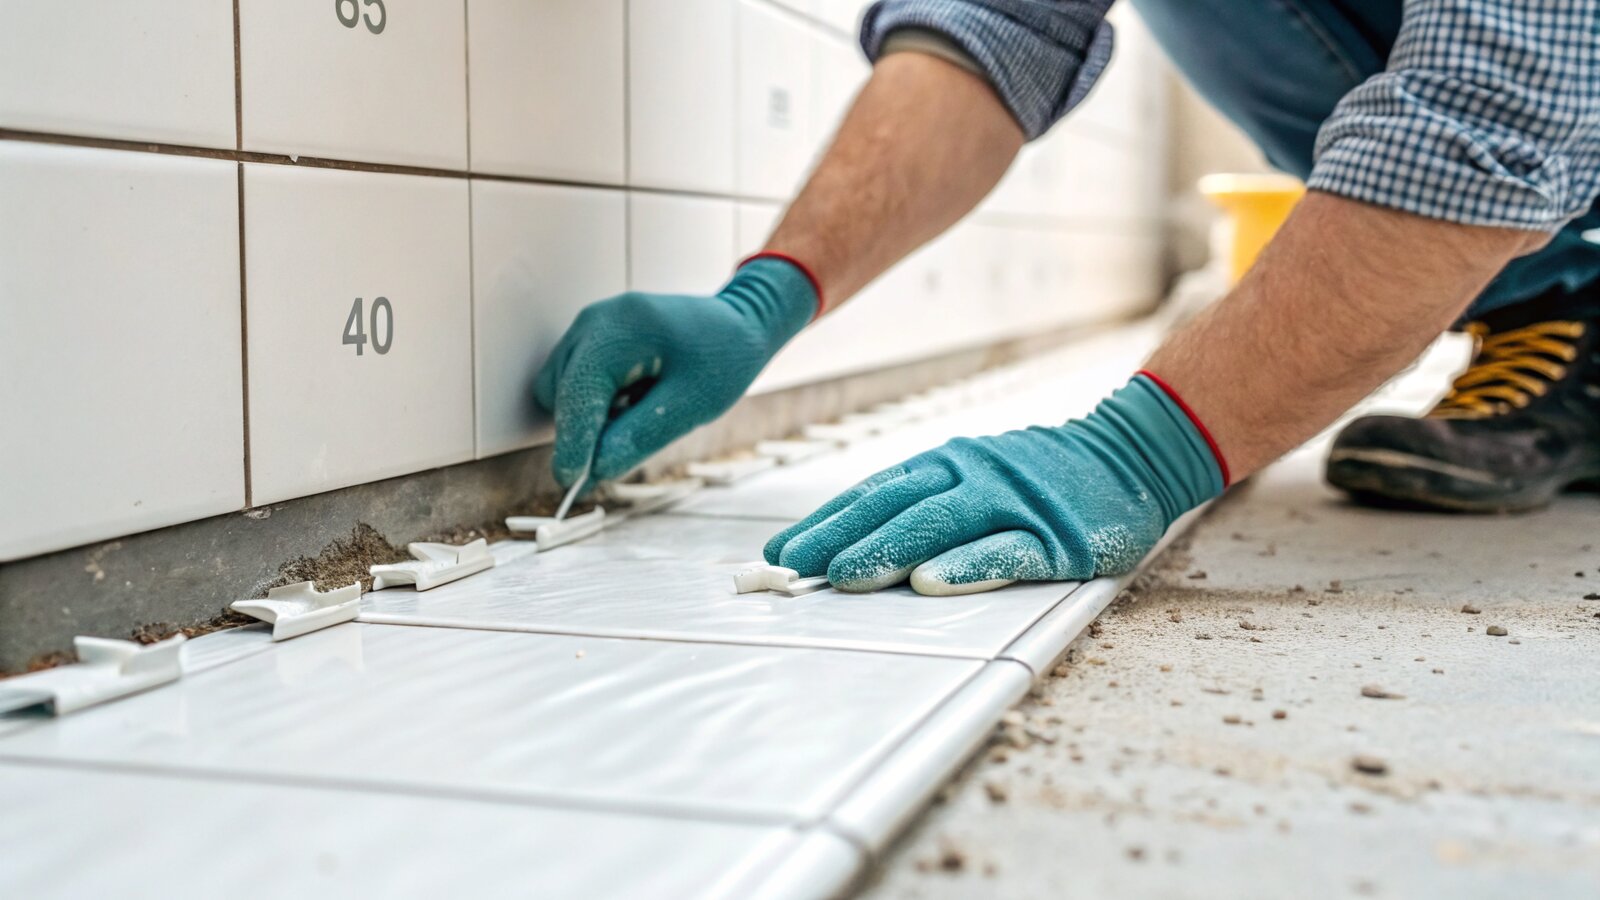
Spacing the tiles
Use spacers on every joint, typically 2mm or 3mm on bathroom walls, and keep them consistent so the grout lines stay even. Step back every few rows and sight along the joints. It is far easier to lift and re-bed a tile while the adhesive is wet than to live with a wandering line. Remove the starter batten only once the adhesive has set, then fit and cut the bottom row last.
Grouting
Let the adhesive cure first: roughly 3 to 4 hours for a rapid-set powder, up to 16 to 24 hours for ready-mixed or standard adhesive. Grouting too soon can pull the bond apart.
- Mix a waterproof or water-resistant grout, or use a ready-mixed one.
- Press it firmly into the joints with a grout float held at an angle, working diagonally across the tiles so you do not drag it back out.
- Wipe off the excess with a damp, well-wrung sponge, again diagonally, before it hardens.
- Once it has hazed over, polish the surface clean with a dry cloth.
For a fully waterproof joint that never needs sealing, epoxy grout is an option, though it is harder to work with and sets faster.
Sealing and finishing
Cement grout needs time to harden, usually around 48 to 72 hours, before it is fully cured. If you have used a standard cement grout, a penetrating sealer (such as Lithofin, LTP or HG products) helps it shrug off water and staining. Apply it once the grout has cured and leave it the stated time, often 8 to 24 hours, before the area gets wet. Epoxy grout does not need sealing.
Finish the movement joints with silicone, not grout. Anywhere the surface can move slightly, the bath-to-tile gap, the floor-to-wall junction and internal corners, grout will crack out. The tidy method: grout the field tiles, leave the bath-to-tile gap empty, wait about 24 hours, then run a neat bead of bathroom silicone so it bonds to cured grout and to the bath. Fill the bath with water first if you can, so the silicone is not stretched the first time someone gets in.
Common mistakes to avoid
- Skipping tanking in a shower because the tiles look waterproof. They are not.
- Using PVA as a primer. It causes tiles to debond later.
- Starting from the floor or a corner instead of setting out, which leaves thin slivers and a sloping run.
- Dot and dab fixing, leaving voids that hold water.
- Grouting too early before the adhesive has cured.
- Grouting the bath joint instead of siliconing it, so it cracks within weeks.
- Overloading plasterboard with heavy tiles beyond about 32kg per square metre. For heavy tiles, fit a cement backer board first.
- Tiling over old tiles, which adds weight and rarely bonds well. It is usually better to take the old ones off.
When to call a professional tiler
Tiling a small splashback or a simple wall is well within reach for a careful DIYer. It is worth bringing in a pro when the job involves a full shower enclosure that must be tanked correctly, large-format porcelain that is heavy and unforgiving, walls that are badly out of square, or a complete bathroom you cannot afford to have leak.
As a rough guide to cost, tiler labour runs around 30 to 60 pounds per square metre, or a day rate of roughly 150 to 250 pounds. Supply and fit for walls, including mid-range tiles, adhesive and grout, tends to land somewhere around 80 to 130 pounds per square metre. A fully tiled bathroom, walls and floor, often falls in the region of 800 to 1,200 pounds. Treat these as approximate; rates across Bromley, South-East London and the parts of Kent we cover tend to sit toward the upper end of national figures. If you want a firm figure for your room, you can get a tiling quote rather than guess.
Frequently asked questions
Do I need to prime plasterboard before tiling?
It depends on the adhesive. Cement-based powder adhesives generally want a primed surface, while some ready-mixed adhesives already contain a primer. If you are unsure, prime it with a proper acrylic tile primer or diluted SBR. Never use neat PVA.
Do I have to tank a bathroom wall before tiling?
Inside a shower or around a bath shower, yes. The British Standard for tiling recommends a waterproofing membrane in wet areas, and tiles plus grout alone are only water-resistant, not waterproof. A basin splashback that only catches occasional splashes does not usually need full tanking.
Can you tile straight onto plasterboard in a bathroom?
Yes, if the board is at least 12.5mm thick, dry, rigid and screwed securely, and the tiles weigh no more than about 32kg per square metre. In a shower, tank the plasterboard first. For heavier tiles, fit a cement backer board.
Where do you start tiling, bottom, middle or top?
Set out from a horizontal centre line and a level starter batten, not from the floor or the bath. You tile up from the batten, then cut and fit the bottom row last once the rest has set.
Ready-mixed or powder adhesive for a bathroom?
Ready-mixed is fine for small ceramic tiles on a dry wall. For anything in a shower, any porcelain, or any large or heavy tile, use a flexible cement-based powder adhesive.
How long before I can grout, and how long before I can use the shower?
Let the adhesive cure first, roughly 3 to 4 hours for rapid-set powder or up to 24 hours for ready-mixed. After grouting, cement grout takes around 48 to 72 hours to harden fully, and if you seal it you should leave the sealer to cure before the area gets wet, so plan on a couple of days before normal shower use.
Do I grout or silicone the gap between the bath and the tiles?
Silicone it. That junction moves slightly, so grout would crack out. Grout the tiles, leave the bath joint, then run a silicone bead once the grout has cured, ideally with the bath filled with water.
Manual cutter or wet saw, which do I need?
A manual score-and-snap cutter handles straight cuts in ceramic cheaply. You need a wet saw for porcelain, glass, thick hard tiles, and clean L-shaped cuts around sockets and pipes.
Do I need waterproof grout, and should I seal it?
Use a waterproof or water-resistant grout in any bathroom. Standard cement grout benefits from a penetrating sealer once cured. Epoxy grout is fully waterproof and does not need sealing.
Related guides
- How Much Does Tiling Cost in the UK? A Realistic Price Guide
- How to Remove Old Wall Tiles Without Damaging the Wall
- Porcelain vs Ceramic Tiles: Which Is Right for Your Bathroom or Kitchen?
- How to Tank and Waterproof a Wet Room Before Tiling: A Bromley Homeowner’s Guide
- Do You Need to Seal Natural Stone Tiles Before Grouting? A Tiler Explains
- How to Tile a Bathroom Floor (Including Around the Toilet)
- How to Tile a Shower: Walls, Niche and Waterproofing
- Construction Trade News: June 2026
- Bathroom Tiling Guide: How to Plan, Prep and Finish a Lasting Job
- Tile Backer Board vs Plasterboard for Bathrooms
- Best Tiles for Small Bathrooms (and How to Make a Space Look Bigger)
- Wall and Floor Tiles for a Wet Room: What Actually Works
- Tiling vs Wall Panels for a Bathroom: Which Is Better?
- Do You Tile the Floor or Walls First in a Bathroom?
- Tiling and Bathroom Trade News: Mid-June 2026
- Kitchen Tiling: Splashbacks, Walls and Floors Explained
- How to Tile a Kitchen Splashback: Step-by-Step Bromley Guide
- How to Tile Around Kitchen Sockets, Switches and Worktops
- Kitchen Splashback Tile Ideas: 12 Looks That Work
- Tiling and Bathroom Trade News: Late June 2026
- How to Lay Metro Tiles in a Herringbone Pattern
- Tiled vs Glass Splashback (and Acrylic): Which Is Best?
- How High Should a Kitchen Splashback Be Tiled? UK Heights Guide
- Tiling and Bathroom Trade News: Early July 2026
- Types of Tiles: The Complete UK Buyer’s Guide
- Porcelain vs Natural Stone Tiles: Which Should You Choose?
- Natural Stone Tiles Explained: Marble, Travertine, Slate and Limestone
- Tiling and Bathroom Trade News: Mid-July 2026
- Mosaic Tiles: Where to Use Them and How They’re Fixed
- Tile Slip Ratings Explained: R Ratings and PTV for UK Floors