


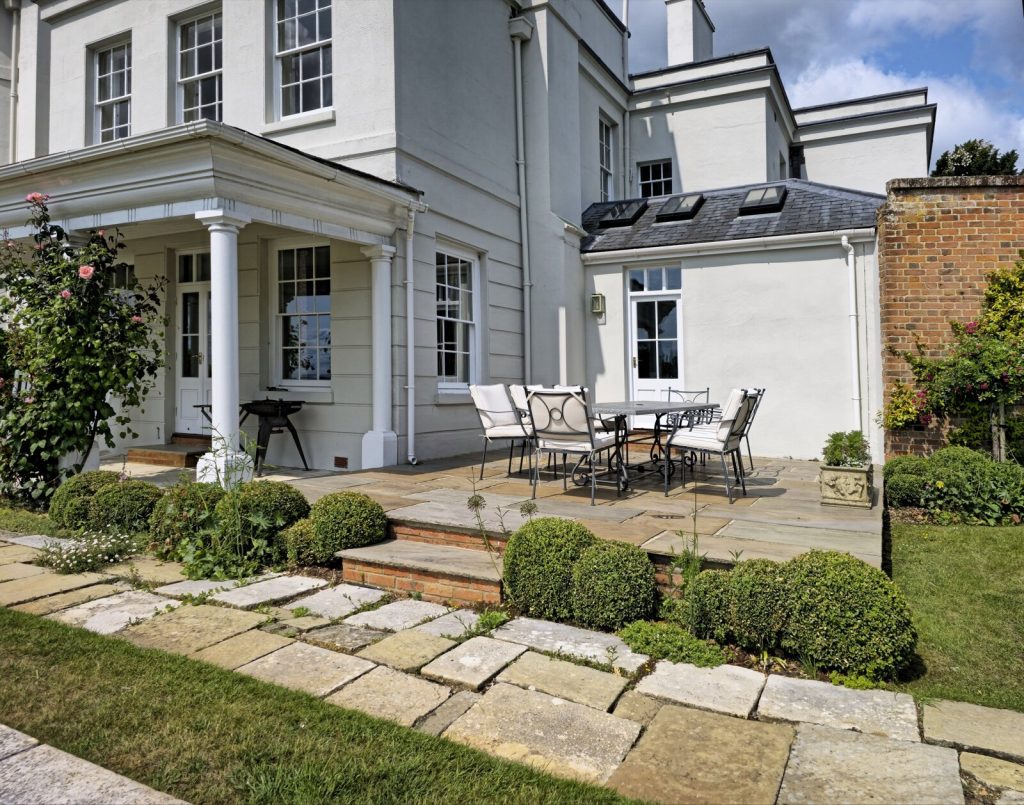
Porcelain is the hardest-wearing patio surface most UK homeowners will ever buy, and the least forgiving to lay. If you want to know how to lay porcelain paving so it is still flat and firm in ten years, the honest answer is that nearly everything that fails happens out of sight, under the slab: five dabs of mortar instead of a full bed, an unprimed slab back, or a patio laid dead level when it should be running water away from the house. A competent DIYer can do this over two long weekends, but it is heavier and fussier than sandstone and the tolerances are tighter. Here is the full sequence, with the numbers that matter.
Why porcelain will not stick the way sandstone does
Porcelain paving is vitrified: fired hot enough that the clay body effectively turns to glass, which is why it does not stain, does not need sealing and shrugs off frost. It is also why it will not bond to a mortar bed on its own. Sandstone and concrete are porous, so bedding mortar wicks into the pores and grips. Porcelain gives the mortar almost nothing to key into, so a slab laid straight onto a bed sits there looking perfect and then lifts as a hollow-sounding rocker the first winter.
The fix is a slurry primer, sometimes sold as a bonding slurry or porcelain primer: a polymer-modified, cement-based paint that goes on the back of the slab and bridges between the vitrified surface and the wet mortar. Every mainstream supplier of porcelain paving, Instarmac, Pavestone, Mapei and BAL among them, sells one, and all of them treat it as mandatory. Products are formulated against BS 7533, the British Standard series covering the design and construction of pavements.
Three rules govern the primer, none of them negotiable:
- Mix to a brushable consistency, roughly thick emulsion. Too stiff and it will not spread; too thin and there is not enough material to bond.
- Cover the entire back of the slab, corner to corner. A missed patch is a void, and voids under a rigid slab are where cracks start.
- Lay while it is still wet. The bond is wet-to-wet with the mortar bed. Primer that has skinned over is doing nothing.
Check the rules before you dig
The first is the damp proof course. Approved Document C of the Building Regulations says at paragraph 5.2 that on an external wall the damp proof course should be at least 150mm above the level of the adjoining ground. In practice your finished paving surface, not your sub-base, has to sit at least 150mm below the DPC line. Raise a patio above it and you have built a bridge for damp into the wall. If the levels will not work, the answer is a drainage channel and a step down.
The second is planning. For a rear patio you are almost always fine; front gardens are treated differently. The Planning Portal says permission is needed if you cover more than five square metres of a front garden with an impermeable surface that does not let water run to a permeable area, and porcelain on a full mortar bed is about as impermeable as it gets. Keeping under five square metres, using permeable surfacing, or directing rainwater to a lawn or border all keep you inside permitted development. These allowances apply to houses, not flats or maisonettes, and not where an Article 4 Direction is in force.
The build-up under a porcelain patio
From the bottom up, a domestic porcelain patio wants:
- Excavation deep enough to take the whole build-up and still land 150mm below the DPC: on most jobs 150mm to 200mm of dig.
- Sub-base: 100mm of consolidated MOT Type 1 crushed limestone or crushed concrete, whacked in two layers rather than one. Increase to 150mm to 200mm on clay, on made ground, or anywhere a car will drive.
- Bedding mortar: a full bed, typically 30mm to 40mm thick, mixed 4 parts sharp sand to 1 part cement. With a permeable brush-in jointing compound, a leaner 6:1 mix is usual so the construction can drain.
- Slab: 20mm porcelain, primed on the back, tapped into the wet bed.
The word to hold onto is full. Spot-fixing on five dabs, which people still do with concrete flags, is the commonest reason a porcelain patio cracks. Porcelain is strong but brittle and only 20mm thick, so unsupported spans between dabs concentrate load: a slab that feels fine underfoot will split the first time a loaded wheelbarrow crosses it.
Setting out and getting the fall right
Water has to leave the patio, and it has to leave away from the house. The standard fall for paving is 1:80, or 12.5mm of drop per metre. Because porcelain is smooth and sheds water less readily than riven stone, many installers work nearer 1:60, about 16.7mm per metre, on large open areas. Flatter than 1:100 and you get standing water, which on porcelain means a slippery green film every autumn.
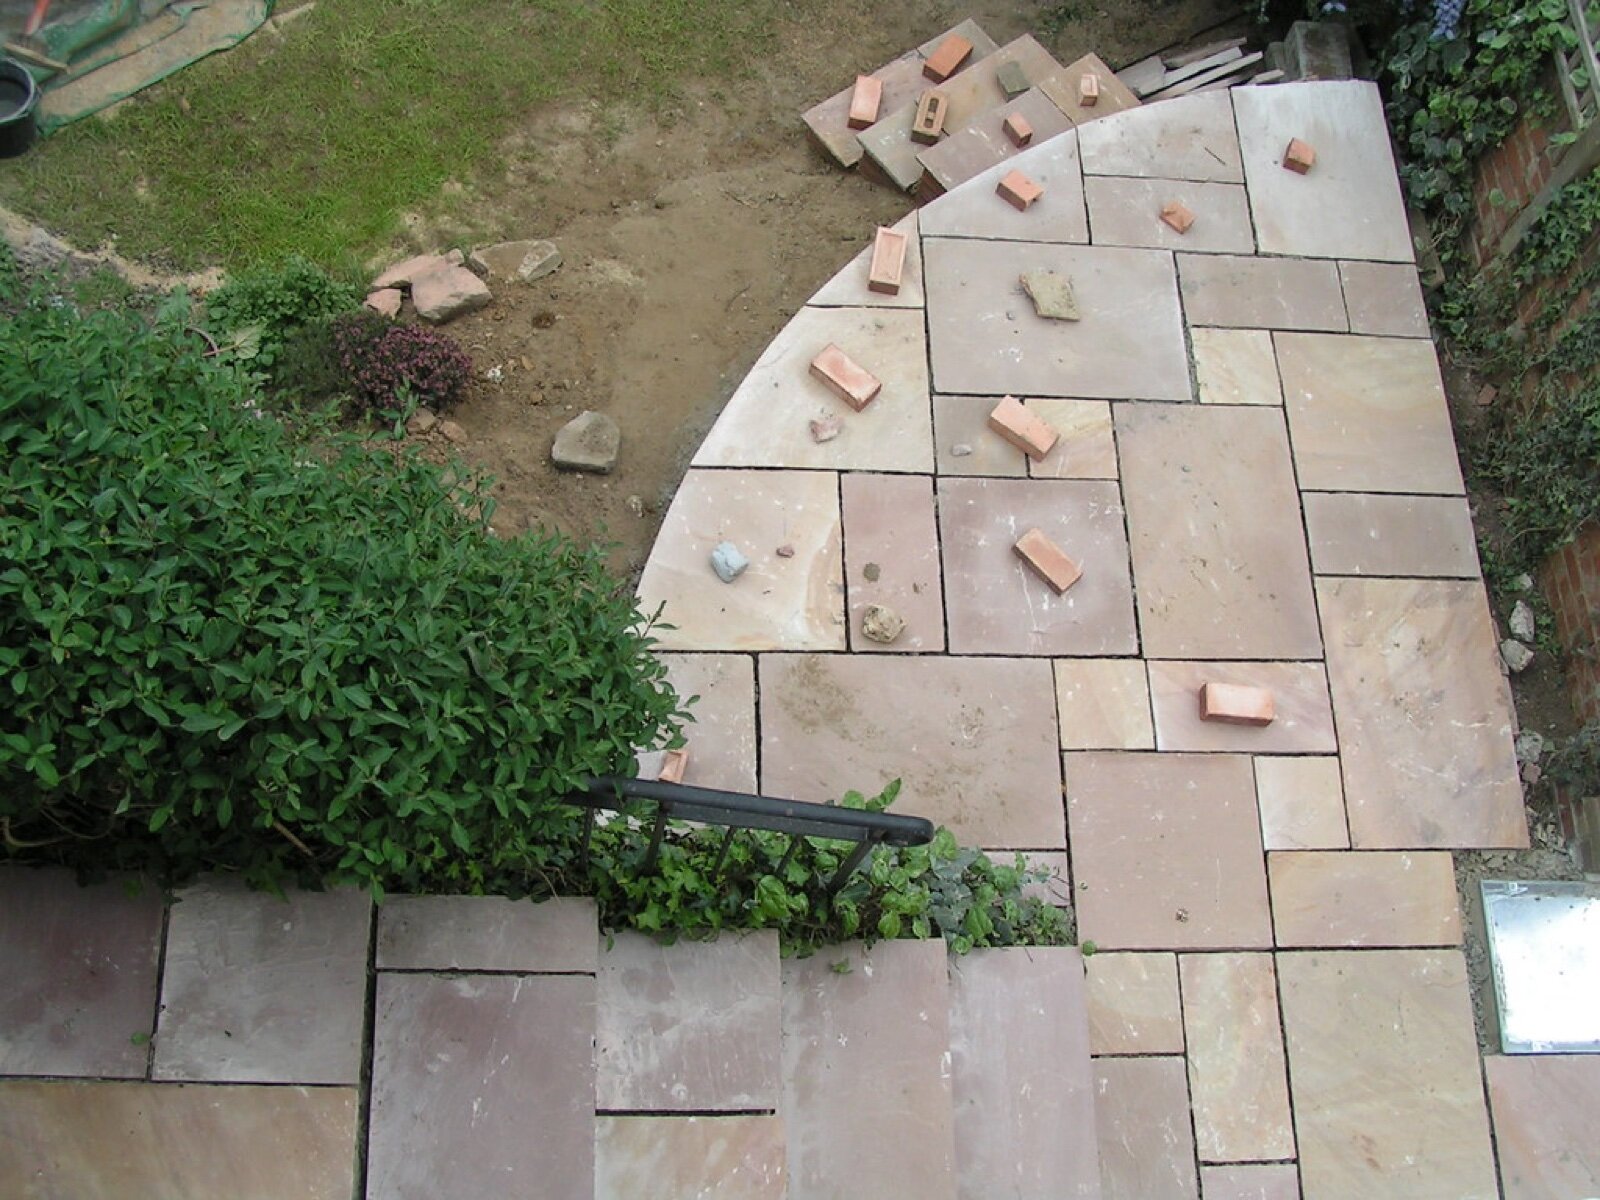
Set the fall with string lines and pegs before a bag of cement is opened, and carry the same gradient through sub-base, bed and finished surface. Do not create the fall by varying the mortar thickness alone; you end up with thick, weak sections that cure differently.
Dry-lay the first two rows before you mix anything. Porcelain is made to tight tolerances but there is still typically about 2mm of variation between slabs, so butt joints are out. Work to a joint of 3mm to 10mm, with 5mm spacers the usual choice. That gap is where the tolerance goes, and it is what lets the jointing compound do its job.
How to lay porcelain paving, step by step
- Excavate and compact. Dig to depth, remove soft spots, then lay and whack the MOT Type 1 in two passes to the fall you set out.
- Mix a moist bed, not a sloppy one. The 4:1 mortar should hold its shape when squeezed but not run. Lay only as much as you can cover in about 20 minutes.
- Prime the back of the slab. Brush the slurry over the whole underside, right into the corners.
- Place while wet. Lower the slab on, do not slide it, and tap down to the string line with a rubber mallet. Lift the first few back off to check contact: you should see mortar transferred across the entire back.
- Spacer, check, repeat. Check level and fall every two or three slabs, not at the end of the row.
- Leave it alone. No foot traffic for at least 24 hours, no heavy loads for several days. Cover it if rain is forecast before jointing.
Cutting 20mm porcelain without chipping it
This is where most DIY porcelain jobs go wrong on the visible side. A general-purpose diamond blade will cut porcelain paving badly, chipping the face on every exit. Use a continuous-rim diamond blade rated for porcelain, run wet, and take your time:
- Score the line with a shallow pass rather than driving straight through.
- Keep the revs down and the pressure light. Porcelain cuts by abrasion, not force.
- Run water throughout, to clear slurry and stop heat building at the cut.
- Work in several gradual passes and support the offcut so it does not snap away and tear the last few millimetres.
- Put cut edges where they will be least seen: against the house, or under furniture.
Jointing, and why you cannot use kiln-dried sand
Kiln-dried sand belongs in block paving, where blocks interlock and joints are narrow. On a rigid, mortar-bedded porcelain patio the joints are structural: they lock the slabs together and keep water out of the bed. Use an external-grade jointing compound, a cementitious slurry grout or a brush-in resin mortar sold for wide external joints.
Porcelain will not absorb pigment, but it does hold grout residue in the surface texture, so wash off as you go rather than at the end of the day. Brush-in resin compounds also need full-depth joints and a working temperature range; applying one in the cold or on a soaking patio is the fastest route to a hazy finish that lasts a year.
The mistakes that crack a porcelain patio
- Spot-fixing instead of a full bed. Guarantees hollow slabs and, eventually, cracks.
- Skipping the primer. Perfect for a season, then slabs start to rock.
- No fall, or a fall towards the house. Standing water, algae and damp at the wall.
- Paving up to or above the damp proof course. The expensive one to put right.
- A thin or unconsolidated sub-base. The patio moves as a whole and joints open up.
- Butt joints. No room for tolerance, and nowhere for the jointing compound to go.
None of those are skill problems. They are decisions made before the first slab goes down, which is the good news: plan the levels, buy the primer, mix a full bed, and the rest is care and repetition. If a large area, awkward levels or a run of tricky cuts is putting you off, that is a fair reason to bring in a professional. You can see the wall and floor work we cover on the Bromley Tilers homepage.
Frequently asked questions
Can you lay porcelain paving on sand?
No. Porcelain paving needs a full, rigid mortar bed over a compacted sub-base. On sand it will rock, and because the slab is only 20mm of brittle material, movement leads to cracking rather than settling. Sand bedding is for block paving, which interlocks and is designed to flex.
Do you have to use a slurry primer on porcelain paving?
Yes, if you want the patio to last. Porcelain is vitrified and virtually non-absorbent, so mortar has nothing to grip. The primer bridges between slab and wet bed. It must cover the whole underside, and the slab must be laid before it dries.
How much fall does a porcelain patio need?
A minimum of 1:80, or 12.5mm per metre, running away from the house. On smooth porcelain and larger open areas, 1:60 is safer. Set the fall in the sub-base and carry it through the whole build-up.
Do I need planning permission for a porcelain patio?
For a rear garden patio, usually not. For a front garden, permission is needed if you cover more than five square metres with an impermeable surface that does not drain to a permeable area. Directing run-off to a lawn or border keeps you inside permitted development.
How thick should the mortar bed be under porcelain paving?
Typically 30mm to 40mm of full-bed mortar mixed 4:1 sharp sand to cement, or 6:1 with a permeable brush-in jointing compound. The bed must be continuous under the whole slab, never five dabs.
Does porcelain paving need sealing?
No. Porcelain has near-zero water absorption, so a sealer has nothing to soak into and no staining to prevent, unlike sandstone, limestone and slate.
Related guides
- How to Tile a Bathroom Wall: A UK Step-by-Step Guide
- How Much Does Tiling Cost in the UK? A Realistic Price Guide
- How to Remove Old Wall Tiles Without Damaging the Wall
- Porcelain vs Ceramic Tiles: Which Is Right for Your Bathroom or Kitchen?
- How to Tank and Waterproof a Wet Room Before Tiling: A Bromley Homeowner’s Guide
- Do You Need to Seal Natural Stone Tiles Before Grouting? A Tiler Explains
- How to Tile a Bathroom Floor (Including Around the Toilet)
- How to Tile a Shower: Walls, Niche and Waterproofing
- Construction Trade News: June 2026
- Bathroom Tiling Guide: How to Plan, Prep and Finish a Lasting Job
- Tile Backer Board vs Plasterboard for Bathrooms
- Best Tiles for Small Bathrooms (and How to Make a Space Look Bigger)
- Wall and Floor Tiles for a Wet Room: What Actually Works
- Tiling vs Wall Panels for a Bathroom: Which Is Better?
- Do You Tile the Floor or Walls First in a Bathroom?
- Tiling and Bathroom Trade News: Mid-June 2026
- Kitchen Tiling: Splashbacks, Walls and Floors Explained
- How to Tile a Kitchen Splashback: Step-by-Step Bromley Guide
- How to Tile Around Kitchen Sockets, Switches and Worktops
- Kitchen Splashback Tile Ideas: 12 Looks That Work
- Tiling and Bathroom Trade News: Late June 2026
- How to Lay Metro Tiles in a Herringbone Pattern
- Tiled vs Glass Splashback (and Acrylic): Which Is Best?
- How High Should a Kitchen Splashback Be Tiled? UK Heights Guide
- Tiling and Bathroom Trade News: Early July 2026
- Types of Tiles: The Complete UK Buyer’s Guide
- Porcelain vs Natural Stone Tiles: Which Should You Choose?
- Natural Stone Tiles Explained: Marble, Travertine, Slate and Limestone
- Tiling and Bathroom Trade News: Mid-July 2026
- Mosaic Tiles: Where to Use Them and How They’re Fixed
- Tile Slip Ratings Explained: R Ratings and PTV for UK Floors
- Matt vs Gloss Tiles: Which Finish Is Right for Your Room?
- Cost to Tile a Bathroom in the UK: 2026 Price Breakdown
- Polystyrene Ceiling Tiles: Are They Any Good?
- Cost to Tile a Kitchen in 2026: Floor and Splashback Prices
- Tiling and Bathroom Trade News: Mid-July 2026
- Tiling Cost Per Square Metre 2026: Labour and All-In Prices
- Tiler Day Rate UK: What Tilers Charge Per Day in 2026
- Cost to Regrout a Bathroom in 2026: UK Prices Explained
- Floor Tile Prices UK 2026: What You Will Pay Per Square Metre
- Is It Cheaper to Tile or Use Wall Panels? A UK Cost Comparison
- How to Tile: A Complete Beginner’s Guide (UK)
- How to Cut Tiles: Manual Cutter, Wet Saw and Nippers
- How to Cut Holes in Tiles for Pipes and Taps
- How to Grout Tiles (and Get Clean, Even Lines)
- Cork Flooring: Pros, Cons and Where It Works in UK Homes
- Tiling and Bathroom Trade News: Late July 2026
- How to Mix and Apply Tile Adhesive Correctly
- How to Set Out Tiles for a Perfect Layout
- How to Seal Grout and Tiles in a Bathroom (UK Guide)
- Can You Tile Over Tiles? When It Works and When It Doesn’t
- Tiling Tools List: What You Need for a Professional Finish
- How Much Tile Adhesive Do I Need? Coverage Per Square Metre
- Tiling Trade News: Topps App, Costs Up 6% (Aug 2026)
- Tile Problems: 9 Common Faults and How to Fix Each
- How to Fix Loose Tiles Without Removing Them
- Cracked Grout Repair: Why It Happens and How to Fix It
- Tiling Trade News: TTA Silica Warning, 2% Retentions
- How to Replace a Broken Tile Without Redoing the Wall
- Water Leaking Through Shower Tiles: 6 Causes and Fixes
- Remove Mouldy Silicone Sealant: A 24-Hour Reseal Job
- How to Clean Grout: What Works, and What Etches Stone
- Why Are My Floor Tiles Lifting? The 40m² Bay Rule
- Tiling Trade News: 3,841 Construction Firms Failed
- Tile Patterns: Why Big Tiles Need a One-Third Offset
- Grout Colour Ideas: How to Get the Shade You Chose
- Can You Paint Tiles? Yes on Walls, No in the Shower
- Decoupling Membrane for Tiles: When You Actually Need One
- Can You Tile Over a Wooden Floor? What Changed in 2024
- Tiling Cost 2026: £25 to £95 per m² Labour, UK Rates
- Tile Ideas: 7 Looks and the One Rule Each Needs
- Metro Tiles: Sizes, Bevels and the 1/3 Offset Rule
- Tile Feature Wall: The Weight Limit That Decides Yours
- Tiling Over Underfloor Heating: 14 Days Before Heat On
- How to Tile a Hallway Floor: Set Out From the Door
- Wood Effect Tiles and Marble Effect: 5 Specs to Check
- Tile Levelling Systems: The 3mm Rule That Decides It
- Tiling Trade News: Repair Work Up 1.7%, Headlam Fails
- Floor Levelling Compound: How Deep and How Long to Dry
- How to Find a Good Tiler: 9 Checks Before You Book
- Tiling Quote: The 10 Lines a Proper One Must Show
- Tile Trim: Sizes, Profiles and the One-Size-Up Rule
- Tile Spacers: 2mm or 3mm, and When to Pull Them Out
- Tiling the Fireplace: 125mm Hearths, Adhesive and Tiles
- Tiling Trade News: Shaws Sinks Reprice on 1 November
- Porcelain vs Stone Paving: Grip, Sealing and Upkeep
- Tiling a Large Floor: Movement Joints Every 10 Metres
- DIY Tiling vs Professional: 6 Jobs to Never Do Yourself
- Terracotta Tiles: Seal Before Grouting, Wait 7 Days
- Tile Drill Bits: Which Bit Won’t Crack Porcelain
- Tiling Corners With Trim: Which Profile, and When to Mitre
- Travertine Tiles: Filled or Unfilled, and How to Seal Them
- Slate Tiles: Calibrated or Riven, and How to Lay Them
- Zellige Tiles: Order 15% Extra and Fix Them Edge to Edge
- Terrazzo Tiles: Real 20mm vs Porcelain, Seal Before Grouting
- Tiling Trade News: 36% Now Add a Bathroom Accent Wall
- Split Face Tiles: Will Your Wall Take 27kg per m²?
- Tile Sealer: Which Tiles Need It and Which Type to Buy
- How to Remove Grout Haze: Which Cleaner for Which Grout
- Efflorescence on Tiles: Why It Comes Back and How to Stop It
- Tile Primer: Which Surfaces Need It and How Much to Dilute
- Epoxy Grout: Where It’s Worth It and How to Apply It
- How to Tile Stairs: Keep Every Riser the Same Height
- Shower Niche: Sizes, Height and Which Wall Can Take One
- How Many Tiles Do I Need? Add 10% to 20% by Layout
- How to Tile a Window Sill: Sill Last, Silicone at the Frame
- Tiling Trade News: Victorian Plumbing Tile Sales Up 76%
- How to Tile Around a Toilet: Lift the Pan or Cut Round It
- Tile to Carpet Transition: Pick the Strip by the Height Gap
- Tile Skirting: Leave a 6mm Gap and Seal, Never Grout
- Tile Backer Board: Cement or Foam, Which Thickness, Fixings
- Quarry Tiles: Seal Them or Not, and How to Clean Them
- Rapid Set Tile Adhesive vs Standard: 30 Mins or 24 Hours