


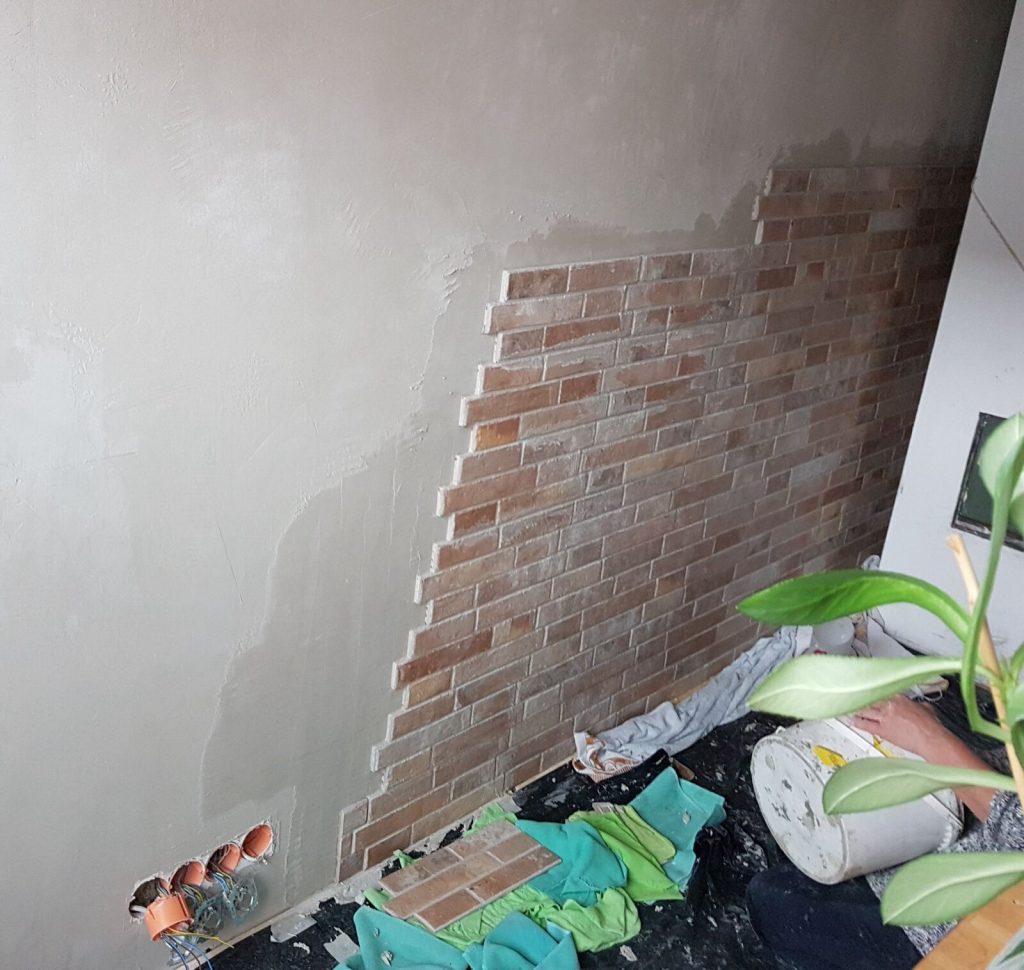
Can you tile onto plaster? Yes, as long as the plaster is sound, fully dry, primed and not painted, and the finished tiling weighs no more than 20kg per square metre including adhesive and grout. That weight limit is the one most people never check, and it is the reason big porcelain tiles slide off skimmed walls a year after they went up. This page covers the weight sum, the drying times, what to do about paint, and the point where you should stop and board the wall instead.
Plasterboard is a separate question with a higher limit, and it has its own page: can you tile onto plasterboard. Here we are talking about gypsum plaster: a backing coat and skim on brick or block, or a skim coat over plasterboard, which is what most Bromley and south east London houses have on their kitchen and bathroom walls.
The 20kg per m² rule, and how to work out your tiles
Topps Tiles’ substrate preparation guidance gives these maximum loads for wall tiling:
- Gypsum plaster (or plasterboard with a plaster skim): up to 20kg per m²
- Bare plasterboard, no skim: up to 32kg per m²
- XPS foam boards such as wedi: up to 120kg per m²
- Cement boards such as HardieBacker: up to 200kg per m²
The 20kg figure is the total load: tile plus adhesive plus grout. Topps advises adding 3kg per m² for the adhesive and grout, which leaves you 17kg per m² for the tile itself.
You will rarely find “kg per m²” printed on a tile, but every box lists its weight and its coverage. Divide one by the other. For example, a box that covers 1.44m² and weighs 25kg works out at about 17.4kg per m². Add the 3kg and you are at 20.4kg per m², just over the limit for plaster. That is a tile you would hang on board, not on a skimmed wall.
As a rough guide, thin ceramic wall tiles usually come in comfortably under the limit, while most porcelain at 9mm to 10mm thick lands close to it or over it. Large format porcelain, natural stone and split face panels are almost always too heavy for plaster. Do the sum with your actual box before you buy adhesive, not after.
New plaster: how long to wait before tiling
Tiling onto plaster that is still damp traps the moisture behind an impervious layer, and the bond suffers. The waiting times in the Topps guidance are:
- New backing coat and skim on masonry: at least 4 weeks
- New skim coat over plasterboard: at least 7 days
Those are minimums in a heated house with some air movement. A freshly plastered bathroom in November with the window shut and no heating on will take longer. Plaster that has dried properly is an even pale pink or light brown all over; dark patches mean it is still wet in that spot. A cheap moisture meter takes the guesswork out of it.
If you are short on time, this is the strongest argument for boarding the wall instead of replastering it. A cement or foam backer board can be tiled as soon as it is fixed and its joints are taped.
Prime the plaster before you tile
Gypsum plaster is porous and dusty, and gypsum can react with cement-based adhesives where they meet. A primer seals the surface, binds the dust and keeps the two apart. Topps says all plaster surfaces should be primed undiluted with BAL Prime APD when you are using a BAL cement-based powder adhesive, and diluted 1:1 with clean water when you are using a BAL ready-mixed adhesive. Other adhesive makers have their own primer and their own ratios, so match the primer to the adhesive brand and follow its data sheet.
Let the primer dry fully before the first tile goes on. The full table of which surfaces need priming, and at what dilution, is on our tile primer page.
Can you tile onto painted plaster?
Not safely. The Topps guidance on tiling onto painted surfaces quotes BS 5385-1:2018, the British Standard for internal wall tiling, which says painted surfaces are generally unsuitable for tiling and that emulsion, limewash, distemper and similar finishes should be removed because they can have poor adhesion to the backing.
The practical problem is that emulsion is water based. Wet adhesive softens it, so the tile ends up stuck to a layer of paint that is only loosely stuck to the wall. On top of that, ready-mixed adhesive is limited to smaller tiles, and cement-based adhesive is not recommended over paint, so there is no adhesive that gets you round it on a typical modern wall tile.
Removing it:
- Steam: holding a wallpaper steamer against the wall softens emulsion so it scrapes off. This is usually the quickest way on plaster.
- Score and scrape: cross-hatch the paint with a sharp knife first so the scraper can get under it.
- Clean and key: wipe off any residue with warm water and a mild cleaner, then roughen the surface with abrasive paper so the primer and adhesive have something to grip.
On a skimmed plasterboard wall, go gently. Scraping too hard can tear the paper face of the board underneath, and once that happens the wall needs boarding over anyway.
Signs the plaster itself is not good enough
Dry, primed, paint-free plaster is still only as strong as its bond to the wall behind. Check it before you start:
- Tap test: knock across the wall with your knuckles or a screwdriver handle. A hollow or drummy sound means the plaster has come away from the brickwork in that area. Tiles will add weight to a patch that is already loose.
- Scratch test: if a key or screwdriver gouges the surface easily, or it powders, the plaster is too soft to carry tiles. Old lime plaster in Victorian and Edwardian houses often fails this.
- Cracks and bulges: fine hairline cracks can be filled. Wide cracks, bulges and crumbling edges mean the plaster should come off.
- Damage from old tiles: pulling old tiles off nearly always rips chunks out of the skim. Small holes can be filled and primed; large torn areas need patching or a new skim, and then the 4-week wait.
- Flatness: plaster that is out of true by more than a few millimetres over a 2m straight edge needs dealing with before you tile. Our page on levelling an uneven wall before tiling covers the options.
Showers and wet areas
Gypsum plaster loses strength when it gets wet. Grout and tiles are not waterproof on their own, so inside a shower enclosure the plaster needs a tanking system over it, or it needs replacing with a cement or foam board that will not soften. Behind a basin or a kitchen splashback the occasional splash is fine on primed plaster. Inside a shower, where water hits the wall every day, we board it. More on that in our guide to tanking before tiling.
Applying adhesive to plaster
Once the wall is dry, sound, stripped and primed, the fixing is straightforward.
- Choose the adhesive for the tile, not the wall: ready-mixed tubs are only suitable for small, light wall tiles. For porcelain, or anything larger than around 30cm by 30cm, use a cement-based powder adhesive with the matching primer.
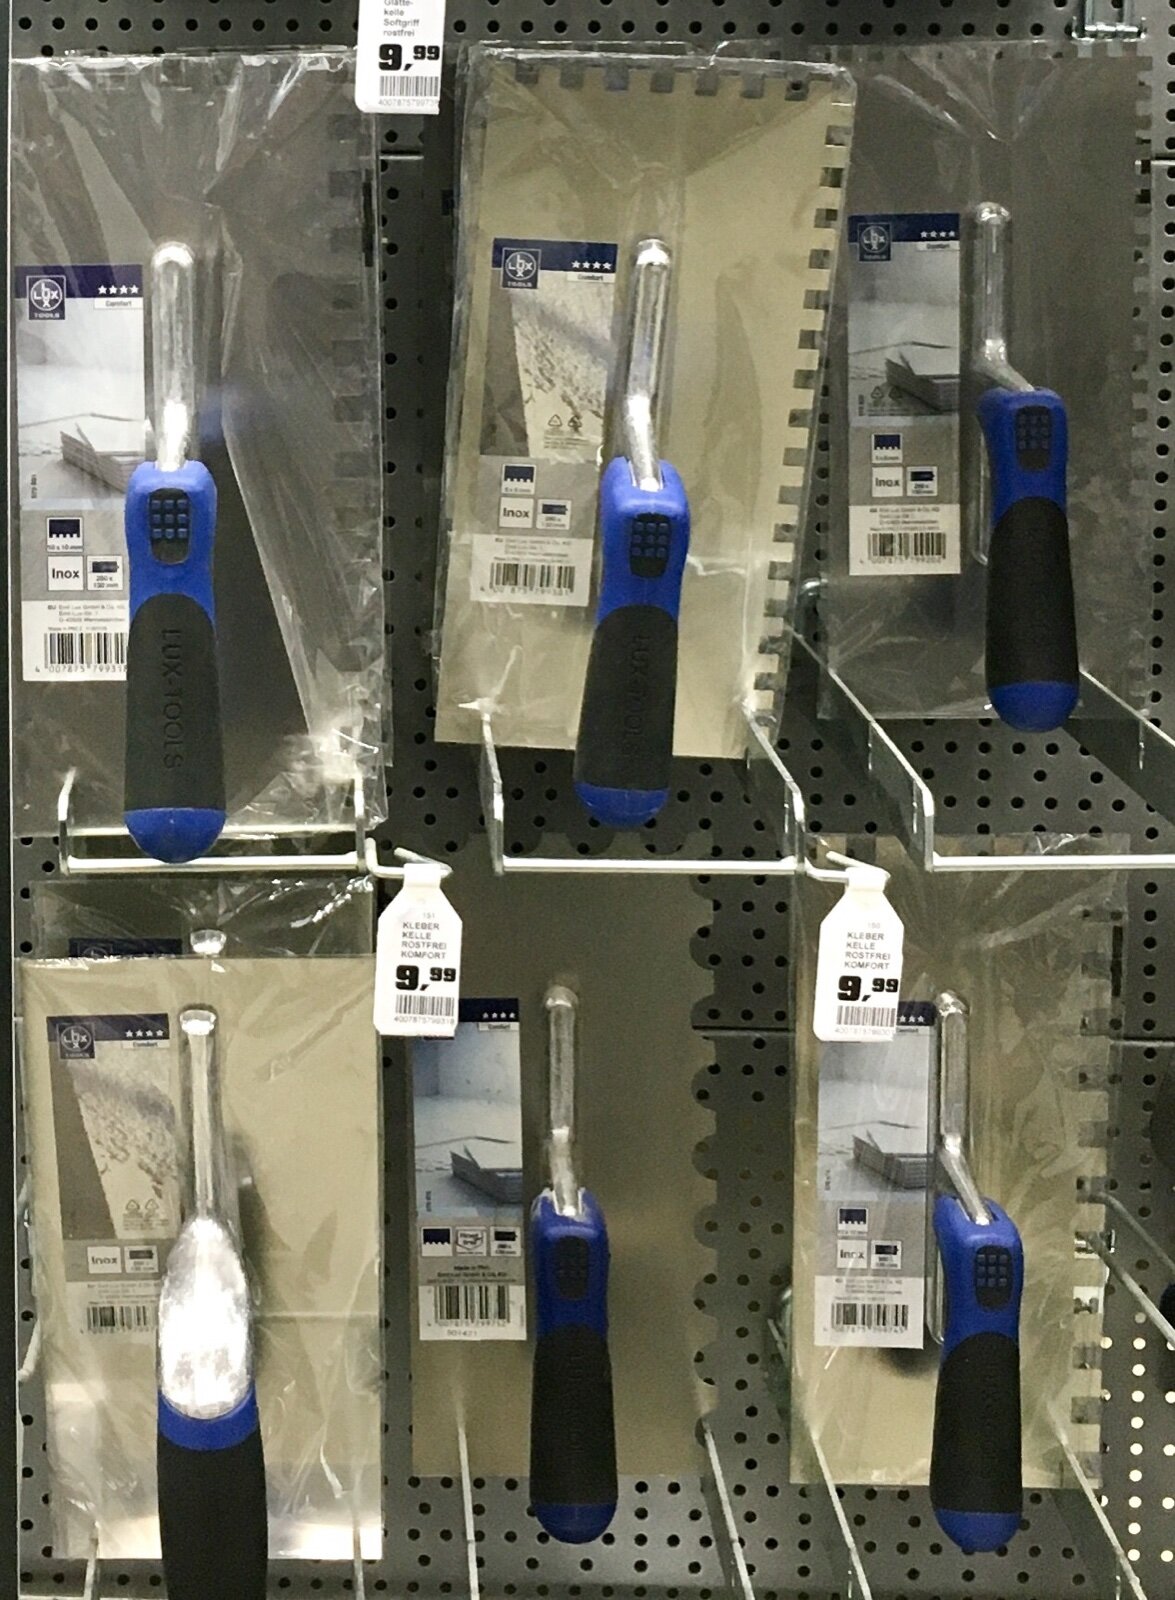
- Use the right notch: a square-notch trowel sized to the tile gives an even bed. Bigger tiles need a bigger notch.
- Get full contact: press each tile in and slide it slightly to collapse the ridges. Lift one now and then to check the back is covered.
- Work from a batten: fix a level timber batten one tile up from the floor or bath and tile upwards from it, so the weight of the wet tiles sits on the batten, not on the adhesive alone.
When to board the wall instead
Tiling onto plaster is fine for most bathrooms and kitchens with standard ceramic or light porcelain wall tiles. Board the wall with cement or foam backer board when:
- your tile, adhesive and grout add up to more than 20kg per m²
- the area is inside a shower or wet room
- the plaster fails the tap or scratch test over more than a small patch
- it is new plaster and you cannot wait 4 weeks
- the paint will not come off without tearing the surface
Our tile backer board page covers which board, which thickness and how to fix it. If you would rather have someone check the wall and tell you which way to go, Bromley Tilers works across Bromley and south east London.
Frequently asked questions
Can you tile straight onto new plaster?
Not straight away. A backing coat and skim on masonry needs at least 4 weeks to dry, and a skim over plasterboard needs at least 7 days, before it is primed and tiled. Longer in a cold or unventilated room.
What is the maximum tile weight for a plastered wall?
20kg per m² for the whole lot: tile, adhesive and grout. Allow about 3kg per m² for adhesive and grout, which leaves roughly 17kg per m² for the tile. Divide the box weight by the box coverage to get your tile’s figure.
Do I need to remove paint before tiling onto plaster?
Yes. BS 5385-1 says emulsion, limewash and distemper should be removed because they can bond poorly to the backing. Water-based emulsion also softens under wet adhesive. Steam or scrape it off, clean and key the plaster, then prime.
Can you tile onto old lime plaster?
Only if it is hard, firmly attached and passes a scratch test, and only with light tiles. Much old lime plaster is soft or partly detached, in which case it should be removed or the wall boarded.
Can I use PVA to prime plaster before tiling?
Adhesive makers advise against it under cement-based adhesive. Use the primer recommended by your adhesive’s manufacturer, at the dilution on its data sheet.
Is a skimmed wall better than bare plasterboard for tiling?
No, it is the other way round. A plaster skim lowers the limit from 32kg per m² on bare plasterboard to 20kg per m², and it adds a drying wait. If you are planning heavier tiles, ask for the board to be left unskimmed in the tiled area.
Related guides
- How to Tile a Bathroom Wall: A UK Step-by-Step Guide
- How Much Does Tiling Cost in the UK? A Realistic Price Guide
- How to Remove Old Wall Tiles Without Damaging the Wall
- Porcelain vs Ceramic Tiles: Which Is Right for Your Bathroom or Kitchen?
- How to Tank and Waterproof a Wet Room Before Tiling: A Bromley Homeowner’s Guide
- Do You Need to Seal Natural Stone Tiles Before Grouting? A Tiler Explains
- How to Tile a Bathroom Floor (Including Around the Toilet)
- How to Tile a Shower: Walls, Niche and Waterproofing
- Construction Trade News: June 2026
- Bathroom Tiling Guide: How to Plan, Prep and Finish a Lasting Job
- Tile Backer Board vs Plasterboard for Bathrooms
- Best Tiles for Small Bathrooms (and How to Make a Space Look Bigger)
- Wall and Floor Tiles for a Wet Room: What Actually Works
- Tiling vs Wall Panels for a Bathroom: Which Is Better?
- Do You Tile the Floor or Walls First in a Bathroom?
- Tiling and Bathroom Trade News: Mid-June 2026
- Kitchen Tiling: Splashbacks, Walls and Floors Explained
- How to Tile a Kitchen Splashback: Step-by-Step Bromley Guide
- How to Tile Around Kitchen Sockets, Switches and Worktops
- Kitchen Splashback Tile Ideas: 12 Looks That Work
- Tiling and Bathroom Trade News: Late June 2026
- How to Lay Metro Tiles in a Herringbone Pattern
- Tiled vs Glass Splashback (and Acrylic): Which Is Best?
- How High Should a Kitchen Splashback Be Tiled? UK Heights Guide
- Tiling and Bathroom Trade News: Early July 2026
- Types of Tiles: The Complete UK Buyer’s Guide
- Porcelain vs Natural Stone Tiles: Which Should You Choose?
- Natural Stone Tiles Explained: Marble, Travertine, Slate and Limestone
- Tiling and Bathroom Trade News: Mid-July 2026
- Mosaic Tiles: Where to Use Them and How They’re Fixed
- Tile Slip Ratings Explained: R Ratings and PTV for UK Floors
- Matt vs Gloss Tiles: Which Finish Is Right for Your Room?
- Cost to Tile a Bathroom in the UK: 2026 Price Breakdown
- Polystyrene Ceiling Tiles: Are They Any Good?
- Cost to Tile a Kitchen in 2026: Floor and Splashback Prices
- Tiling and Bathroom Trade News: Mid-July 2026
- Tiling Cost Per Square Metre 2026: Labour and All-In Prices
- Tiler Day Rate UK: What Tilers Charge Per Day in 2026
- Cost to Regrout a Bathroom in 2026: UK Prices Explained
- Floor Tile Prices UK 2026: What You Will Pay Per Square Metre
- Is It Cheaper to Tile or Use Wall Panels? A UK Cost Comparison
- How to Tile: A Complete Beginner’s Guide (UK)
- How to Cut Tiles: Manual Cutter, Wet Saw and Nippers
- How to Cut Holes in Tiles for Pipes and Taps
- How to Grout Tiles (and Get Clean, Even Lines)
- Cork Flooring: Pros, Cons and Where It Works in UK Homes
- Tiling and Bathroom Trade News: Late July 2026
- How to Mix and Apply Tile Adhesive Correctly
- How to Set Out Tiles for a Perfect Layout
- How to Seal Grout and Tiles in a Bathroom (UK Guide)
- Can You Tile Over Tiles? When It Works and When It Doesn’t
- Tiling Tools List: What You Need for a Professional Finish
- How Much Tile Adhesive Do I Need? Coverage Per Square Metre
- Tiling Trade News: Topps App, Costs Up 6% (Aug 2026)
- Tile Problems: 9 Common Faults and How to Fix Each
- How to Fix Loose Tiles Without Removing Them
- Cracked Grout Repair: Why It Happens and How to Fix It
- Tiling Trade News: TTA Silica Warning, 2% Retentions
- How to Replace a Broken Tile Without Redoing the Wall
- Water Leaking Through Shower Tiles: 6 Causes and Fixes
- Remove Mouldy Silicone Sealant: A 24-Hour Reseal Job
- How to Clean Grout: What Works, and What Etches Stone
- Why Are My Floor Tiles Lifting? The 40m² Bay Rule
- Tiling Trade News: 3,841 Construction Firms Failed
- How to Lay Porcelain Paving: 1:80 Fall, 150mm Below DPC
- Tile Patterns: Why Big Tiles Need a One-Third Offset
- Grout Colour Ideas: How to Get the Shade You Chose
- Can You Paint Tiles? Yes on Walls, No in the Shower
- Decoupling Membrane for Tiles: When You Actually Need One
- Can You Tile Over a Wooden Floor? What Changed in 2024
- Tiling Cost 2026: £25 to £95 per m² Labour, UK Rates
- Tile Ideas: 7 Looks and the One Rule Each Needs
- Metro Tiles: Sizes, Bevels and the 1/3 Offset Rule
- Tile Feature Wall: The Weight Limit That Decides Yours
- Tiling Over Underfloor Heating: 14 Days Before Heat On
- How to Tile a Hallway Floor: Set Out From the Door
- Wood Effect Tiles and Marble Effect: 5 Specs to Check
- Tile Levelling Systems: The 3mm Rule That Decides It
- Tiling Trade News: Repair Work Up 1.7%, Headlam Fails
- Floor Levelling Compound: How Deep and How Long to Dry
- How to Find a Good Tiler: 9 Checks Before You Book
- Tiling Quote: The 10 Lines a Proper One Must Show
- Tile Trim: Sizes, Profiles and the One-Size-Up Rule
- Tile Spacers: 2mm or 3mm, and When to Pull Them Out
- Tiling the Fireplace: 125mm Hearths, Adhesive and Tiles
- Tiling Trade News: Shaws Sinks Reprice on 1 November
- Porcelain vs Stone Paving: Grip, Sealing and Upkeep
- Tiling a Large Floor: Movement Joints Every 10 Metres
- DIY Tiling vs Professional: 6 Jobs to Never Do Yourself
- Terracotta Tiles: Seal Before Grouting, Wait 7 Days
- Tile Drill Bits: Which Bit Won’t Crack Porcelain
- Tiling Corners With Trim: Which Profile, and When to Mitre
- Travertine Tiles: Filled or Unfilled, and How to Seal Them
- Slate Tiles: Calibrated or Riven, and How to Lay Them
- Zellige Tiles: Order 15% Extra and Fix Them Edge to Edge
- Terrazzo Tiles: Real 20mm vs Porcelain, Seal Before Grouting
- Tiling Trade News: 36% Now Add a Bathroom Accent Wall
- Split Face Tiles: Will Your Wall Take 27kg per m²?
- Tile Sealer: Which Tiles Need It and Which Type to Buy
- How to Remove Grout Haze: Which Cleaner for Which Grout
- Efflorescence on Tiles: Why It Comes Back and How to Stop It
- Tile Primer: Which Surfaces Need It and How Much to Dilute
- Epoxy Grout: Where It’s Worth It and How to Apply It
- How to Tile Stairs: Keep Every Riser the Same Height
- Shower Niche: Sizes, Height and Which Wall Can Take One
- How Many Tiles Do I Need? Add 10% to 20% by Layout
- How to Tile a Window Sill: Sill Last, Silicone at the Frame
- Tiling Trade News: Victorian Plumbing Tile Sales Up 76%
- How to Tile Around a Toilet: Lift the Pan or Cut Round It
- Tile to Carpet Transition: Pick the Strip by the Height Gap
- Tile Skirting: Leave a 6mm Gap and Seal, Never Grout
- Tile Backer Board: Cement or Foam, Which Thickness, Fixings
- Quarry Tiles: Seal Them or Not, and How to Clean Them
- Rapid Set Tile Adhesive vs Standard: 30 Mins or 24 Hours