


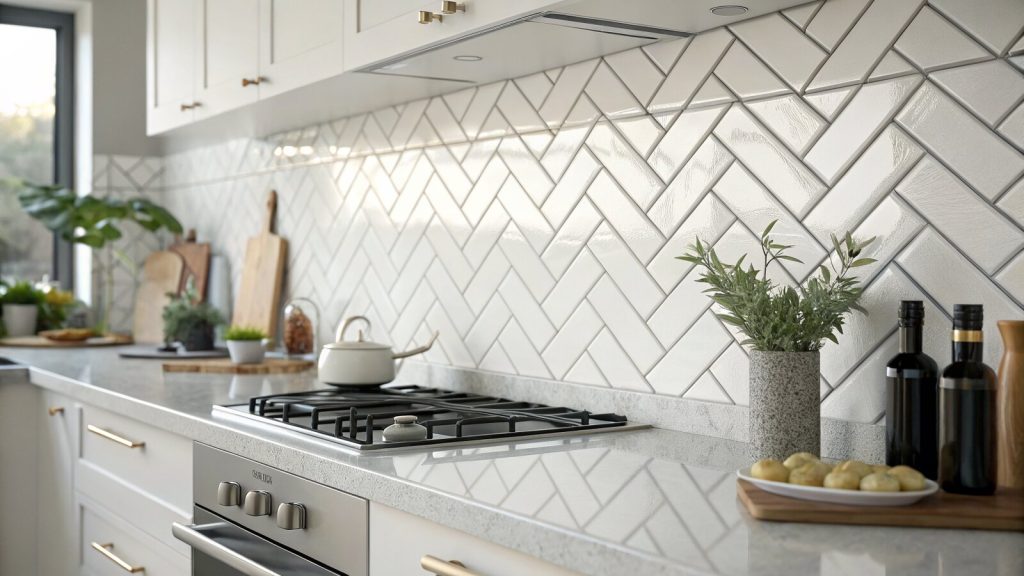
Metro tiles in a herringbone pattern turn a plain wall into a proper feature, which is why the look has become one of the most requested finishes for kitchens and bathrooms across Bromley and South East London. Laying metro tiles in a herringbone pattern is well within reach for a confident DIYer, but it asks for more planning and more cutting than a straightforward brick bond. Get the setting out right and the rest is repetition. Get it wrong and the angle drifts across the wall, which is impossible to hide.
This guide walks through the whole job: choosing the pattern, the tools you need, marking out a true 45 degree guide line, fixing the tiles and finishing with grout. It is written for wall tiling, which is where herringbone metro tiles are used most often, although the same principles apply to a floor.
What a herringbone metro tile pattern actually is
Herringbone is a zig-zag of rectangular tiles, each one set at a right angle to its neighbour. With metro tiles, which are usually 100mm by 200mm (and also sold as 75 by 150 or 65 by 200), the 2:1 ratio makes a clean, tight herringbone with no awkward part-tile fillers in the body of the pattern.
You have two main choices. A 45 degree herringbone runs the tiles diagonally up the wall and is the classic, dramatic version, but it leaves triangular cuts all the way round the edges. A 90 degree (or straight) herringbone keeps the points running vertically and horizontally, which is a little easier to set out and creates less waste at the perimeter. Decide before you buy, because the angle changes how many tiles you need.
Whichever you pick, order around 10 to 15 percent extra on top of the wall area to cover cuts, breakages and future repairs. Herringbone wastes more than a brick bond, so do not skimp on quantity.
Tools and materials you will need
- Metro tiles, plus 10 to 15 percent for waste
- Notched trowel (6mm to 8mm bed for metro tiles)
- Ready-mixed or rapid-set wall tile adhesive suitable for the substrate
- Tile spacers (1.5mm or 2mm is typical for metro) or a levelling system
- Manual score-and-snap cutter for straight cuts, plus an electric wet cutter for the perimeter triangles
- Long spirit level, tape measure and a pencil
- A digital angle finder or a combination square to confirm 45 degrees
- Grout, grout float, sponge and a bucket
- Tile trim for any exposed edges, plus silicone for internal corners and worktop joints
A clean, flat, dry substrate matters more with herringbone than almost any other pattern, because the angled lines expose any bumps or hollows. Plasterboard is fine for a kitchen splashback; in a shower or wet area you need a tanked backer board. If you are unsure what your wall can take, our team at Bromley Tilers can advise before you start.
Planning and setting out the herringbone pattern
This is the step beginners skip, and it is the step that decides whether the job looks professional. Never start a herringbone from a corner or a skirting line, because no wall is perfectly square and the pattern will lean.
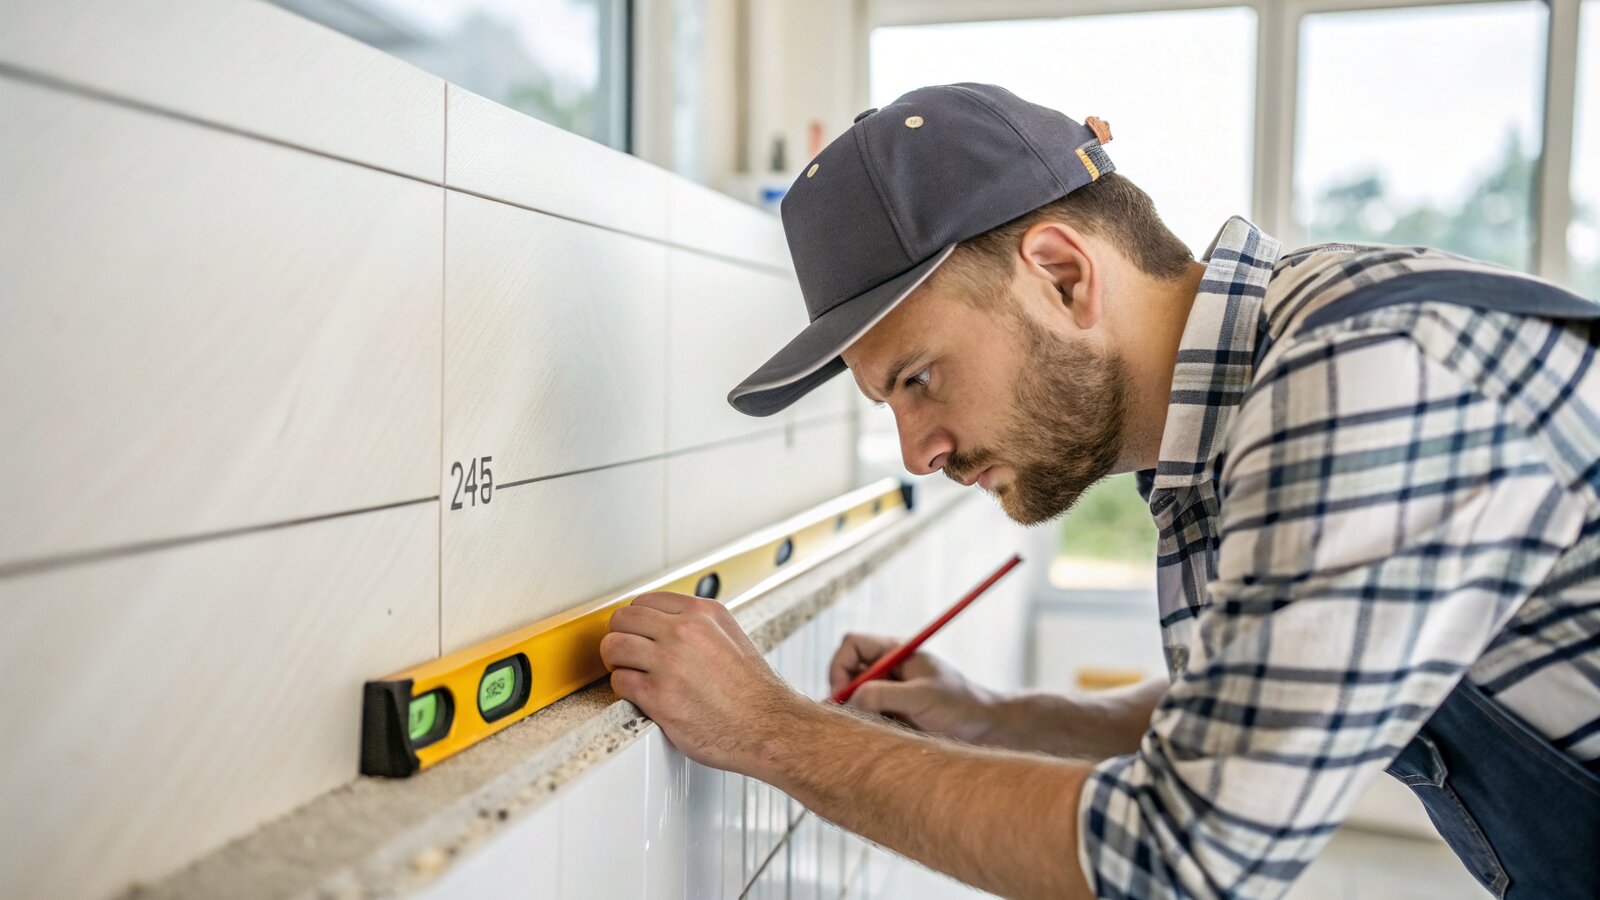
Find the centre of the wall and draw a true vertical plumb line with your spirit level. From that line, set out a 45 degree guide using your angle finder, then dry-lay a few tiles on the floor first to see how the points fall. Aim to position the pattern so the cuts at each end of the wall are as even and as large as possible. Thin slivers in a corner look amateurish and are fragile.
Mark a horizontal datum line as well, usually one tile height up from the lowest point of the worktop or floor, checked with the level rather than measured off the surface. You will tile up from this batten or line, then come back and fill the bottom row last.
How to lay metro tiles in a herringbone pattern
Work in small sections so the adhesive does not skin over before you reach it.
- Mix or open the adhesive. Use a ready-mixed paste for splashbacks and a cement-based flexible adhesive for larger areas or wet zones. Spread enough for two or three tiles at a time.
- Comb the bed. Apply with the flat edge, then comb to an even depth with the notched edge. For larger metro formats, back-butter each tile as well to avoid hollow spots.
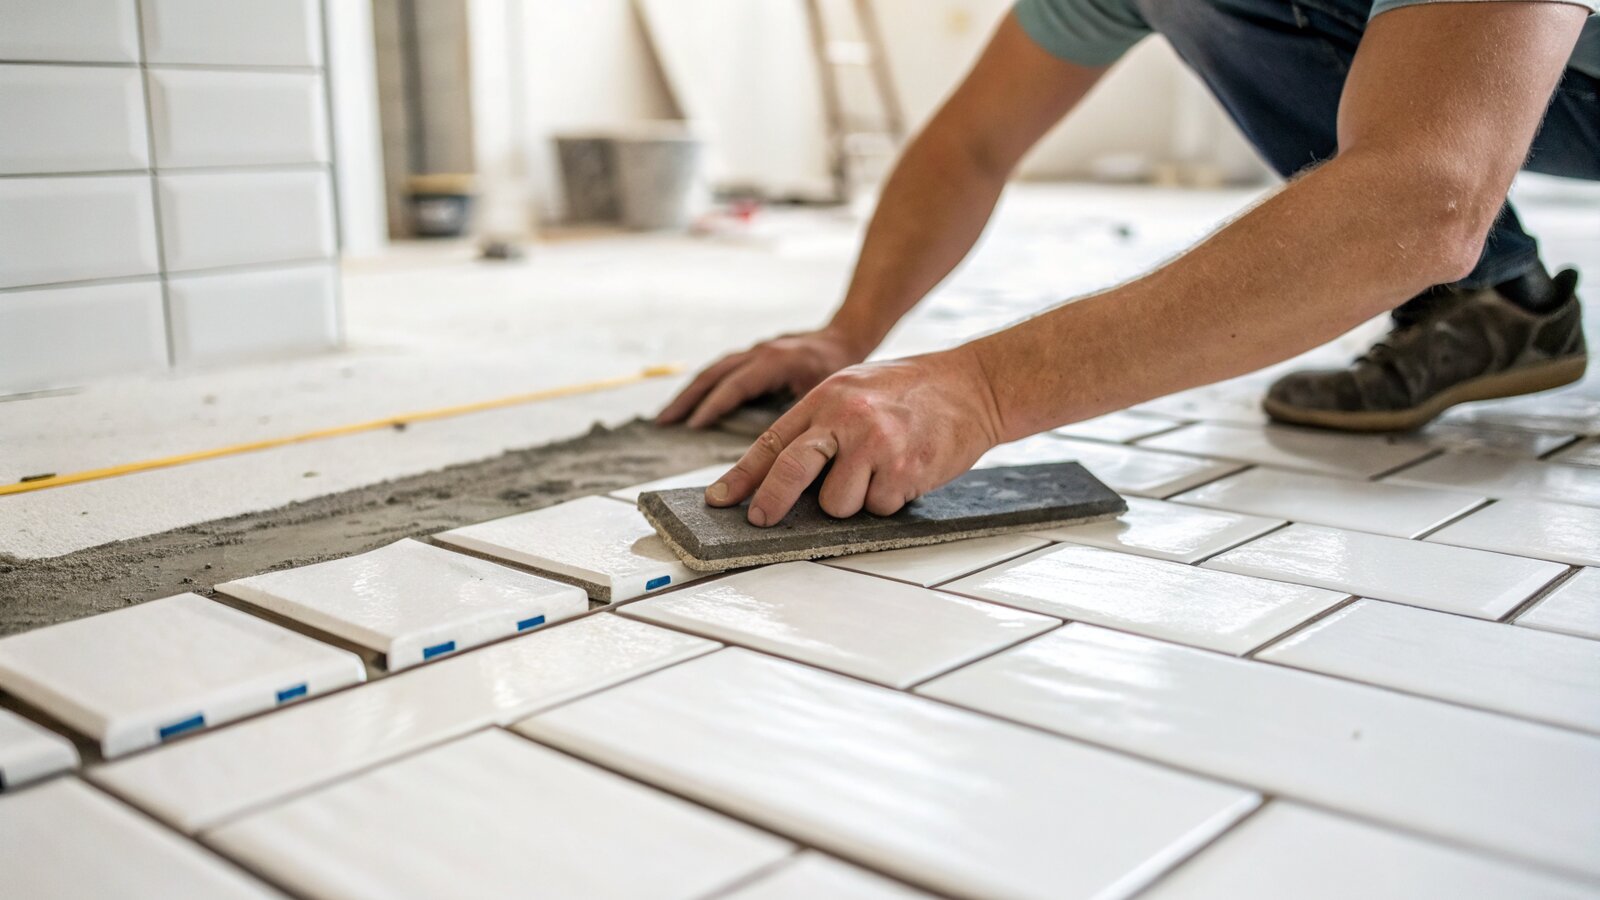
- Place the first pair. Set the first tile against your centre guide at 45 degrees, then place the second at a right angle to it so the end of one meets the long edge of the next. This interlock is the whole pattern.
- Build outwards. Keep adding tiles in pairs, pushing each firmly home with a slight twist and using spacers at every joint. Check the angle with your square every few tiles, not just your eye.
- Check the plane. Lay your level across the faces regularly. A levelling clip system helps keep large metro tiles flush and stops lippage at the points, which is where herringbone shows every error.
Let the field tiles set before you cut the edges, so nothing moves when you work around them.
Cutting the perimeter tiles
The edges of a herringbone are all triangles and part-tiles. Measure each gap individually rather than assuming they repeat, because small differences add up. A manual cutter handles straight 45 degree cuts on standard ceramic metro tiles; for porcelain, or for neat triangles, an electric wet cutter gives a cleaner edge. Cut a little proud and offer the tile up before fixing. Where a cut edge will be visible, such as the end of a splashback, finish it with a matching tile trim rather than leaving the raw edge on show.
Grouting and finishing
Leave the adhesive to cure for the time stated on the tub, usually 24 hours, before grouting. Your grout colour choice changes the whole effect: a matching grout makes the wall read as one soft texture, while a contrasting grey or charcoal grout against white metro tiles emphasises every zig-zag. Spread the grout diagonally across the joints with the float, hold the float at a steep angle to pull off the excess, then clean with a damp (not wet) sponge once it has hauled off. Polish the haze with a dry cloth the next day. Finish internal corners and the joint where tiles meet a worktop or bath with flexible silicone, never grout, so the joint can move without cracking.
Common mistakes to avoid
- Starting from a corner. Always work from a centred guide line so the angle stays true.
- Trusting the wall is square. Set out from plumb and level lines you have drawn, not from the ceiling, floor or worktop.
- Under-ordering tiles. Herringbone wastes more, so buy the extra and keep a few spares.
- Ignoring lippage. The points of a herringbone catch the light and the eye, so keep faces flush as you go.
- Grouting too soon. Disturbing tiles before the adhesive cures pulls the whole pattern out of line.
Frequently asked questions
Are metro tiles harder to lay in a herringbone pattern?
Yes, more so than a standard horizontal brick bond. The tiles themselves are easy to handle, but the setting out and the perimeter cutting take longer and demand more care. If it is your first tiling job, a splashback is a sensible place to practise before tackling a full wall.
How many extra metro tiles should I buy for herringbone?
Allow 10 to 15 percent on top of the measured wall area. A 45 degree herringbone produces more triangular offcuts than a 90 degree version, so lean toward the higher figure if you are running the pattern diagonally.
What size metro tile works best for herringbone?
Any true 2:1 rectangle works, but the standard 100mm by 200mm metro tile is the most forgiving and the easiest to source. Smaller 75 by 150 tiles give a busier, finer pattern but mean far more tiles and joints to lay.
What grout colour suits herringbone metro tiles?
It depends on the effect you want. A tonal grout that matches the tile keeps the look calm and modern. A darker contrasting grout shows off the herringbone geometry but highlights any uneven joints, so it is less forgiving of a first attempt.
Can I lay herringbone metro tiles on a floor?
You can, using floor-rated porcelain metro tiles, a flexible floor adhesive and a suitably prepared, rigid substrate. The setting-out method is the same, but floors need full adhesive coverage and often a decoupling layer over timber to prevent cracking.
Related guides
- How to Tile a Bathroom Wall: A UK Step-by-Step Guide
- How Much Does Tiling Cost in the UK? A Realistic Price Guide
- How to Remove Old Wall Tiles Without Damaging the Wall
- Porcelain vs Ceramic Tiles: Which Is Right for Your Bathroom or Kitchen?
- How to Tank and Waterproof a Wet Room Before Tiling: A Bromley Homeowner’s Guide
- Do You Need to Seal Natural Stone Tiles Before Grouting? A Tiler Explains
- How to Tile a Bathroom Floor (Including Around the Toilet)
- How to Tile a Shower: Walls, Niche and Waterproofing
- Construction Trade News: June 2026
- Bathroom Tiling Guide: How to Plan, Prep and Finish a Lasting Job
- Tile Backer Board vs Plasterboard for Bathrooms
- Best Tiles for Small Bathrooms (and How to Make a Space Look Bigger)
- Wall and Floor Tiles for a Wet Room: What Actually Works
- Tiling vs Wall Panels for a Bathroom: Which Is Better?
- Do You Tile the Floor or Walls First in a Bathroom?
- Tiling and Bathroom Trade News: Mid-June 2026
- Kitchen Tiling: Splashbacks, Walls and Floors Explained
- How to Tile a Kitchen Splashback: Step-by-Step Bromley Guide
- How to Tile Around Kitchen Sockets, Switches and Worktops
- Kitchen Splashback Tile Ideas: 12 Looks That Work
- Tiled vs Glass Splashback (and Acrylic): Which Is Best?