


If you want to know how to remove grout haze, the answer depends on one thing before any other: which grout you used. A cement grout haze comes off with a mild acid cleaner, an epoxy haze needs its own remover, and a ready-mixed acrylic grout leaves a film that acid will not shift at all. Pick the wrong product and you either waste a weekend scrubbing or etch a stone floor you cannot un-etch.
This page sets out how to tell what you are dealing with, how long to wait, which cleaner matches which grout and tile, and the mistakes we see on jobs around Bromley Tilers. The timings and restrictions come from the manufacturers’ own technical sheets, quoted where it matters.
What grout haze actually is
Haze is the thin layer of grout left on the tile face after the joints have been filled and sponged. With a cement grout it is mostly the cement part of the mix, which is calcium based, plus any pigment and latex in the product. MAPEI’s technical bulletin on the subject describes it showing up as “a white powder, dull smears, glossy patches, swirls, streaks, or any combination”, and notes it is most often seen on textured tiles, where the film sits in the low points of the surface.
It is easy to mistake haze for other things. Run through these before you buy anything:
- Haze: an even, dull or chalky veil over the whole tile that shows up worst in low, raking light. Wiping with a dry cloth does little.
- Grout smears or lumps: thicker, visible ridges of grout left by the float or sponge. Scrape these first with a plastic scraper; a cleaner alone will take forever.
- Efflorescence: white salts that keep coming back through the joints, usually on floors over new screed or outdoor paving. Cleaning removes it for a while, but the cause is moisture moving through the bed.
- Sealer residue: a sticky or blotchy film on stone or unglazed porcelain after sealing. This is not grout at all and needs the sealer maker’s stripper. Our tile sealer page covers that case.
Work out which grout you used
Check the bag or tub before you do anything. MAPEI splits grouts into three families, and each one needs a different approach:
- Cement-based grout (powder you mix with water, sanded or unsanded). This is what most UK bathrooms and kitchens are grouted with. Its haze responds to acid-based cleaners.
- Ready-mixed grout (a tub, usually acrylic or urethane). The film is a polymer, so acid does not break it down. MAPEI recommends a heavy-duty alkaline tile cleaner combined with a mild abrasive cleaner instead.
- Epoxy grout (two or three part resin). The hardest haze of all to remove once cured, because the grout is designed to resist chemicals. It needs a dedicated epoxy residue cleaner and the sooner you deal with it, the easier it is.
If the tiler has gone and nobody knows, a drop of a cement haze remover on a hazed corner tells you a lot: cement residue fizzes or softens within a minute or two, while an acrylic or epoxy film stays put.
Timing: when to clean, and when it is too late for a sponge
The cheapest way to remove grout haze is not to let it cure. On a cement grout, the usual sequence is: fill the joints, wait for the grout to firm up in the joint, sponge off with a well wrung sponge, then buff the remaining film off with a dry microfibre cloth once it dulls. Most of our how to grout tiles advice is about getting that wait right.
The manufacturers give the windows in plain terms:
- Fresh cement residue: FILA’s guidance for its Instant Remover spray is to use it “after the grout has initially set and become firm to the touch, but while the remaining residue on the tile face is still fresh”, which it puts at “around 10 to 30 minutes”, with a one to two minute contact time. Always follow the grout maker’s own timing if it differs.
- Cured cement residue: once the film has hardened, FILA switches to Deterdek Pro, its end-of-work acid cleaner, diluted between 1:5 and 1:10 depending on how heavy the residue is, left for about five minutes before scrubbing.
- Epoxy residue: MAPEI’s bulletin says residential epoxy is generally considered cured after about seven days, and its own Kerapoxy grouts fully cure in 14 days. Its advice is to deal with epoxy haze “as soon after installation as allowed by the grout manufacturer”. In the UK, MAPEI’s UltraCare Kerapoxy Cleaner is sold for both fresh and cured epoxy residue, with a contact time of around 15 to 20 minutes.
The practical rule: if the haze is less than a day old on cement grout, try a damp microfibre and clean water first. If it has been there a week, go straight to a proper haze remover rather than scrubbing harder with water.
How to remove grout haze from porcelain and ceramic tiles
Glazed ceramic and porcelain are acid resistant, which makes them the easiest case. For cement grout haze:
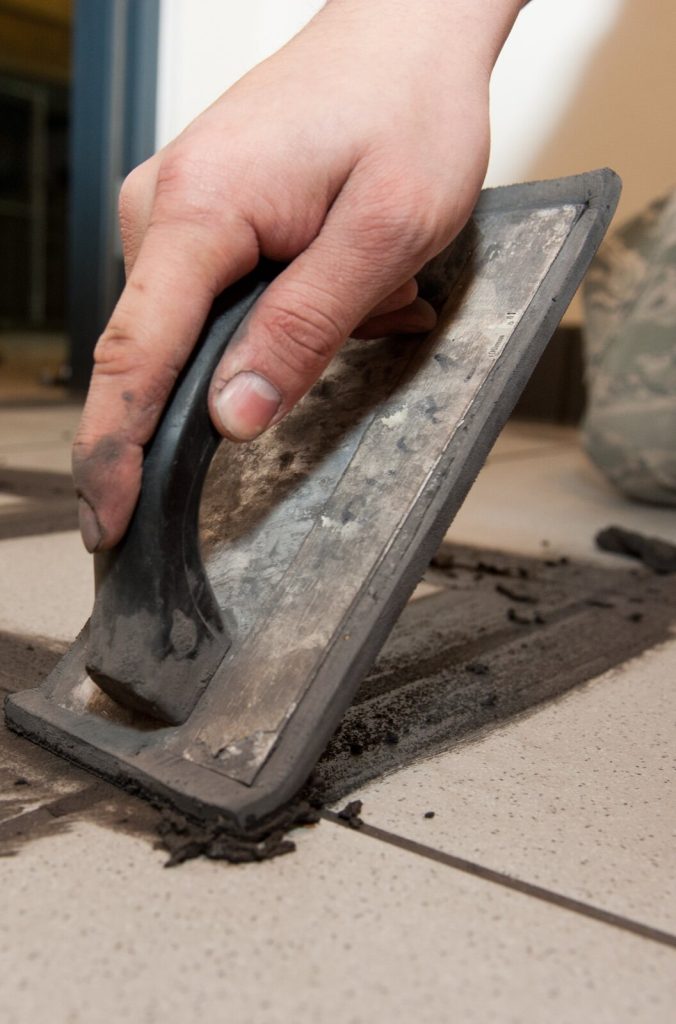
- Scrape off any lumps with a plastic scraper or the edge of a rubber grout float held flat. Never use a metal blade on glazed tiles.
- Test a hidden tile. Every manufacturer says this, and it matters most on lappato, polished or decorative tiles, where a scratch or a dull patch shows.
- Pre-wet the joints with clean water if the product calls for it. FILA’s after-laying method starts by soaking the surface, so the grout lines absorb water rather than acid.
- Apply the cleaner a few square metres at a time. LTP Grout Haze & Limescale Remover is a ready-to-use spray: its technical data sheet says to spray, wipe with a microfibre cloth, rinse the cloth, and repeat. For older, stubborn residue it says to scrub immediately with a white nylon pad. LTP quotes up to 10m² of grout film per 500ml.
- Rinse and dry, then look again in low light from a torch held flat to the floor. Repeat the treatment rather than mixing a stronger solution.
Use white or soft nylon pads only. Green or brown scouring pads can scratch the glaze on gloss and polished porcelain. On textured or anti-slip floor tiles, a soft deck brush gets into the profile better than a pad.
Natural stone: the acid trap
Marble, limestone and travertine are calcium carbonate, the same chemistry that acid cleaners are designed to dissolve. MAPEI’s bulletin explains that acids work by “attacking calcium”, which is exactly why they lift cement haze and exactly why they etch these stones. The damage looks like dull, pale marks that no amount of cleaning removes; on polished stone it usually means re-honing.
The product restrictions are clear. LTP’s sheet lists its haze remover as not suitable for polished marble, travertine or limestone, and says sealed natural stone should be re-sealed after cleaning. FILA says neither of its grout cleaners should be used on polished marble or other acid-sensitive materials. Slate, granite and quarry tiles are on LTP’s list of suitable surfaces, but test first: some slates contain calcite veins.
On acid-sensitive stone, the safer order is: a neutral pH stone cleaner and a soft pad, then a stone-specific non-acid residue remover, and if neither works, a specialist stone restorer. The best fix is prevention: sealing the stone before grouting stops the haze bonding into the pores in the first place, which is why we cover sealing natural stone before grouting as a separate step.
Epoxy and ready-mixed grout haze
Epoxy haze often looks like a shiny, slightly tacky sheen rather than a white veil. A cement haze remover will not touch it. Use the epoxy cleaner from the same brand as the grout where one exists, give it the full contact time, then work it with a white pad and rinse. MAPEI’s UltraCare Kerapoxy Cleaner instructions follow that pattern: apply, leave for a few minutes, work with a Scotch-Brite pad, remove and rinse thoroughly. It is not for polished marble, stone or wood.
Ready-mixed acrylic or urethane grouts leave a film that acid will not dissolve. MAPEI’s approach for its own range is an alkaline heavy-duty tile cleaner left on for several minutes, then an equal amount of a mild abrasive cleaner scrubbed in with a white pad. The bulletin adds a useful warning: if a mild acid wash does not shift a residue, “using more acid may not do the trick and can also damage the surface”.
Tools that help, and ones that do damage
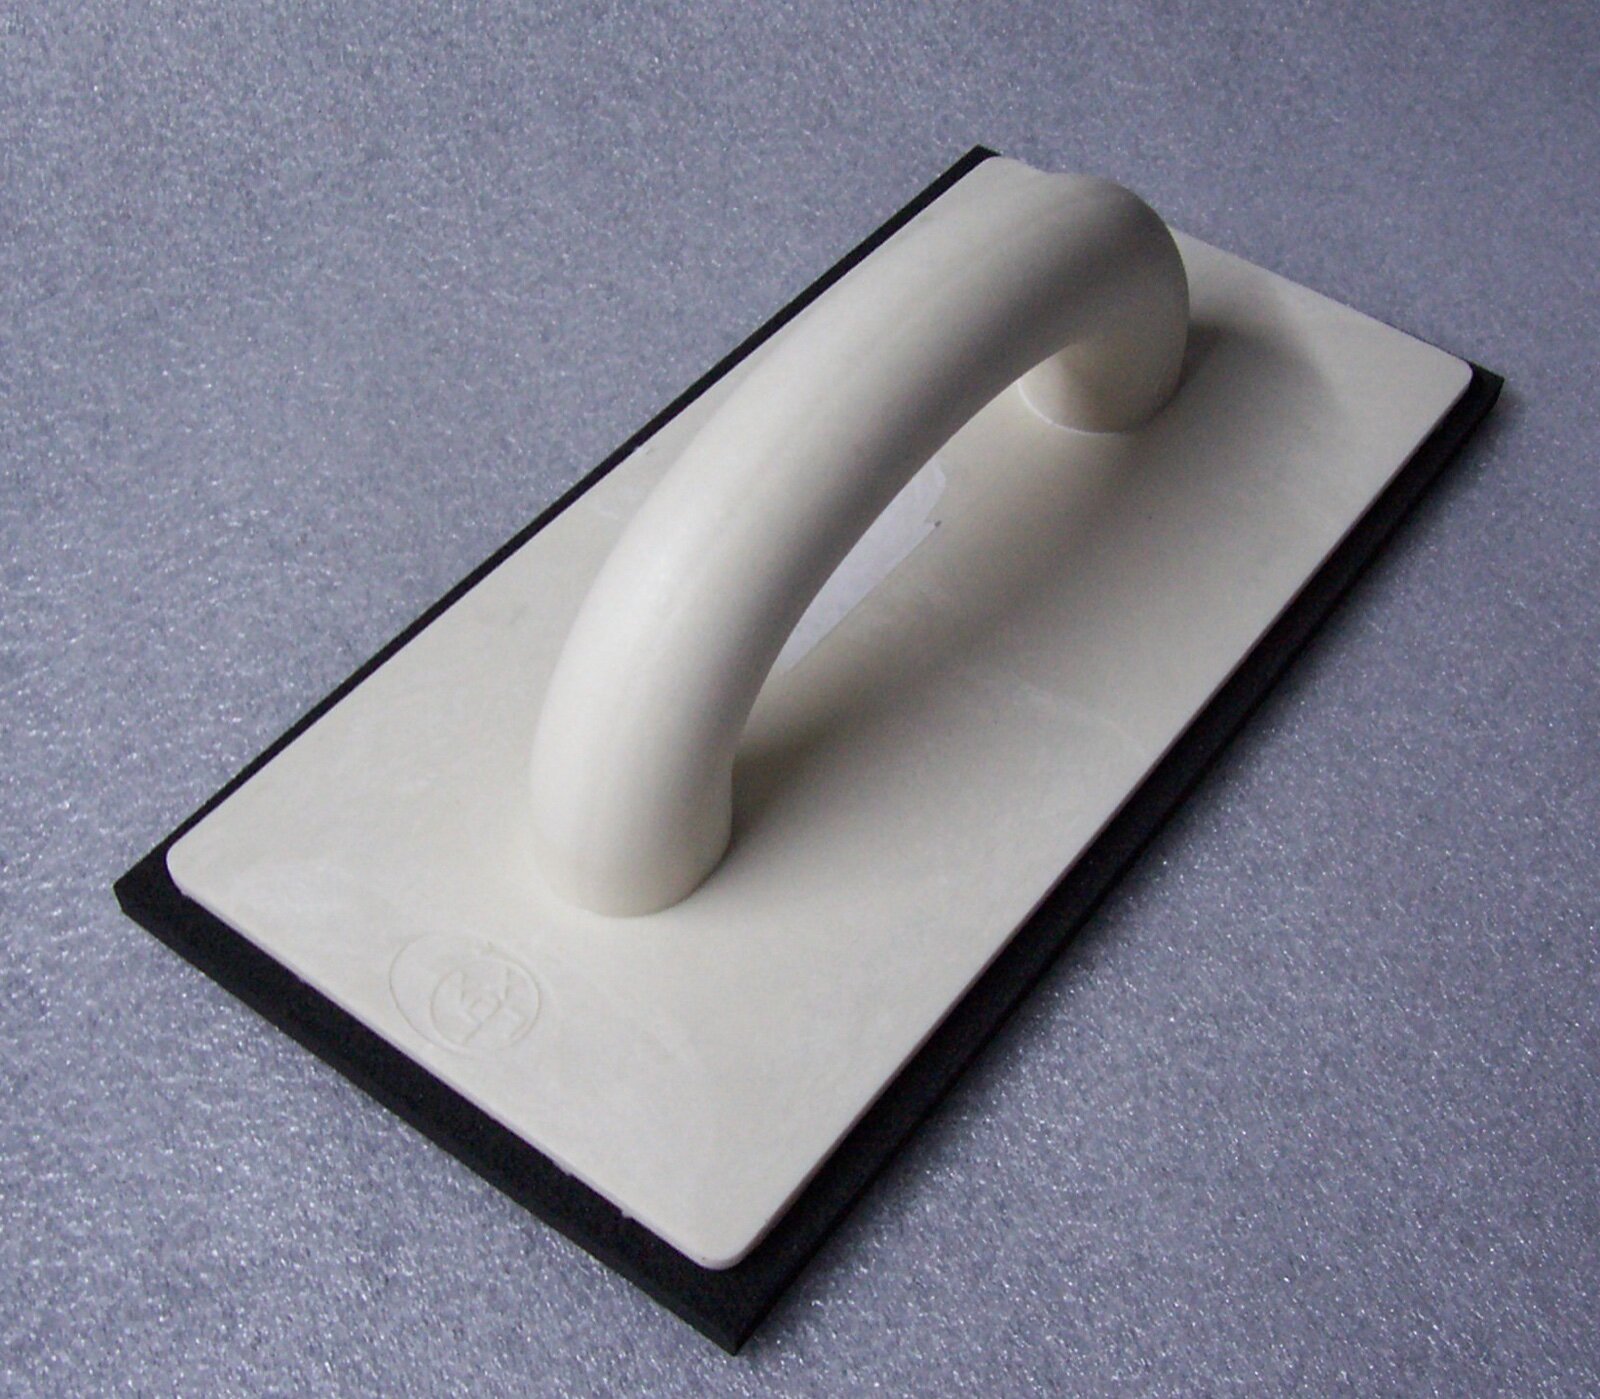
A rubber grout float, a bucket of clean water, a hydrophilic tiling sponge and a stack of microfibre cloths do most of the work on the day. Change the rinse water often: a sponge rinsed in cloudy water just puts the haze back.
- Do use: white nylon pads, soft deck brushes on textured floors, plastic scrapers, a wet vac on large floors to lift dirty solution before it dries back on.
- Avoid: wire wool, metal scrapers, brick acid or hydrochloric acid on finished tiling, and household bleach, which does nothing to cement film.
- Be careful with vinegar: it is a weak acid. It can lift a light, fresh cement haze on glazed ceramic, but it carries the same etching risk as any acid on marble, limestone and travertine, and it is slower and less predictable than a product made for the job.
Protect metalwork, wood and anything you are not cleaning. LTP notes its remover does not affect chrome or stainless fittings, but that does not apply to every acid product, so check the label.
Frequently asked questions
How long after grouting can you remove grout haze?
Fresh cement haze is easiest to remove once the grout has firmed up in the joint, typically 10 to 30 minutes after grouting according to FILA, using a damp sponge or microfibre. Once it has cured, use a cement haze remover. There is no point at which it becomes impossible, but every day makes it harder, especially with epoxy.
Will grout haze go away on its own?
No. Normal mopping lightens it slightly over many weeks, but a cured cement film is bonded to the tile and needs a cleaner that breaks it down. Leaving it also traps dirt, so the floor looks grubby faster.
Can I use a grout haze remover on new grout?
Products such as LTP’s say to wait until the grout has firmed off in the joint and to wet the joints first where the instructions call for it. Applied too early or neat into soft joints, an acid cleaner can attack the grout surface and lighten its colour. Follow the dilution and timing on the product you buy.
Is grout haze remover safe on marble and limestone?
Not if it is acid based. LTP and FILA both exclude polished marble and acid-sensitive stone. Use a neutral or stone-specific cleaner, and test on an offcut first.
Why is there still a white film after I cleaned the tiles?
Either the cleaner did not suit the grout (acid on an acrylic or epoxy film), the rinse water was dirty, or it is efflorescence or sealer residue rather than haze. Check the grout type, rinse with clean water and inspect in low light before treating again.
Do I need to reseal after removing grout haze?
On sealed natural stone, yes: LTP’s data sheet says sealed stone should be re-sealed after using its remover. Glazed ceramic and most porcelain do not need sealing at all.
Related guides
- How to Tile a Bathroom Wall: A UK Step-by-Step Guide
- How Much Does Tiling Cost in the UK? A Realistic Price Guide
- How to Remove Old Wall Tiles Without Damaging the Wall
- Porcelain vs Ceramic Tiles: Which Is Right for Your Bathroom or Kitchen?
- How to Tank and Waterproof a Wet Room Before Tiling: A Bromley Homeowner’s Guide
- Do You Need to Seal Natural Stone Tiles Before Grouting? A Tiler Explains
- How to Tile a Bathroom Floor (Including Around the Toilet)
- How to Tile a Shower: Walls, Niche and Waterproofing
- Bathroom Tiling Guide: How to Plan, Prep and Finish a Lasting Job
- Tile Backer Board vs Plasterboard for Bathrooms
- Best Tiles for Small Bathrooms (and How to Make a Space Look Bigger)
- Wall and Floor Tiles for a Wet Room: What Actually Works
- Tiling vs Wall Panels for a Bathroom: Which Is Better?
- Do You Tile the Floor or Walls First in a Bathroom?
- Kitchen Tiling: Splashbacks, Walls and Floors Explained
- How to Tile a Kitchen Splashback: Step-by-Step Bromley Guide
- How to Tile Around Kitchen Sockets, Switches and Worktops
- Kitchen Splashback Tile Ideas: 12 Looks That Work
- How to Lay Metro Tiles in a Herringbone Pattern
- Tiled vs Glass Splashback (and Acrylic): Which Is Best?
- How High Should a Kitchen Splashback Be Tiled? UK Heights Guide
- Types of Tiles: The Complete UK Buyer’s Guide
- Porcelain vs Natural Stone Tiles: Which Should You Choose?
- Natural Stone Tiles Explained: Marble, Travertine, Slate and Limestone
- Mosaic Tiles: Where to Use Them and How They’re Fixed
- Tile Slip Ratings Explained: R Ratings and PTV for UK Floors
- Matt vs Gloss Tiles: Which Finish Is Right for Your Room?
- Cost to Tile a Bathroom in the UK: 2026 Price Breakdown
- Polystyrene Ceiling Tiles: Are They Any Good?
- Cost to Tile a Kitchen in 2026: Floor and Splashback Prices
- Tiling Cost Per Square Metre 2026: Labour and All-In Prices
- Tiler Day Rate UK: What Tilers Charge Per Day in 2026
- Cost to Regrout a Bathroom in 2026: UK Prices Explained
- Floor Tile Prices UK 2026: What You Will Pay Per Square Metre
- Is It Cheaper to Tile or Use Wall Panels? A UK Cost Comparison
- How to Tile: A Complete Beginner’s Guide (UK)
- How to Cut Tiles: Manual Cutter, Wet Saw and Nippers
- How to Cut Holes in Tiles for Pipes and Taps
- How to Grout Tiles (and Get Clean, Even Lines)
- Cork Flooring: Pros, Cons and Where It Works in UK Homes
- How to Mix and Apply Tile Adhesive Correctly
- How to Set Out Tiles for a Perfect Layout
- How to Seal Grout and Tiles in a Bathroom (UK Guide)
- Can You Tile Over Tiles? When It Works and When It Doesn’t
- Tiling Tools List: What You Need for a Professional Finish
- How Much Tile Adhesive Do I Need? Coverage Per Square Metre
- Tile Problems: 9 Common Faults and How to Fix Each
- How to Fix Loose Tiles Without Removing Them
- Cracked Grout Repair: Why It Happens and How to Fix It
- How to Replace a Broken Tile Without Redoing the Wall
- Water Leaking Through Shower Tiles: 6 Causes and Fixes
- Remove Mouldy Silicone Sealant: A 24-Hour Reseal Job
- How to Clean Grout: What Works, and What Etches Stone
- Why Are My Floor Tiles Lifting? The 40m² Bay Rule
- How to Lay Porcelain Paving: 1:80 Fall, 150mm Below DPC
- Tile Patterns: Why Big Tiles Need a One-Third Offset
- Grout Colour Ideas: How to Get the Shade You Chose
- Can You Paint Tiles? Yes on Walls, No in the Shower
- Decoupling Membrane for Tiles: When You Actually Need One
- Can You Tile Over a Wooden Floor? What Changed in 2024
- Tiling Cost 2026: £25 to £95 per m² Labour, UK Rates
- Tile Ideas: 7 Looks and the One Rule Each Needs
- Metro Tiles: Sizes, Bevels and the 1/3 Offset Rule
- Tile Feature Wall: The Weight Limit That Decides Yours
- Tiling Over Underfloor Heating: 14 Days Before Heat On
- How to Tile a Hallway Floor: Set Out From the Door
- Wood Effect Tiles and Marble Effect: 5 Specs to Check
- Tile Levelling Systems: The 3mm Rule That Decides It
- Floor Levelling Compound: How Deep and How Long to Dry
- How to Find a Good Tiler: 9 Checks Before You Book
- Tiling Quote: The 10 Lines a Proper One Must Show
- Tile Trim: Sizes, Profiles and the One-Size-Up Rule
- Tile Spacers: 2mm or 3mm, and When to Pull Them Out
- Tiling the Fireplace: 125mm Hearths, Adhesive and Tiles
- Porcelain vs Stone Paving: Grip, Sealing and Upkeep
- Tiling a Large Floor: Movement Joints Every 10 Metres
- DIY Tiling vs Professional: 6 Jobs to Never Do Yourself
- Terracotta Tiles: Seal Before Grouting, Wait 7 Days
- Tile Drill Bits: Which Bit Won’t Crack Porcelain
- Tiling Corners With Trim: Which Profile, and When to Mitre
- Travertine Tiles: Filled or Unfilled, and How to Seal Them
- Slate Tiles: Calibrated or Riven, and How to Lay Them
- Zellige Tiles: Order 15% Extra and Fix Them Edge to Edge
- Terrazzo Tiles: Real 20mm vs Porcelain, Seal Before Grouting
- Split Face Tiles: Will Your Wall Take 27kg per m²?
- Tile Sealer: Which Tiles Need It and Which Type to Buy
- Efflorescence on Tiles: Why It Comes Back and How to Stop It
- Tile Primer: Which Surfaces Need It and How Much to Dilute
- Epoxy Grout: Where It’s Worth It and How to Apply It
- How to Tile Stairs: Keep Every Riser the Same Height
- Shower Niche: Sizes, Height and Which Wall Can Take One
- How Many Tiles Do I Need? Add 10% to 20% by Layout
- How to Tile a Window Sill: Sill Last, Silicone at the Frame