


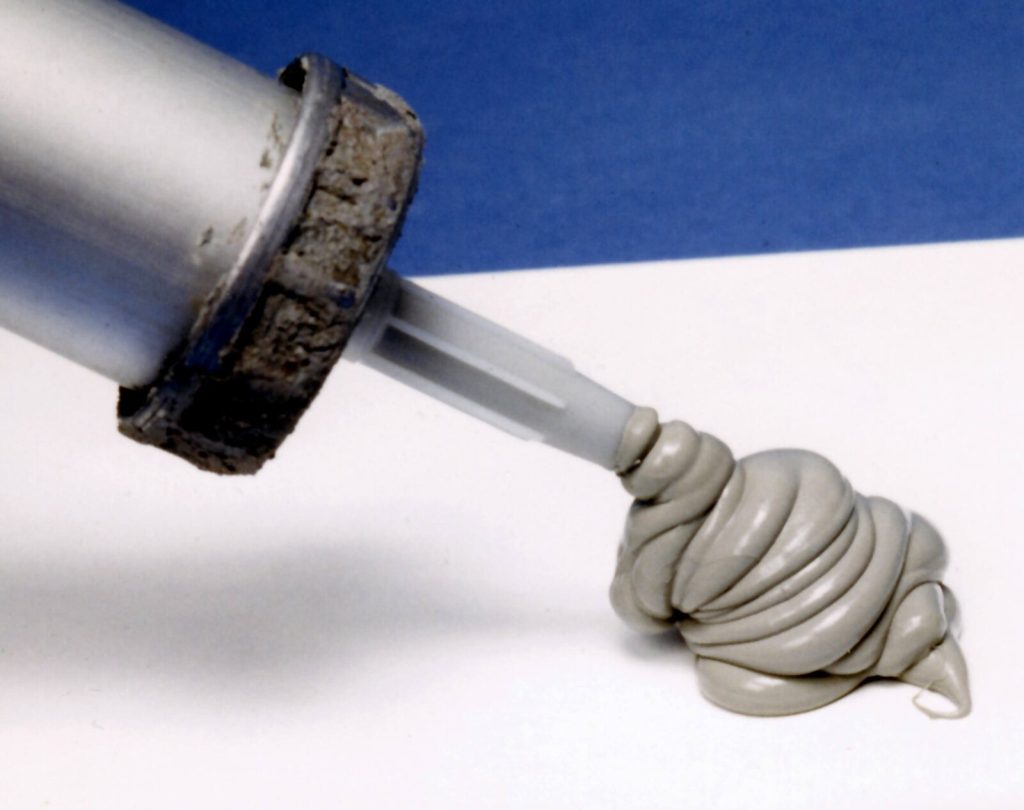
To remove mouldy silicone sealant you have to cut it out completely, kill what is left in the joint, degrease the surfaces and lay a fresh bead. Scrubbing does not work for long, because by the time you can see black spots the mould is growing inside the silicone and underneath it, not just on the surface. Bleach takes the colour out. It does not take the mould out.
This is a two hour job for most baths and showers, plus a day of waiting. Done properly it lasts years. Done in a rush, over old silicone, it turns black again in a couple of months. Below is the method we use on bathroom jobs around Bromley, including the two stages people usually skip.
Why bathroom sealant goes mouldy in the first place
Mould needs moisture, warmth and something to feed on. A bath or shower joint gives it all three. Soap residue, skin cells and shampoo film settle in the corner, water sits there after every shower, and the room stays warm. Silicone itself is not food, but the grime on it is, and cheap sealants without a fungicide give the spores an easy surface to colonise.
Two things make it much worse. The first is a joint that was sealed over grime or over old silicone, so there is a damp gap behind the bead. The second is poor ventilation. The government’s guidance on understanding and addressing the health risks of damp and mould in the home, published in September 2023 by MHCLG, DHSC and UKHSA after the death of Awaab Ishak, is clear that mould in homes is a health risk rather than a cosmetic problem, and that ventilation and fixing the source of moisture are the things that actually stop it.
If your extractor fan is not clearing the room within about 15 minutes of a shower, you will be resealing again regardless of which product you buy.
Can you just clean it instead?
Sometimes. It depends on how deep the mould has gone.
- Grey or light speckling on the surface: worth cleaning. A mould remover left on for the time stated on the label, then rinsed, will often bring it back.
- Distinct black spots you can see under a clear or white bead: the mould is in the silicone. Cleaning lightens it for a few weeks and it returns in the same spots.
- Bead lifting, splitting, or peeling away from the bath: replace it. Water is already getting behind, and that is how ceilings below bathrooms get stained.
A quick test: press the bead with your thumbnail. If it feels spongy, has gaps behind it, or water weeps out, no cleaner will save it.
What you need
- A sealant removal tool or a sharp trimming knife with a fresh blade
- A plastic scraper for the last residue, so you do not scratch an acrylic bath
- Silicone remover gel for stubborn traces
- A mould remover or a dilute bleach solution, plus an old toothbrush
- Isopropyl alcohol or methylated spirit, and lint-free cloths
- A sanitary silicone with a fungicide, and a decent skeleton gun
- Low-tack masking tape and a profiling tool or a rounded plastic spatula
Do not substitute a general purpose or frame sealant. Sanitary grade products carry a fungicide specifically for wet areas.
How to remove mouldy silicone sealant, step by step
1. Fill the bath first
If you are sealing a bath, fill it with water before you cut anything out. A full bath drops on its feet under the load. Sealing an empty bath and then filling it stretches the fresh bead and can tear it away from the tile in the first week. Leave the water in until the silicone has cured.
2. Cut both edges
Run the knife along the top edge where the silicone meets the tile, then along the bottom edge where it meets the bath or tray. Two clean cuts release the bead as a strip. Keep the blade angled into the silicone rather than into the tile glaze or the acrylic.
3. Pull the strip out
Lift one end with the knife tip and pull steadily along the joint. If it snaps every few centimetres, your cuts are not deep enough on one side. Recut rather than picking at it.
4. Take out every last trace
This is the stage that decides whether the job lasts. New silicone does not bond to old silicone. Any smear left in the joint is both a bond breaker and a place for mould to survive. Work along with the plastic scraper, then use a silicone remover gel on anything that will not shift, leaving it on for the time the label states before scraping again.
5. Check the gap
With the joint clear, look at what you are actually sealing. If the gap between the bath and the wall is wider than about 5mm, a single bead will sag and split. Fit a sealing strip or profile first, or pack the gap with backer rod, then seal over it.
Killing the mould before you reseal
With the old bead gone you will usually find black staining on the grout, the tile edge or the bath lip. Sealing over live spores puts the problem straight back.
Scrub the open joint with a mould remover or a bleach solution and an old toothbrush, working it into the grout line. Leave it the full dwell time on the label rather than wiping it straight off, then rinse thoroughly with clean water. Bleach residue left in the joint interferes with adhesion.
Then let it dry completely. Not touch dry: properly dry, which in a cold bathroom can mean several hours with the fan running or a window open. Silicone will skin over trapped moisture quite happily and you will not see the problem until the mould reappears from behind.
The last step before sealing is a wipe with isopropyl alcohol or methylated spirit on a lint-free cloth along the whole joint. This lifts the invisible film of soap and body oil that survives cleaning and is the single most common reason a new bead fails early.
Choosing the right replacement sealant
Look for a sanitary grade silicone that names a fungicide on the tube. As a reference point for what good looks like, DOWSIL 785 is a widely stocked sanitary silicone classified to ISO 11600 F-20LM, meaning it is a low modulus joint sealant rated for plus or minus 20 per cent movement. Movement capability matters more than most people realise, because a bath flexes every time someone gets in it.
Three practical points when you buy:
- Acetoxy or neutral cure: acetoxy silicones smell of vinegar and grip glazed ceramic and glass well. Neutral cure is the safer choice on natural stone and some plastics, which acetoxy can stain or attack. Check the tube against your surface.
- Colour: white shows mould early, clear hides it longer but also hides a failing bond. Match the grout if you want it to disappear.
- Age: silicone has a shelf life. A tube that has been in the van for two years cures badly.
How to apply the new bead
Mask both sides of the joint with low-tack tape, leaving the gap you want the bead to fill. It takes five minutes and it is the difference between a straight line and a wobble.
Cut the nozzle at 45 degrees, and cut it small. You can always enlarge the hole; you cannot make it smaller. Load the gun and run the bead in one continuous pass if you can, pushing the nozzle ahead of the silicone so it is forced into the joint rather than smeared over the top.
Tool the bead immediately, while it is still wet, with a profiling tool or a wetted finger. The point is to compress the silicone into the joint and get contact on both faces, not just to make it look neat. Then peel the tape away straight away, pulling it back on itself and away from the bead, before the surface skins.
The 24-hour rule before you use the shower
Sanitary silicones are typically tack-free in around 30 minutes and cure at roughly 24 hours for a 3mm bead, which is the figure DOWSIL 785 quotes. Tack-free is not cured. If you shower after two hours the bead is still soft underneath and water will find its way behind it.
Give it a full 24 hours before the joint gets wet, and longer if the bathroom is cold, since silicone cures by reacting with moisture in the air and slows down in low temperatures. We have written separately on how long bathroom silicone takes to dry if you need the detail on curing times. Thicker beads take proportionally longer than thin ones. Drain the bath only once the silicone has cured.
How to stop it coming back
Resealing treats the symptom. These treat the cause, and they matter beyond the look of the joint: the NHS notes that damp and mould in a home can affect your health, particularly for anyone with asthma or a respiratory condition.
The habits that keep a joint clean:
- Run the extractor fan during and after every shower. Fifteen minutes afterwards does more than fifteen minutes during.
- Squeegee or wipe the joint down. Ten seconds with a cloth removes the film mould feeds on.
- Leave the shower door open so the enclosure dries rather than staying humid.
- Deal with a fan that rattles but does not pull. Hold a sheet of tissue to the grille. If it does not hold, the fan or the ducting needs attention.
- Reseal on a schedule. Even good silicone in a family bathroom is a five year consumable, not a permanent fixture.
When to call a tiler instead
Replacing a bead is a reasonable DIY job. Get a professional in if the mould keeps coming back in the same place after a proper reseal, if the plasterboard behind the tiles feels soft, if grout is crumbling along the same joint, or if there is a stain on the ceiling below. Those point to water getting behind the tiles, and no amount of silicone fixes that. At that stage the tiling and the waterproofing behind it need looking at. If you are in south east London and want an opinion on whether it is a sealant problem or a tanking problem, Bromley Tilers can take a look.
Frequently asked questions
Does bleach kill mould in silicone sealant?
Bleach removes the black pigment and kills spores it reaches on the surface, so the sealant looks clean again. It does not reach mould growing inside the silicone or behind the bead, which is why the spots return in the same places. Bleach is useful for cleaning the joint out once the old sealant has been cut away, not as a substitute for replacing it.
Can you put new silicone over old silicone?
No. Silicone will not bond to cured silicone, so a new bead laid over an old one is only stuck at its edges. It traps damp against the old sealant, peels within months, and the mould carries on underneath where you cannot see it. Every trace of the old bead has to come out first.
How long should I leave silicone before using the shower?
Allow a full 24 hours for a standard 3mm bead. Silicone is usually tack-free within about half an hour, but that only means the surface has skinned. Cold rooms slow curing down, and thicker beads take longer, so err on the generous side rather than testing it.
Why does my bathroom sealant keep going black?
Almost always ventilation, or a joint that was sealed over grime or old silicone. If a properly cut out, cleaned and degreased joint with a fungicidal sealant still blackens within a year, the room is not drying out between showers. Check the extractor fan actually pulls, and check nothing is leaking behind the tiles.
Should I fill the bath before sealing it?
Yes, if it is a bath. Water weight pushes the bath down on its feet and opens the joint to its widest. Sealing it in that position means the bead is compressed rather than stretched when the bath is in use. Leave the water in until the silicone has cured, then drain it.
What is the difference between sanitary silicone and normal silicone?
Sanitary grade silicones contain a fungicide to slow mould growth and are formulated for constant wetting. General purpose and frame sealants have no fungicide and are not intended for bath and shower joints. Check the tube says sanitary or bathroom, and check whether it is acetoxy or neutral cure before using it on natural stone.
Related guides
- How to Tile a Bathroom Wall: A UK Step-by-Step Guide
- How Much Does Tiling Cost in the UK? A Realistic Price Guide
- How to Remove Old Wall Tiles Without Damaging the Wall
- Porcelain vs Ceramic Tiles: Which Is Right for Your Bathroom or Kitchen?
- How to Tank and Waterproof a Wet Room Before Tiling: A Bromley Homeowner’s Guide
- Do You Need to Seal Natural Stone Tiles Before Grouting? A Tiler Explains
- How to Tile a Bathroom Floor (Including Around the Toilet)
- How to Tile a Shower: Walls, Niche and Waterproofing
- Bathroom Tiling Guide: How to Plan, Prep and Finish a Lasting Job
- Tile Backer Board vs Plasterboard for Bathrooms
- Best Tiles for Small Bathrooms (and How to Make a Space Look Bigger)
- Wall and Floor Tiles for a Wet Room: What Actually Works
- Tiling vs Wall Panels for a Bathroom: Which Is Better?
- Do You Tile the Floor or Walls First in a Bathroom?
- Kitchen Tiling: Splashbacks, Walls and Floors Explained
- How to Tile a Kitchen Splashback: Step-by-Step Bromley Guide
- How to Tile Around Kitchen Sockets, Switches and Worktops
- Kitchen Splashback Tile Ideas: 12 Looks That Work
- How to Lay Metro Tiles in a Herringbone Pattern
- Tiled vs Glass Splashback (and Acrylic): Which Is Best?
- How High Should a Kitchen Splashback Be Tiled? UK Heights Guide
- Types of Tiles: The Complete UK Buyer’s Guide
- Porcelain vs Natural Stone Tiles: Which Should You Choose?
- Natural Stone Tiles Explained: Marble, Travertine, Slate and Limestone
- Mosaic Tiles: Where to Use Them and How They’re Fixed
- Tile Slip Ratings Explained: R Ratings and PTV for UK Floors
- Matt vs Gloss Tiles: Which Finish Is Right for Your Room?
- Cost to Tile a Bathroom in the UK: 2026 Price Breakdown
- Polystyrene Ceiling Tiles: Are They Any Good?
- Cost to Tile a Kitchen in 2026: Floor and Splashback Prices
- Tiling Cost Per Square Metre 2026: Labour and All-In Prices
- Tiler Day Rate UK: What Tilers Charge Per Day in 2026
- Cost to Regrout a Bathroom in 2026: UK Prices Explained
- Floor Tile Prices UK 2026: What You Will Pay Per Square Metre
- Is It Cheaper to Tile or Use Wall Panels? A UK Cost Comparison
- How to Tile: A Complete Beginner’s Guide (UK)
- How to Cut Tiles: Manual Cutter, Wet Saw and Nippers
- How to Cut Holes in Tiles for Pipes and Taps
- How to Grout Tiles (and Get Clean, Even Lines)
- Cork Flooring: Pros, Cons and Where It Works in UK Homes
- How to Mix and Apply Tile Adhesive Correctly
- How to Set Out Tiles for a Perfect Layout
- How to Seal Grout and Tiles in a Bathroom (UK Guide)
- Can You Tile Over Tiles? When It Works and When It Doesn’t
- Tiling Tools List: What You Need for a Professional Finish
- How Much Tile Adhesive Do I Need? Coverage Per Square Metre
- Tile Problems: 9 Common Faults and How to Fix Each
- How to Fix Loose Tiles Without Removing Them
- Cracked Grout Repair: Why It Happens and How to Fix It
- How to Replace a Broken Tile Without Redoing the Wall
- Water Leaking Through Shower Tiles: 6 Causes and Fixes
- How to Clean Grout: What Works, and What Etches Stone
- Why Are My Floor Tiles Lifting? The 40m² Bay Rule
- How to Lay Porcelain Paving: 1:80 Fall, 150mm Below DPC
- Tile Patterns: Why Big Tiles Need a One-Third Offset
- Grout Colour Ideas: How to Get the Shade You Chose
- Can You Paint Tiles? Yes on Walls, No in the Shower
- Decoupling Membrane for Tiles: When You Actually Need One
- Can You Tile Over a Wooden Floor? What Changed in 2024
- Tiling Cost 2026: £25 to £95 per m² Labour, UK Rates
- Tile Ideas: 7 Looks and the One Rule Each Needs
- Metro Tiles: Sizes, Bevels and the 1/3 Offset Rule
- Tile Feature Wall: The Weight Limit That Decides Yours
- Tiling Over Underfloor Heating: 14 Days Before Heat On
- How to Tile a Hallway Floor: Set Out From the Door
- Wood Effect Tiles and Marble Effect: 5 Specs to Check
- Tile Levelling Systems: The 3mm Rule That Decides It
- Floor Levelling Compound: How Deep and How Long to Dry
- How to Find a Good Tiler: 9 Checks Before You Book
- Tiling Quote: The 10 Lines a Proper One Must Show
- Tile Trim: Sizes, Profiles and the One-Size-Up Rule
- Tile Spacers: 2mm or 3mm, and When to Pull Them Out
- Tiling the Fireplace: 125mm Hearths, Adhesive and Tiles
- Porcelain vs Stone Paving: Grip, Sealing and Upkeep
- Tiling a Large Floor: Movement Joints Every 10 Metres
- DIY Tiling vs Professional: 6 Jobs to Never Do Yourself
- Terracotta Tiles: Seal Before Grouting, Wait 7 Days
- Tile Drill Bits: Which Bit Won’t Crack Porcelain
- Tiling Corners With Trim: Which Profile, and When to Mitre
- Travertine Tiles: Filled or Unfilled, and How to Seal Them
- Slate Tiles: Calibrated or Riven, and How to Lay Them
- Zellige Tiles: Order 15% Extra and Fix Them Edge to Edge
- Terrazzo Tiles: Real 20mm vs Porcelain, Seal Before Grouting
- Split Face Tiles: Will Your Wall Take 27kg per m²?
- Tile Sealer: Which Tiles Need It and Which Type to Buy
- How to Remove Grout Haze: Which Cleaner for Which Grout
- Efflorescence on Tiles: Why It Comes Back and How to Stop It
- Tile Primer: Which Surfaces Need It and How Much to Dilute
- Epoxy Grout: Where It’s Worth It and How to Apply It
- How to Tile Stairs: Keep Every Riser the Same Height
- Shower Niche: Sizes, Height and Which Wall Can Take One
- How Many Tiles Do I Need? Add 10% to 20% by Layout
- How to Tile a Window Sill: Sill Last, Silicone at the Frame
- How to Tile Around a Toilet: Lift the Pan or Cut Round It