


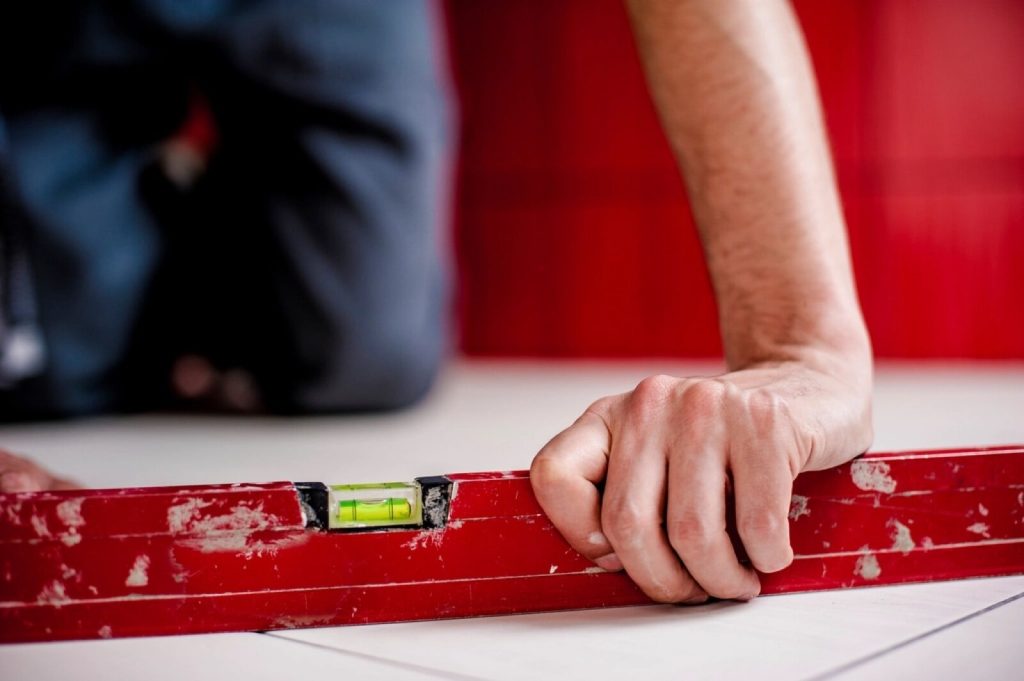
Tile lippage is the small step where the edge of one tile sits higher than the edge of the tile beside it. You feel it under bare feet, you see it as a shadow line when low sun or a downlight skims across the floor, and on a busy route it is where a sock catches or a vacuum head bumps. This page explains what causes it, how much is normal, how to check a floor or wall properly, and what can be done once the tiles are already down.
We tile across Bromley and south east London, and lippage is one of the commonest reasons people call us to look at another installer’s work. Most of it is avoidable. Some of it is built into the tiles before they leave the box.
What tile lippage is, and what it is not
Lippage is a height difference between neighbouring tile edges across a grout joint. It is not the same as a floor that is out of level (a floor can slope gently and still have no lippage at all), and it is not the same as a hollow tile (a tile with voids under it that sounds dull when tapped, covered in our page on hollow sounding tiles). In practice the three often turn up together, because the same rushed preparation causes all of them.
There are two kinds worth separating:
- Installation lippage: uneven adhesive beds, a bumpy subfloor, tiles pressed in by different amounts. This is the fitter’s responsibility.
- Inherent lippage: caused by warpage, the slight bow every fired tile has. Long rectangular tiles bow along their length, so even a perfect installer cannot make two warped edges meet exactly flush. This is managed through layout and joint width, not eliminated.
How much lippage is acceptable?
The UK code of practice for floor tiling is BS 5385-3. The standard itself is a paid document, and the code says it gives guidance and recommendations rather than a pass or fail specification. The figures most often quoted from it in the trade are a maximum step of about 1mm where the grout joints are under 6mm wide, and about 2mm where joints are 6mm or wider. Wider joints get more allowance because the grout shoulder hides a bigger step.
Two practical points matter more than the exact number:
- Tight joints show everything. Rectified porcelain laid with 2mm joints looks sleek, but a 1mm step on a 2mm joint is very visible. If you want hairline joints, the tiles and the base both have to be very flat.
- Light changes the verdict. A floor that looks fine under overhead light can look rippled when a low winter sun comes through patio doors. Judge the floor in the light it will actually live in.
If you are in a dispute with an installer, ask what joint width and tile tolerance were agreed, and get the step measured with a straightedge and feeler gauge rather than by eye.
The five usual causes
1. The base was never flat enough
Adhesive is not a levelling compound. A trowelled bed can take up small variations, but trying to correct a dip or hump with extra adhesive leaves tiles at different heights and with patchy coverage underneath. On floors that are out, a floor levelling compound before tiling is the fix, not a thicker bed.
2. Poor adhesive coverage
Where a tile sits on ridges of adhesive that were never collapsed, one corner can settle more than another as the bed cures. Back-buttering large tiles and checking coverage by lifting the odd tile while working keeps the bed even. Our guide to applying tile adhesive covers notch sizes and solid beds.
3. Warped tiles in a half bond
This is the big one with modern plank and large-format tiles. Each tile is slightly higher in the middle than at the ends. In a 50 percent offset (brick bond), the high middle of one tile lands next to the low end of the next, which doubles the visible step. That is why UK retailers such as Porcelain Superstore advise a maximum offset of about a third for tiles over 30 x 60cm, and many manufacturers print the same limit on the box.
4. Tiles moved after laying
Walking on a floor before the adhesive has set, or knocking a freshly tiled wall, pushes tiles out of plane. Rapid-set adhesives shorten the risk window but do not remove it.
5. Mixed batches or calibres
Tiles from different production runs can vary slightly in thickness and size. Check the batch and calibre codes on every box before you start, not halfway through the room.
How to check a floor or wall for lippage
- Use a straightedge. Lay a long, true straightedge or level across the joint. Rock it gently: if it pivots on one tile edge, there is a step.
- Measure the step. A set of feeler gauges, or even a coin of known thickness, slid under the straightedge at the low tile gives you a number to compare with the joint width.
- Use raking light. Put a torch on the floor and shine it across the surface, not down onto it. Steps throw short shadows along the joint.
- Check the corners, not just the middles. Warpage shows most where four corners meet.
- Tap for hollows at the same time. A tile that is both proud and hollow may be sitting on a single blob of adhesive and is at risk of cracking.
Preventing lippage on large format tiles
Large tiles look smart because there are fewer joints, but they leave the least room for error. Before a large-format job we check the following:
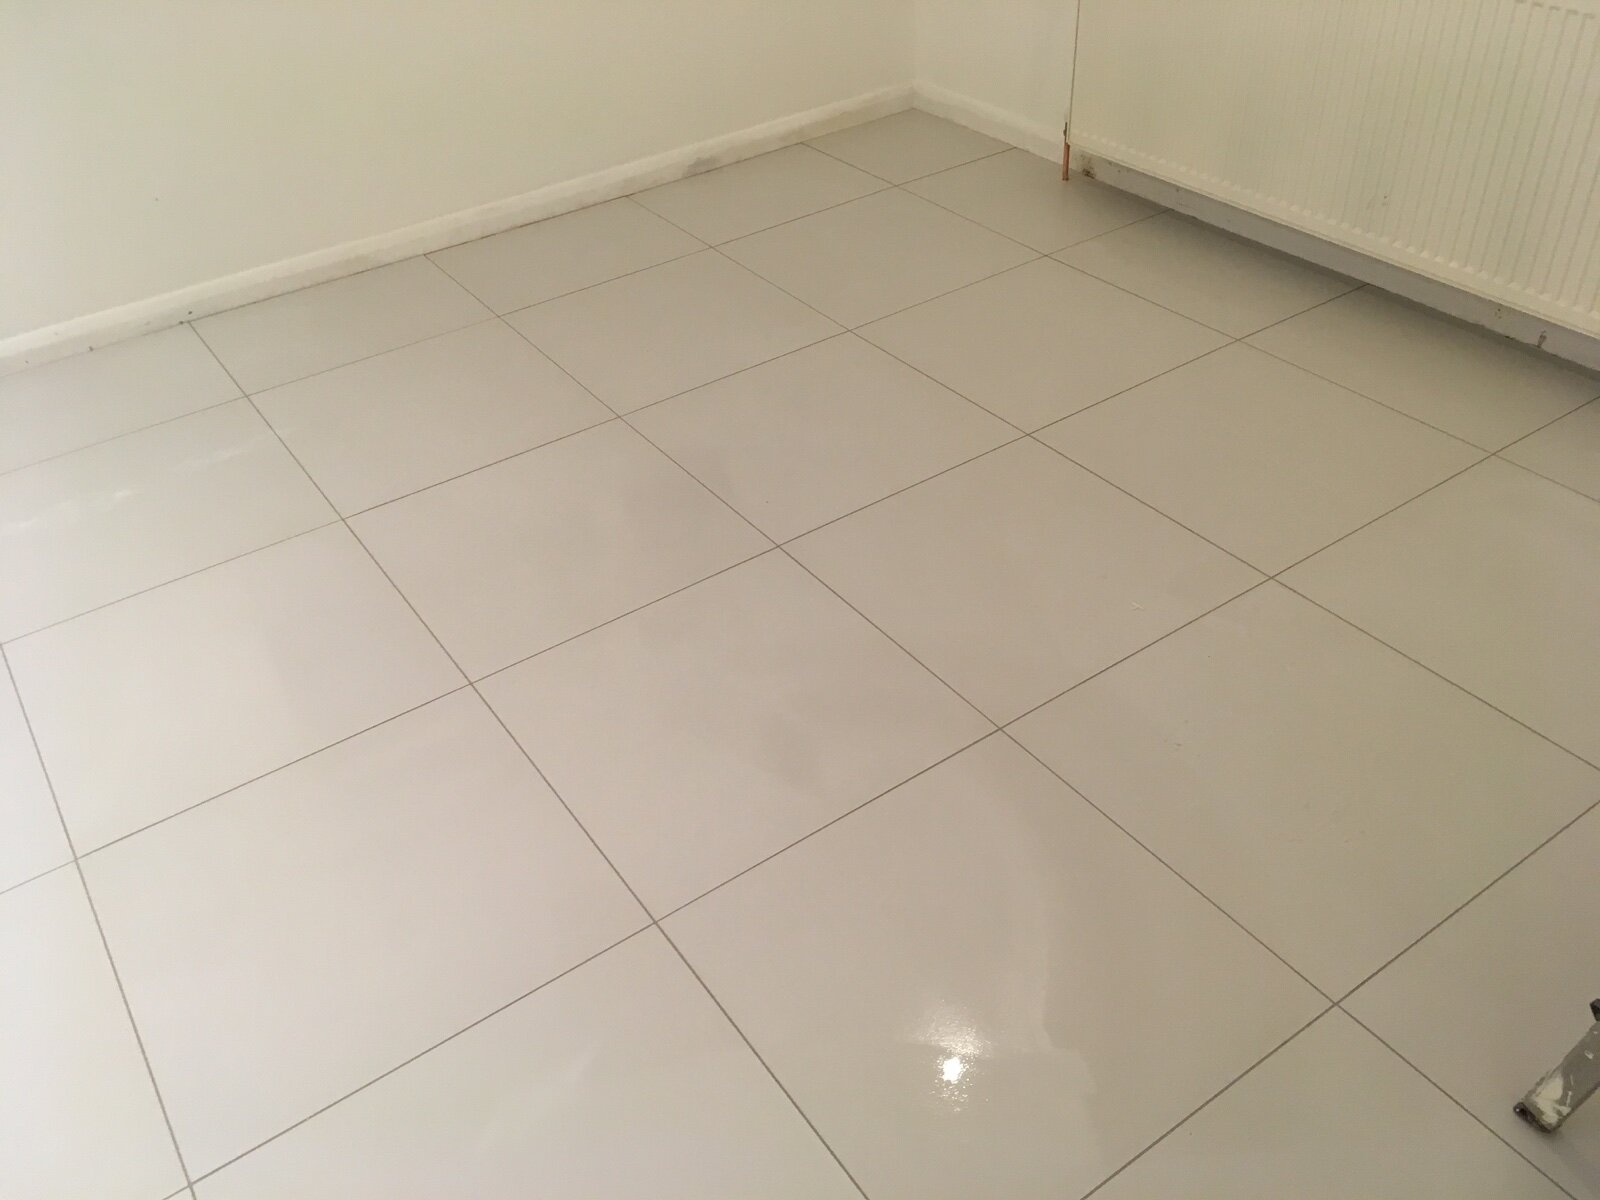
- Flatness of the base: screed, boards or old tiles checked with a long straightedge, and levelled where needed.
- Layout: third offset or straight stack for long planks, and no half bond unless the manufacturer explicitly allows it.
- Joint width: wide enough for the tile’s stated tolerance. Very narrow joints only with very flat rectified tiles.
- Tile levelling clips: clip and wedge systems hold neighbouring edges together while the adhesive cures. They help with warpage but cannot rescue a bumpy base. See our page on tile levelling systems.
- Solid bed: back-buttering plus a notched bed, with the ridges running in one direction so air can escape.
Our large format tiles guide goes further into handling, cutting and substrates.
Can lippage be fixed once the tiles are down?
It depends on how bad it is and what the tile is.
- A few proud tiles: the usual fix is to cut out the grout, lift those tiles, clean back the old adhesive and re-bed them level. On a recent floor this is often clean work; on an old one the risk is breaking the neighbours.
- Natural stone: marble, limestone and some other stones can be ground and honed flat after laying, then re-polished and resealed. This is specialist work and changes the finish slightly.
- Porcelain: very hard and usually glazed or polished at the surface, so grinding is not a realistic option. Lifting and relaying is the fix.
- Widespread lippage across a whole room: usually means the base was the problem. Relaying the floor on a properly levelled base is often cheaper in the long run than chasing individual tiles.
Thresholds and trims are a separate issue: a step at a doorway between two floor finishes is solved with the right profile, not by forcing the tiles. Our page on tile trim covers the options.
What to agree with your tiler before work starts
- Which tile, which calibre, and the joint width.
- The laying pattern and offset, especially for planks.
- Whether the floor will be levelled first, and who is paying for it.
- Whether a levelling clip system will be used.
- How long the floor must be left before it is walked on.
If you would like a tiler to check a floor before you buy tiles, or to look at a lippage problem you already have, you can contact us through the Bromley Tilers homepage.
Frequently asked questions
What is tile lippage?
Tile lippage is a height difference between the edges of two neighbouring tiles across a grout joint. It shows as a small step you can feel underfoot and see as a shadow in low light.
How much lippage is acceptable on floor tiles?
The figures usually quoted in the UK trade from BS 5385-3 are about 1mm where joints are under 6mm wide and about 2mm where joints are 6mm or wider. Narrow joints make any step more visible, so very tight joints need very flat tiles and a very flat base.
Why are my large tiles uneven at the joints?
The usual causes are a base that was not flat, poor adhesive coverage, and laying warped rectangular tiles in a half bond. Long tiles bow slightly, and a 50 percent offset puts a high middle beside a low end.
Do tile levelling clips stop lippage?
They help keep neighbouring edges flush while the adhesive cures, which reduces lippage from tile warpage. They cannot correct an uneven subfloor or a patchy adhesive bed.
Can you grind down uneven porcelain tiles?
Not in a practical way. Porcelain is very hard and its finish is at the surface. Uneven porcelain tiles are normally lifted and re-bedded. Some natural stone floors can be ground and honed flat instead.
Is lippage a reason to reject a tiling job?
Steps well beyond the agreed joint and tolerance, or tiles that are both proud and hollow, are reasonable grounds to ask the installer to put it right. Measure the step with a straightedge and gauge rather than relying on how it looks.
Related guides
- How to Tile a Bathroom Wall: A UK Step-by-Step Guide
- How Much Does Tiling Cost in the UK? A Realistic Price Guide
- How to Remove Old Wall Tiles Without Damaging the Wall
- Porcelain vs Ceramic Tiles: Which Is Right for Your Bathroom or Kitchen?
- How to Tank and Waterproof a Wet Room Before Tiling: A Bromley Homeowner’s Guide
- Do You Need to Seal Natural Stone Tiles Before Grouting? A Tiler Explains
- How to Tile a Bathroom Floor (Including Around the Toilet)
- How to Tile a Shower: Walls, Niche and Waterproofing
- Construction Trade News: June 2026
- Bathroom Tiling Guide: How to Plan, Prep and Finish a Lasting Job
- Tile Backer Board vs Plasterboard for Bathrooms
- Best Tiles for Small Bathrooms (and How to Make a Space Look Bigger)
- Wall and Floor Tiles for a Wet Room: What Actually Works
- Tiling vs Wall Panels for a Bathroom: Which Is Better?
- Do You Tile the Floor or Walls First in a Bathroom?
- Tiling and Bathroom Trade News: Mid-June 2026
- Kitchen Tiling: Splashbacks, Walls and Floors Explained
- How to Tile a Kitchen Splashback: Step-by-Step Bromley Guide
- How to Tile Around Kitchen Sockets, Switches and Worktops
- Kitchen Splashback Tile Ideas: 12 Looks That Work
- Tiling and Bathroom Trade News: Late June 2026
- How to Lay Metro Tiles in a Herringbone Pattern
- Tiled vs Glass Splashback (and Acrylic): Which Is Best?
- How High Should a Kitchen Splashback Be Tiled? UK Heights Guide
- Tiling and Bathroom Trade News: Early July 2026
- Types of Tiles: The Complete UK Buyer’s Guide
- Porcelain vs Natural Stone Tiles: Which Should You Choose?
- Natural Stone Tiles Explained: Marble, Travertine, Slate and Limestone
- Tiling and Bathroom Trade News: Mid-July 2026
- Mosaic Tiles: Where to Use Them and How They’re Fixed
- Tile Slip Ratings Explained: R Ratings and PTV for UK Floors
- Matt vs Gloss Tiles: Which Finish Is Right for Your Room?
- Cost to Tile a Bathroom in the UK: 2026 Price Breakdown
- Polystyrene Ceiling Tiles: Are They Any Good?
- Cost to Tile a Kitchen in 2026: Floor and Splashback Prices
- Tiling and Bathroom Trade News: Mid-July 2026
- Tiling Cost Per Square Metre 2026: Labour and All-In Prices
- Tiler Day Rate UK: What Tilers Charge Per Day in 2026
- Cost to Regrout a Bathroom in 2026: UK Prices Explained
- Floor Tile Prices UK 2026: What You Will Pay Per Square Metre
- Is It Cheaper to Tile or Use Wall Panels? A UK Cost Comparison
- How to Tile: A Complete Beginner’s Guide (UK)
- How to Cut Tiles: Manual Cutter, Wet Saw and Nippers
- How to Cut Holes in Tiles for Pipes and Taps
- How to Grout Tiles (and Get Clean, Even Lines)
- Cork Flooring: Pros, Cons and Where It Works in UK Homes
- Tiling and Bathroom Trade News: Late July 2026
- How to Mix and Apply Tile Adhesive Correctly
- How to Set Out Tiles for a Perfect Layout
- How to Seal Grout and Tiles in a Bathroom (UK Guide)
- Can You Tile Over Tiles? When It Works and When It Doesn’t
- Tiling Tools List: What You Need for a Professional Finish
- How Much Tile Adhesive Do I Need? Coverage Per Square Metre
- Tiling Trade News: Topps App, Costs Up 6% (Aug 2026)
- Tile Problems: 9 Common Faults and How to Fix Each
- How to Fix Loose Tiles Without Removing Them
- Cracked Grout Repair: Why It Happens and How to Fix It
- Tiling Trade News: TTA Silica Warning, 2% Retentions
- How to Replace a Broken Tile Without Redoing the Wall
- Water Leaking Through Shower Tiles: 6 Causes and Fixes
- Remove Mouldy Silicone Sealant: A 24-Hour Reseal Job
- How to Clean Grout: What Works, and What Etches Stone
- Why Are My Floor Tiles Lifting? The 40m² Bay Rule
- Tiling Trade News: 3,841 Construction Firms Failed
- How to Lay Porcelain Paving: 1:80 Fall, 150mm Below DPC
- Tile Patterns: Why Big Tiles Need a One-Third Offset
- Grout Colour Ideas: How to Get the Shade You Chose
- Can You Paint Tiles? Yes on Walls, No in the Shower
- Decoupling Membrane for Tiles: When You Actually Need One
- Can You Tile Over a Wooden Floor? What Changed in 2024
- Tiling Cost 2026: £25 to £95 per m² Labour, UK Rates
- Tile Ideas: 7 Looks and the One Rule Each Needs
- Metro Tiles: Sizes, Bevels and the 1/3 Offset Rule
- Tile Feature Wall: The Weight Limit That Decides Yours
- Tiling Over Underfloor Heating: 14 Days Before Heat On
- How to Tile a Hallway Floor: Set Out From the Door
- Wood Effect Tiles and Marble Effect: 5 Specs to Check
- Tile Levelling Systems: The 3mm Rule That Decides It
- Tiling Trade News: Repair Work Up 1.7%, Headlam Fails
- Floor Levelling Compound: How Deep and How Long to Dry
- How to Find a Good Tiler: 9 Checks Before You Book
- Tiling Quote: The 10 Lines a Proper One Must Show
- Tile Trim: Sizes, Profiles and the One-Size-Up Rule
- Tile Spacers: 2mm or 3mm, and When to Pull Them Out
- Tiling the Fireplace: 125mm Hearths, Adhesive and Tiles
- Tiling Trade News: Shaws Sinks Reprice on 1 November
- Porcelain vs Stone Paving: Grip, Sealing and Upkeep
- Tiling a Large Floor: Movement Joints Every 10 Metres
- DIY Tiling vs Professional: 6 Jobs to Never Do Yourself
- Terracotta Tiles: Seal Before Grouting, Wait 7 Days
- Tile Drill Bits: Which Bit Won’t Crack Porcelain
- Tiling Corners With Trim: Which Profile, and When to Mitre
- Travertine Tiles: Filled or Unfilled, and How to Seal Them
- Slate Tiles: Calibrated or Riven, and How to Lay Them
- Zellige Tiles: Order 15% Extra and Fix Them Edge to Edge
- Terrazzo Tiles: Real 20mm vs Porcelain, Seal Before Grouting
- Tiling Trade News: 36% Now Add a Bathroom Accent Wall
- Split Face Tiles: Will Your Wall Take 27kg per m²?
- Tile Sealer: Which Tiles Need It and Which Type to Buy
- How to Remove Grout Haze: Which Cleaner for Which Grout
- Efflorescence on Tiles: Why It Comes Back and How to Stop It
- Tile Primer: Which Surfaces Need It and How Much to Dilute
- Epoxy Grout: Where It’s Worth It and How to Apply It
- How to Tile Stairs: Keep Every Riser the Same Height
- Shower Niche: Sizes, Height and Which Wall Can Take One
- How Many Tiles Do I Need? Add 10% to 20% by Layout
- How to Tile a Window Sill: Sill Last, Silicone at the Frame
- Tiling Trade News: Victorian Plumbing Tile Sales Up 76%
- How to Tile Around a Toilet: Lift the Pan or Cut Round It
- Tile to Carpet Transition: Pick the Strip by the Height Gap
- Tile Skirting: Leave a 6mm Gap and Seal, Never Grout
- Tile Backer Board: Cement or Foam, Which Thickness, Fixings
- Quarry Tiles: Seal Them or Not, and How to Clean Them
- Rapid Set Tile Adhesive vs Standard: 30 Mins or 24 Hours
- Can You Tile Onto Plaster? Yes, Up to 20kg per m²
- How to Tile a Balcony: 1.5-2% Fall, Drain Mat, 150mm Upstand
- Electric Tile Cutter: When You Need One and Which Disc
- Victorian Floor Tiles: Sizes, Repairs and When to Replace
- Marble Tiles: White Rapid-Set Adhesive, Seal Before Grouting
- Tiling on Anhydrite Screed: 0.5% Moisture, Sand, Then Prime
- Tiling Trade News: Domus Buyout After Headlam Collapse
- How High to Tile a Bathroom: 1.2m Line vs Floor to Ceiling
- Can You Tile Over Paint? Strip Emulsion, Key Gloss First
- Hollow Sounding Tiles: When to Leave Them, When to Lift
- Tile Movement Joints: Where They Go and the 10m Rule
- Tiling Trade News: Home Improvement Work to Fall 8%
- Outdoor Wall Tiles: 0.5% Absorption and a 100% Adhesive Bed
- Living Room Floor Tiles: Porcelain, Heating and the 3mm Rule
- Pink Tiles: Shades, Grout and Slip Ratings Before You Buy
- Cheap Tiles: 7 Checks Before You Buy From a Clearance Pile
- How Long Does Grout Take to Dry? 3 Hours, 24 Hours, 2 Weeks
- Uncoupling Membrane: When Tiles Need One and Which Type
- Tile Trowel Size: The Right Notch for Wall and Floor Tiles
- Shower Tray Before or After Tiling? Tray First, Tile Down
- Tiling in Cold Weather: The 5°C Rule and How to Beat It
- Limestone Tiles: Seal Before Grouting, Keep Acids Off